NeoHatch Email Setup
Setting up your NeoHatch email on your devices is a simple process. Whether you're adding it as a new account or alongside existing ones, this guide will take you through each step. Just follow the instructions to enter your details and adjust the necessary settings, and you'll be ready to access your NeoHatch emails on your device.
See instructions below:
iOS Mail
-
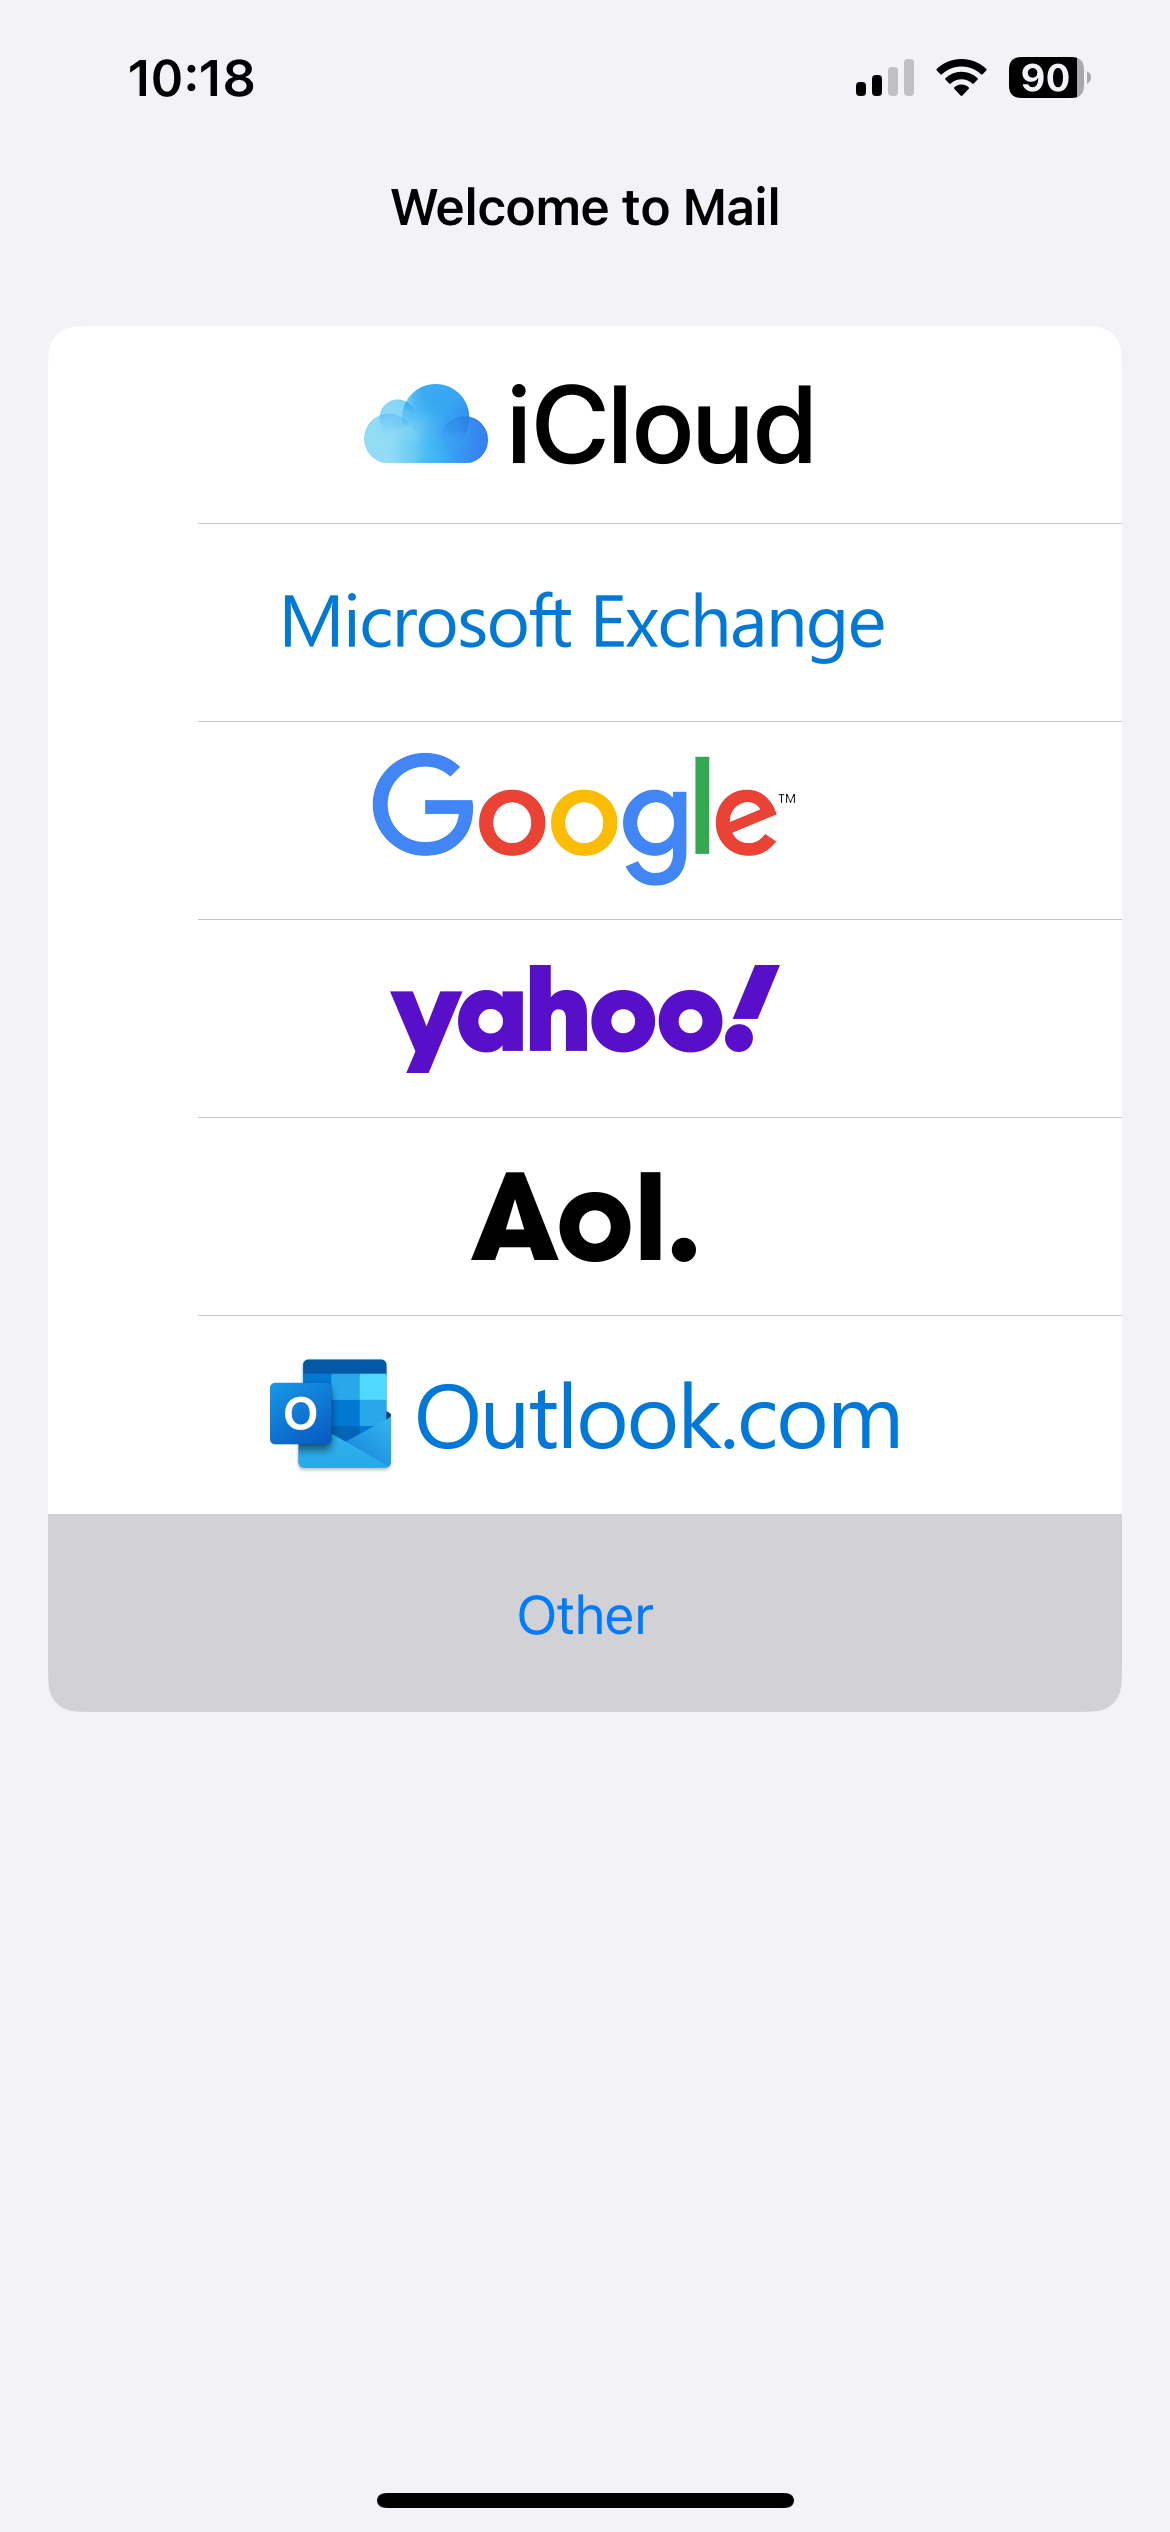
Navigate to the Mail app and select Other when you are prompted to set up an account.*If you already have an account(s) set up in your Mail app and would like to add your NeoHatch email additionally, navigate to Mail in the Settings app and select Accounts>Add Account. You will be presented with a screen like the photo below.
-
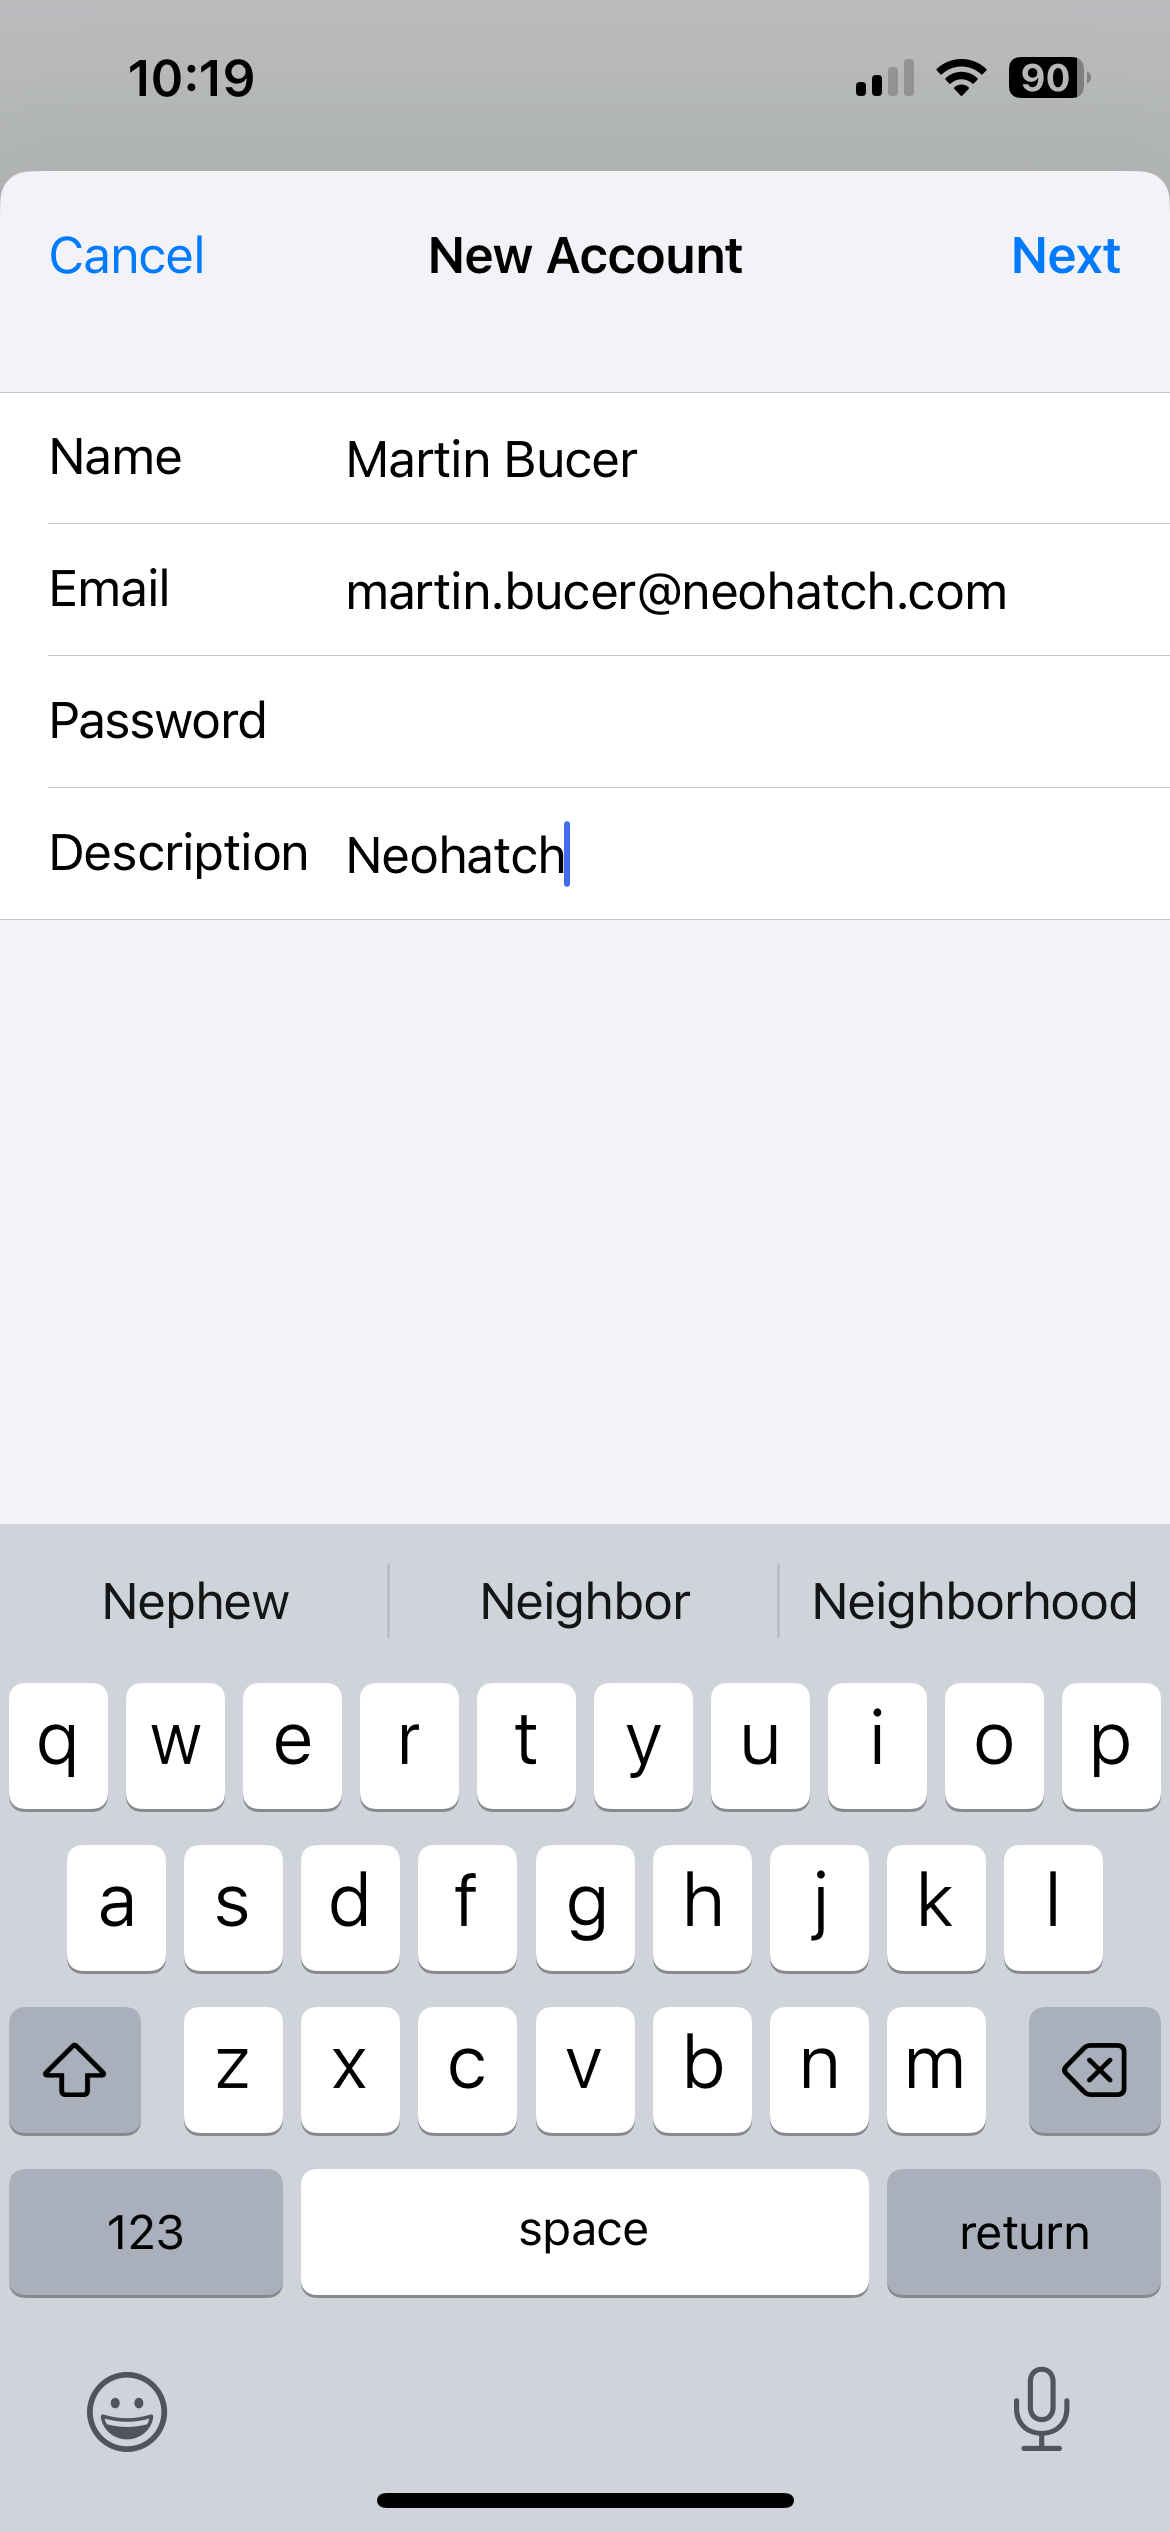
Enter your NeoHatch account information (Name, Email, Password) as seen in the photo below. Click Next.
-
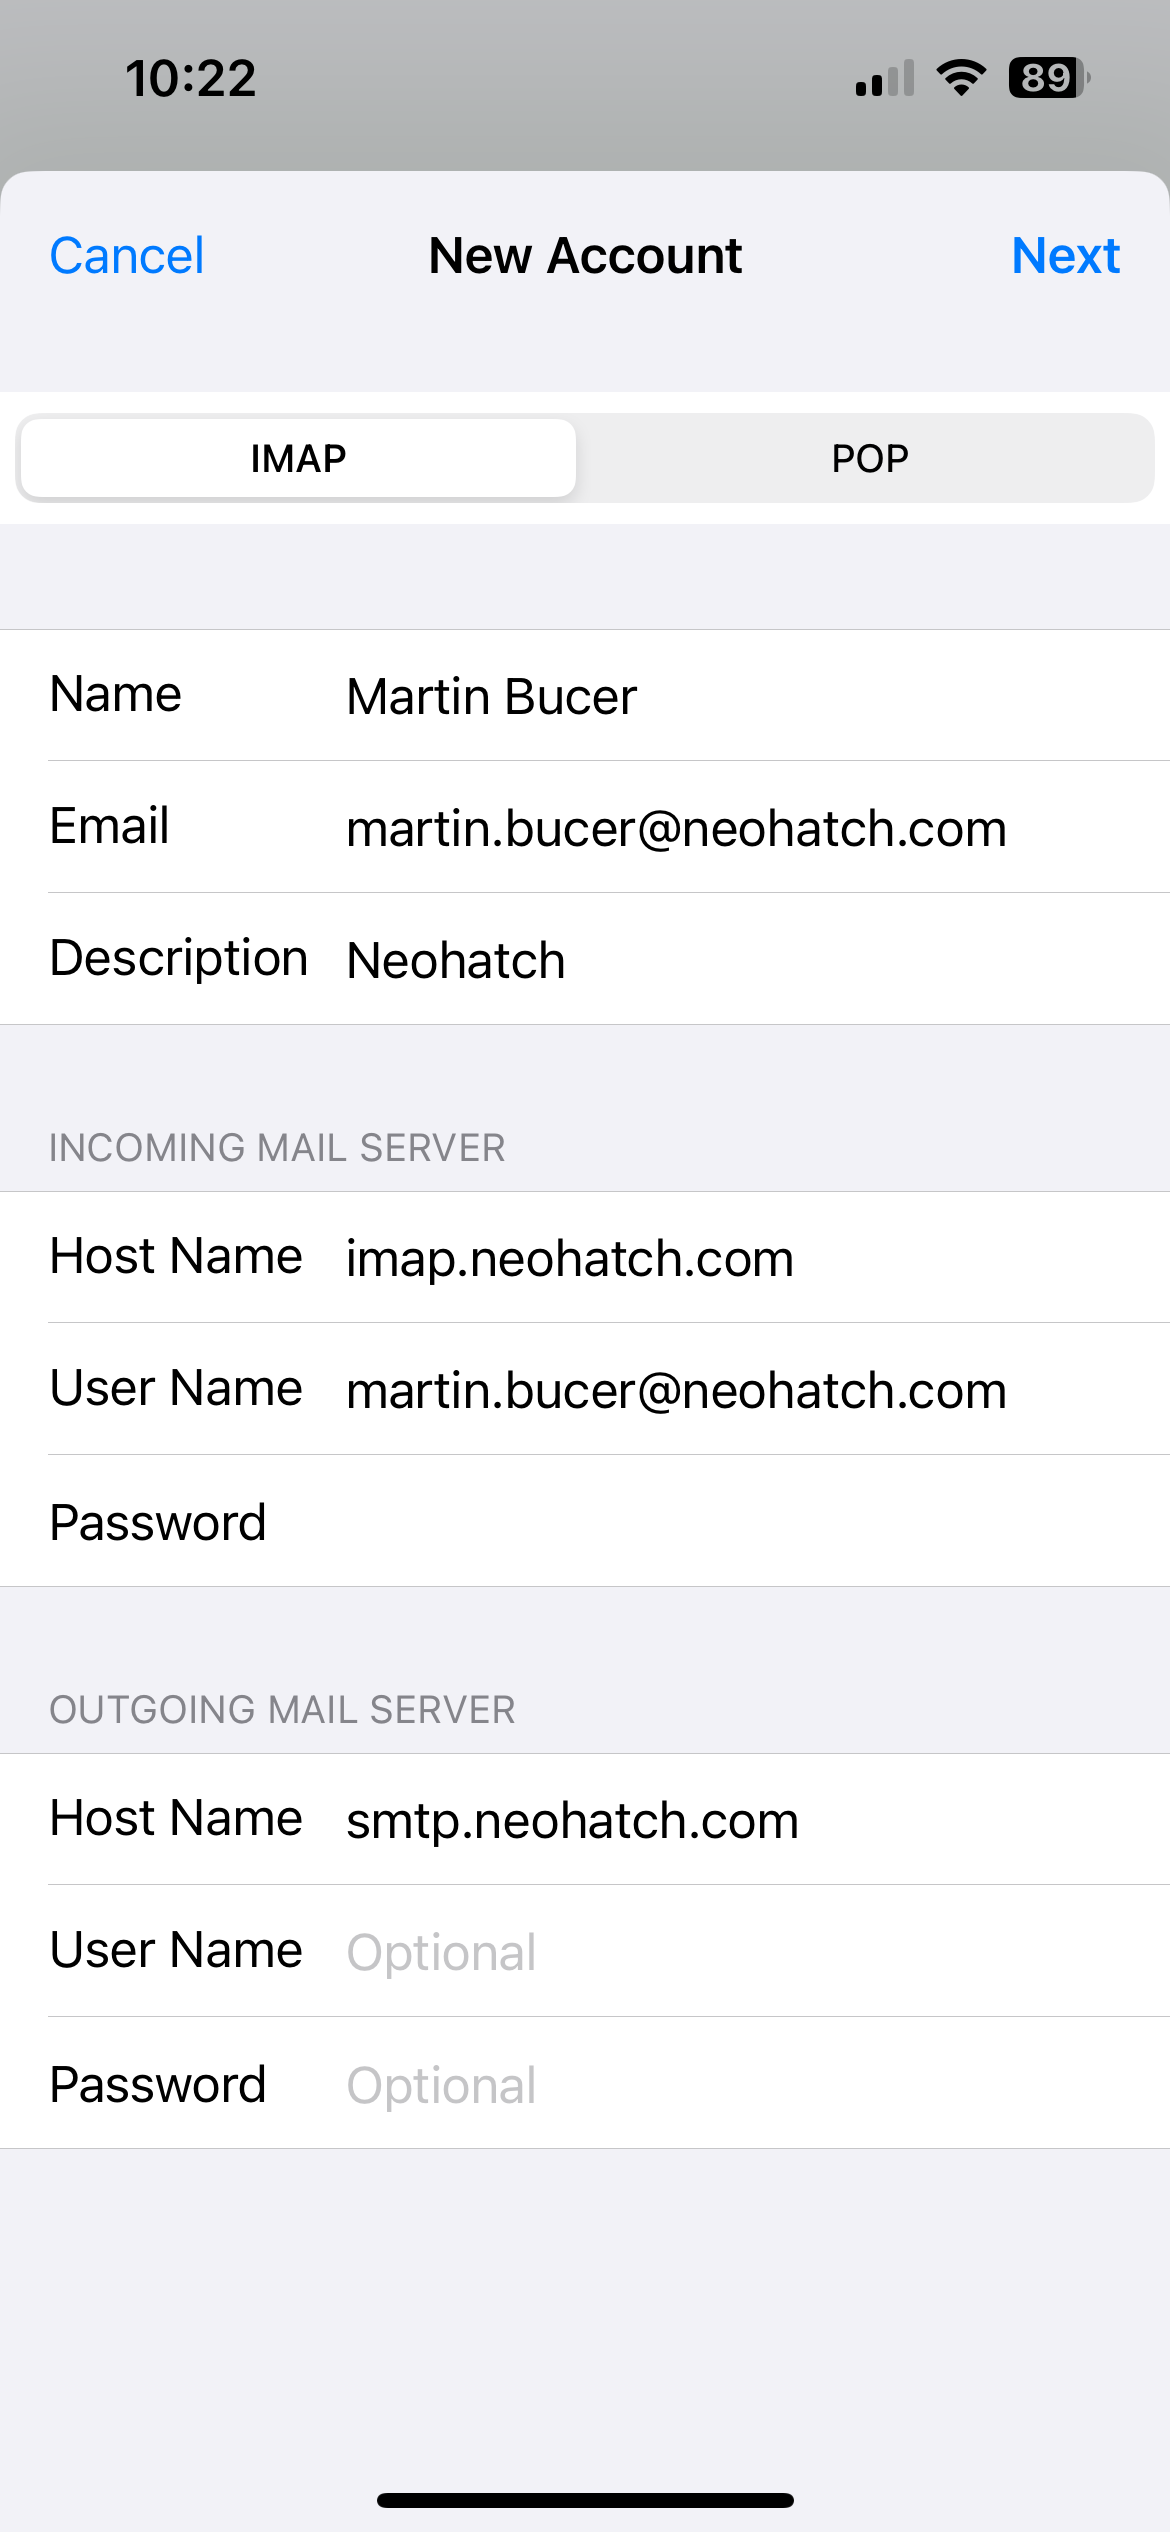
Enter your NeoHatch account information as seen in the photo below. For mail server settings follow accordingly:INCOMING MAIL SERVERHost Name: imap.neohatch.comUser Name: *your NeoHatch email addressPassword: *your NeoHatch account password
OUTGOING MAIL SERVERHost Name: smtp.neohatch.com*You can leave User Name and Password empty
Click Next
-
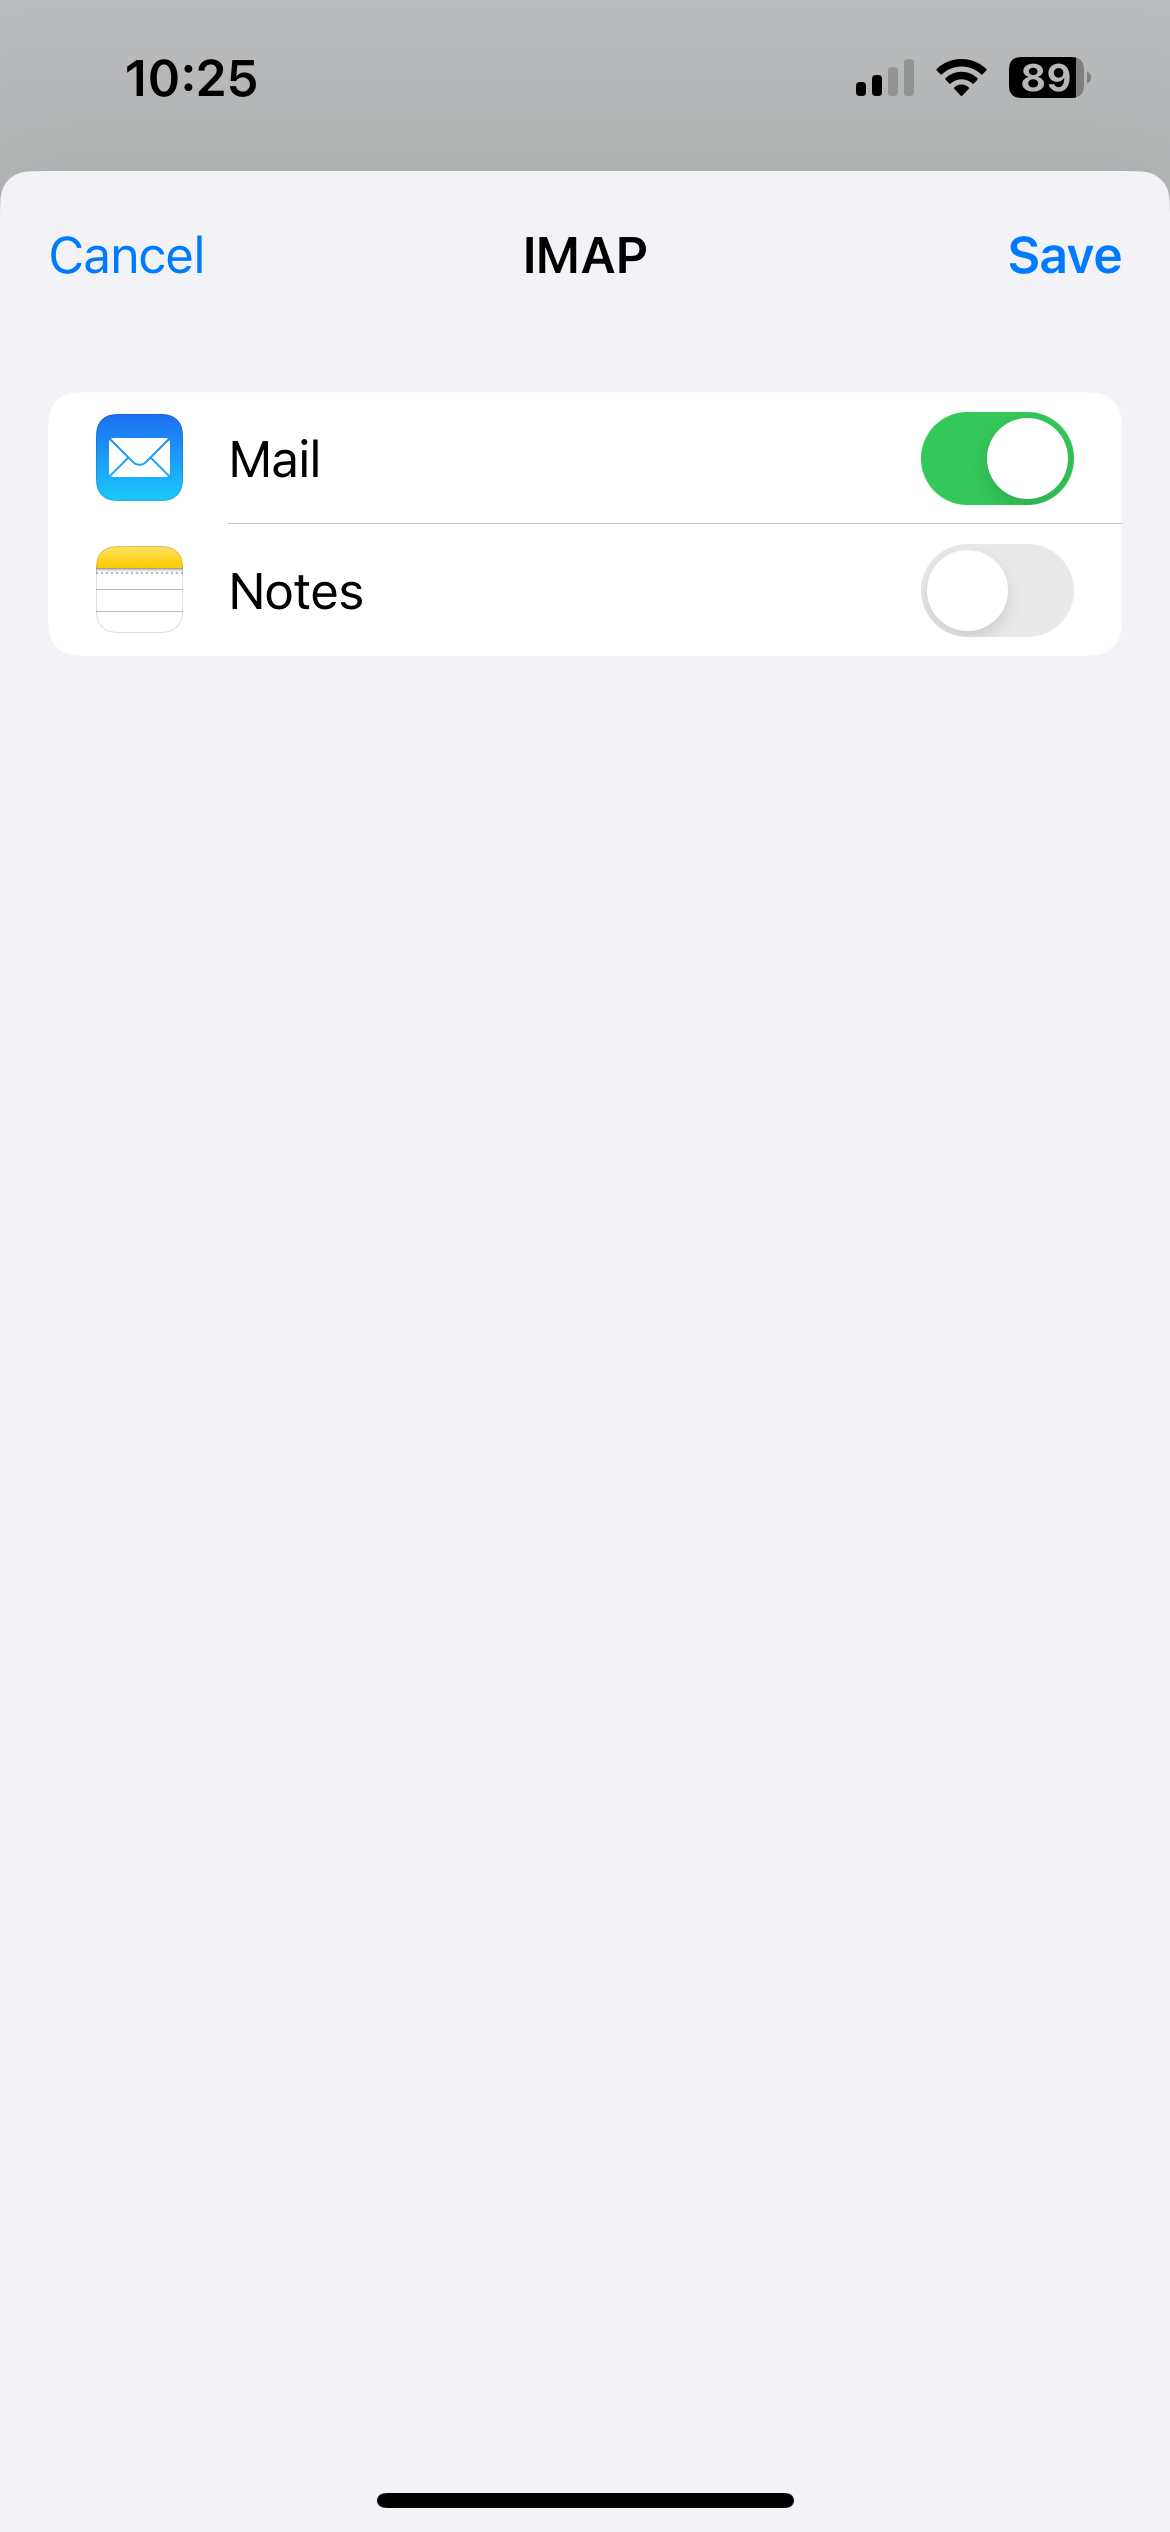
When prompted, turn Mail on, and turn Notes off as the photo below portrays. Click Save.
-
Your NeoHatch email account will now be set up on the iOS Mail app!
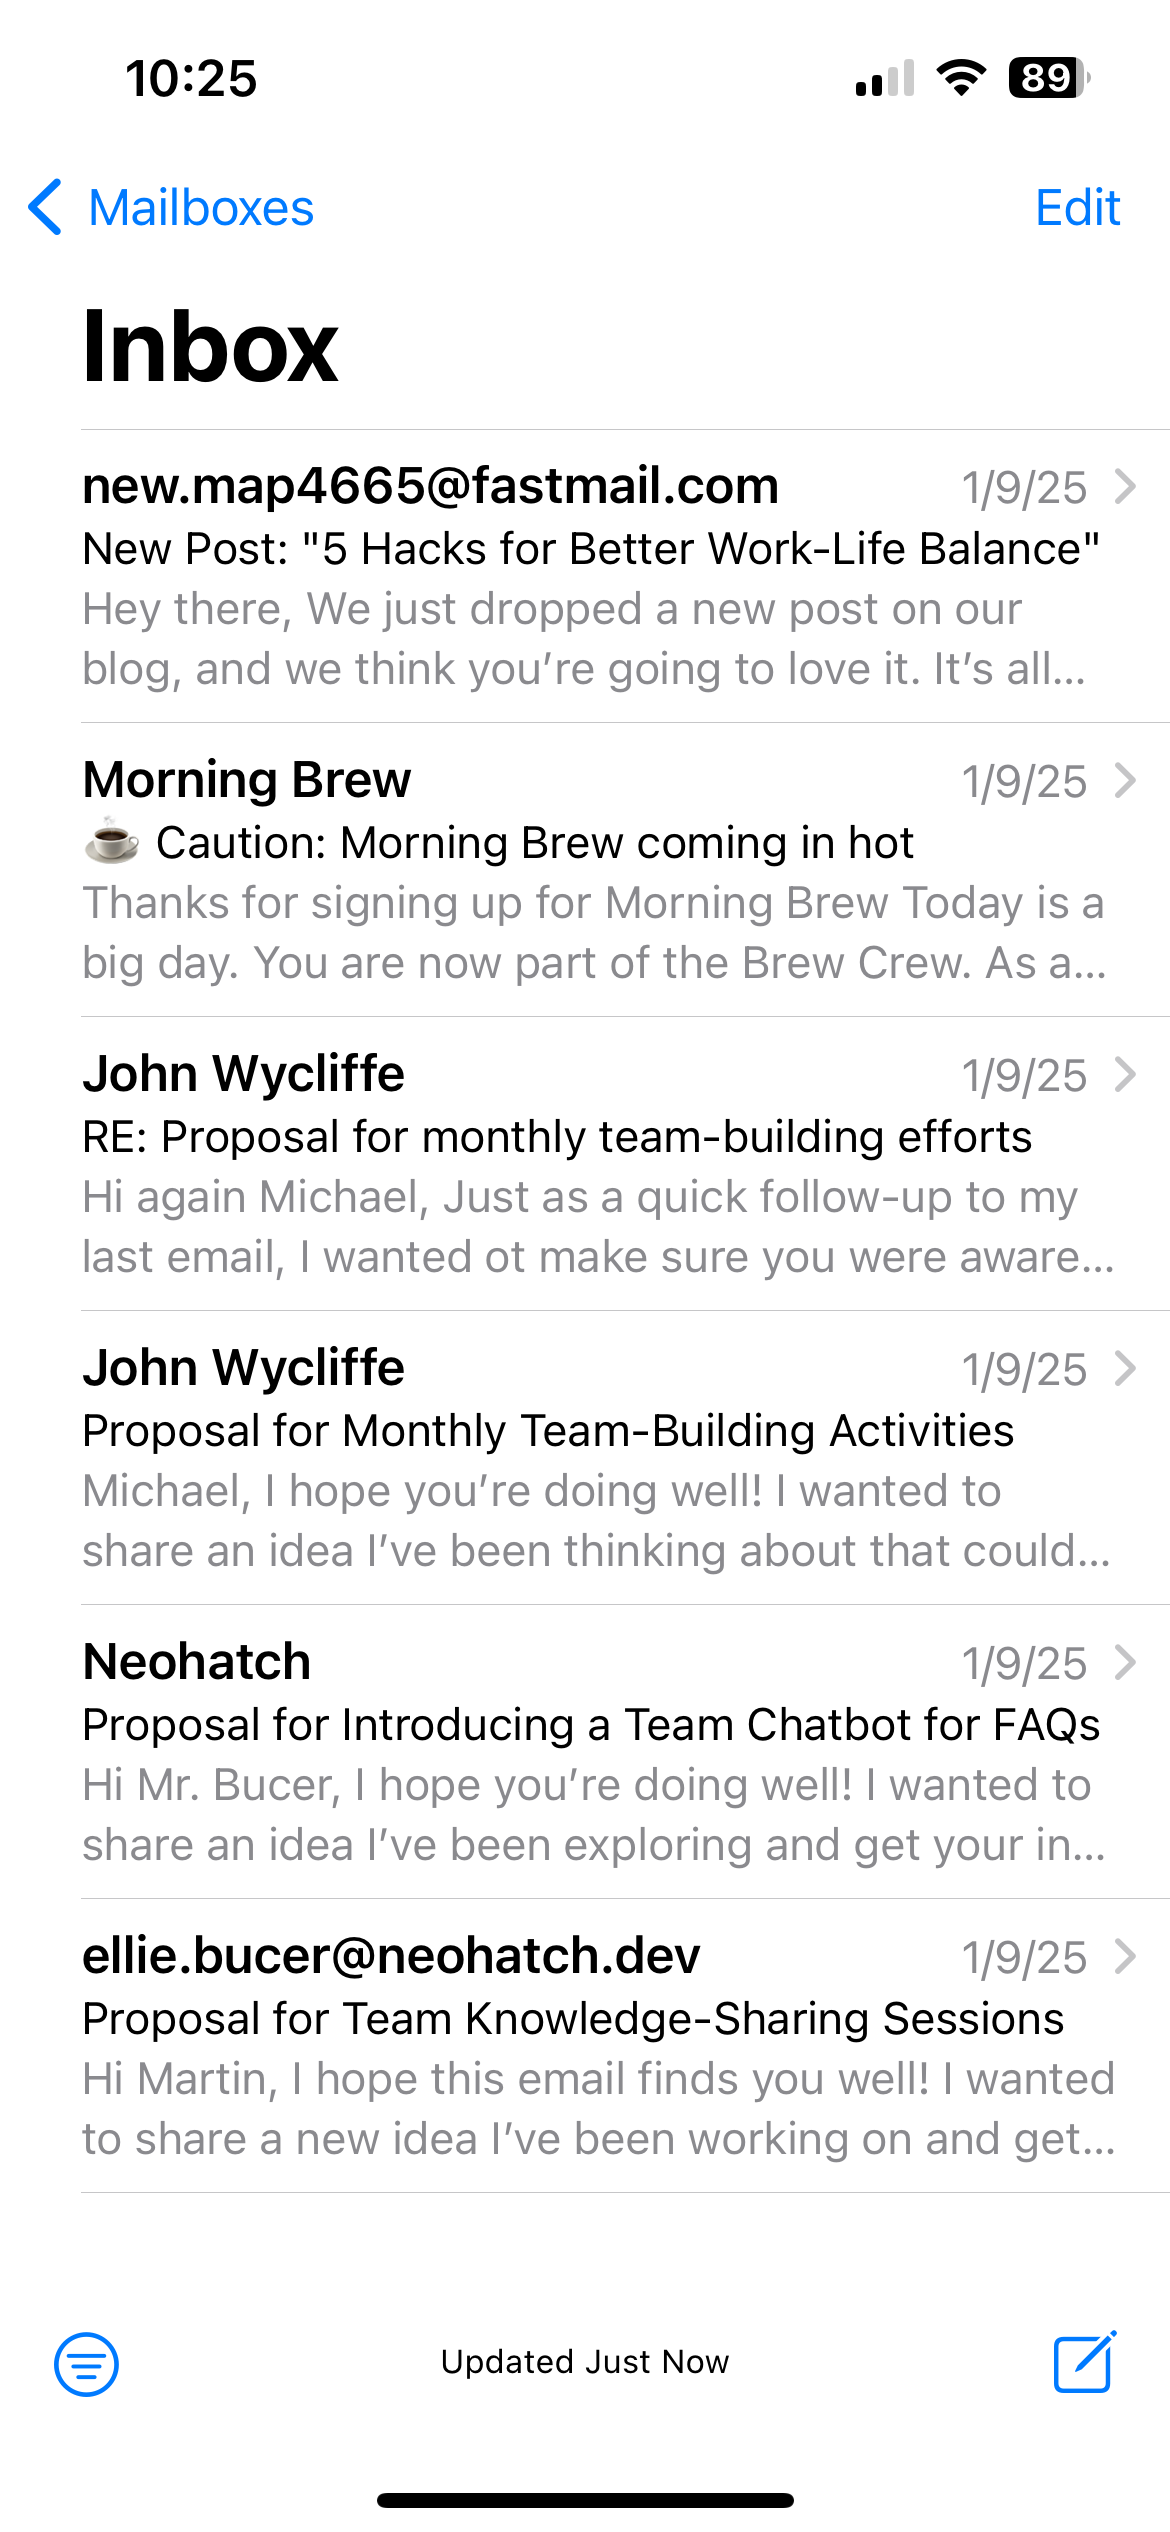
MacOS Mail
-
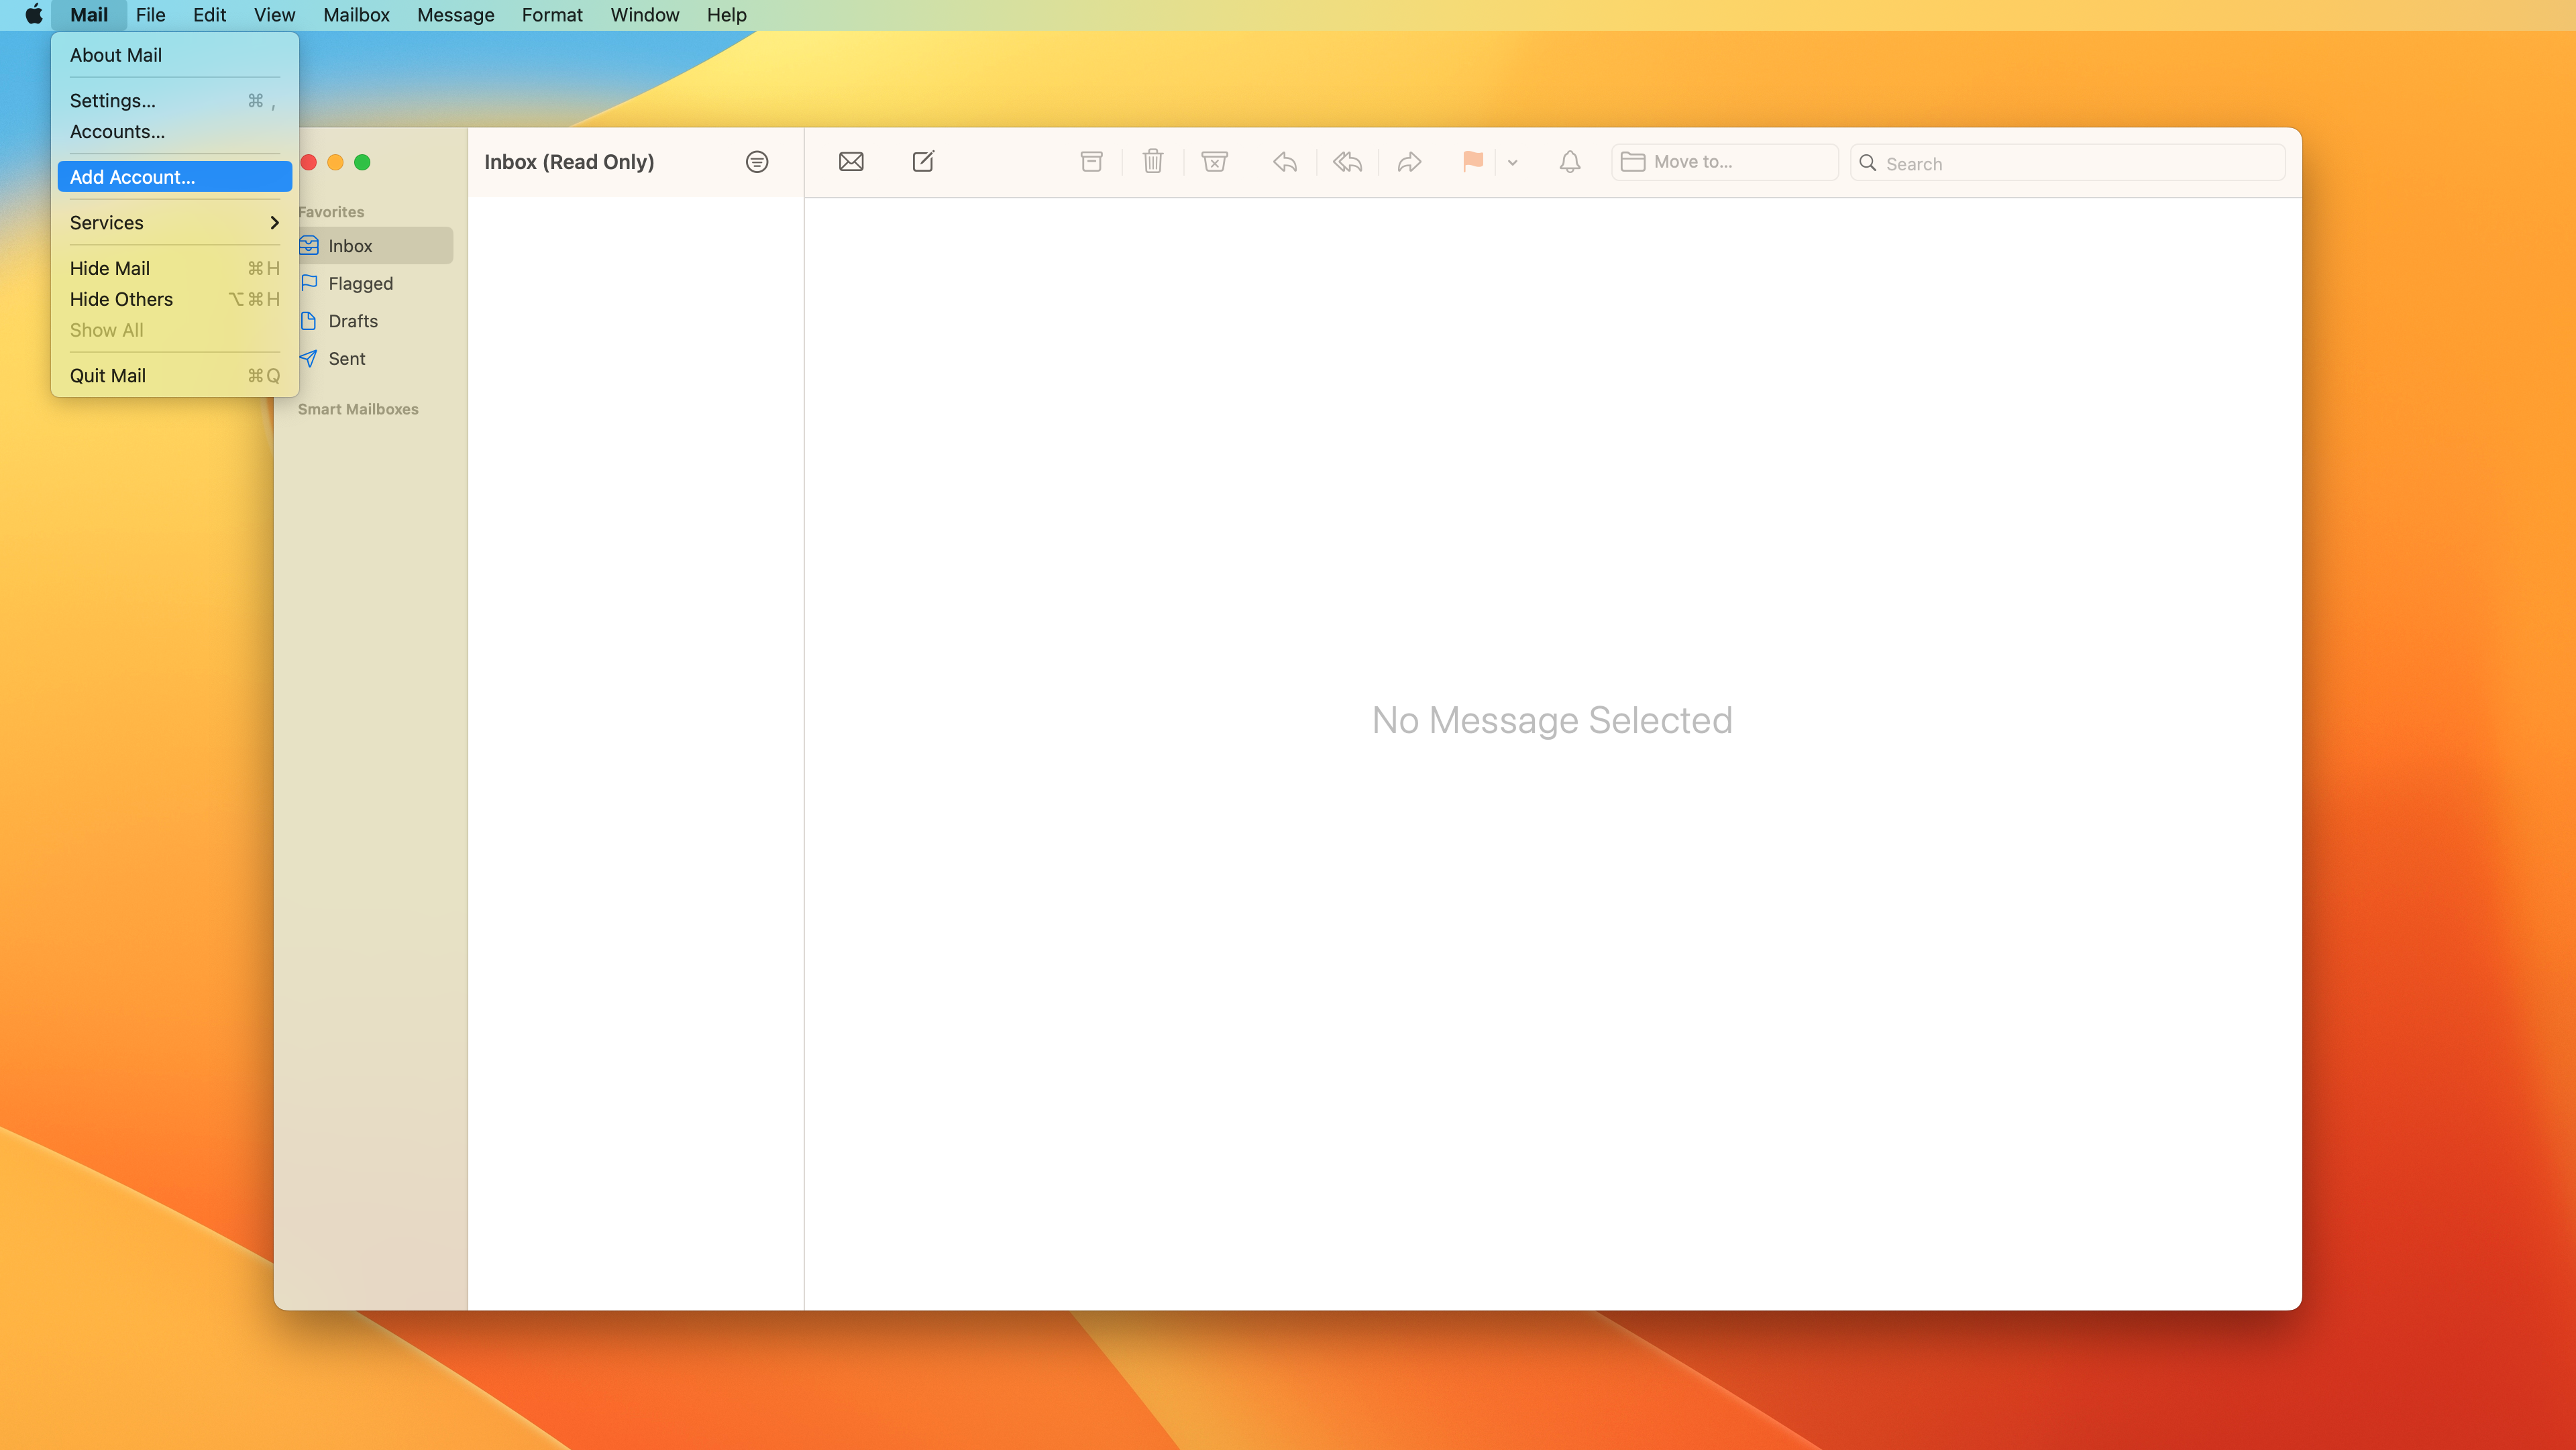
Open the Mail app. Navigate to Mail on the top menu bar and select Add Account.
-
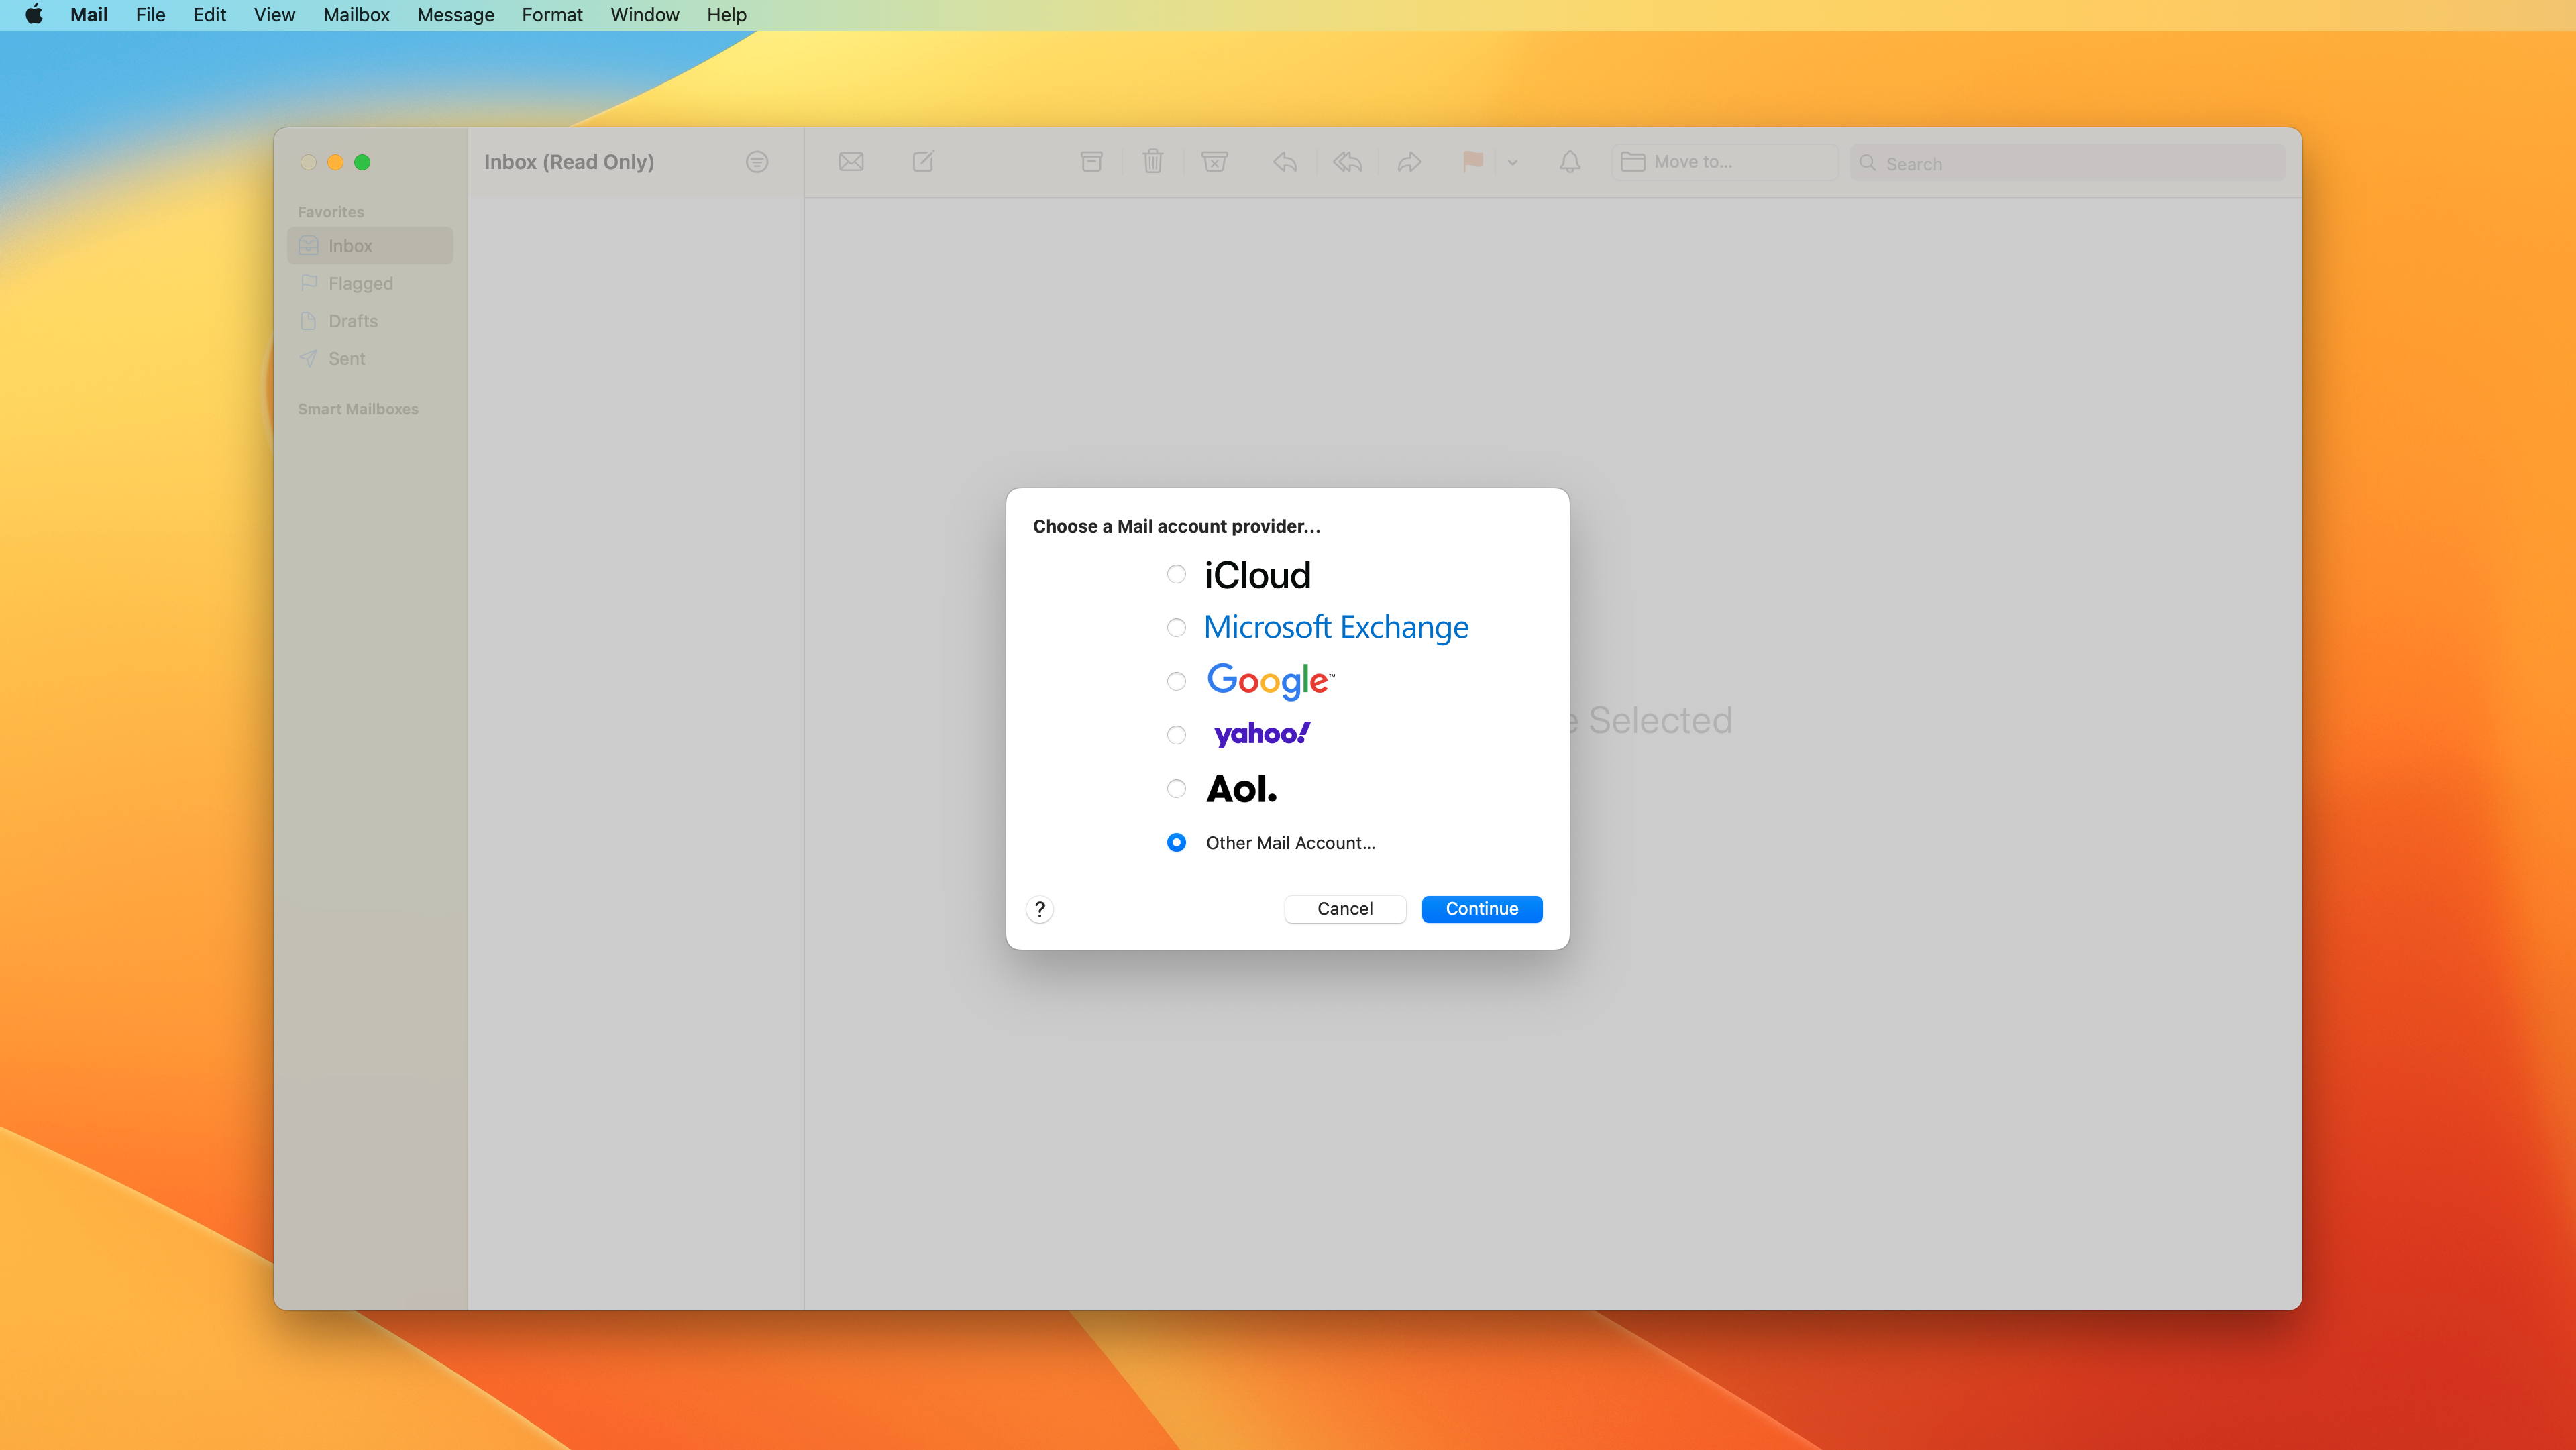
Select Other Mail Account and click Continue
-
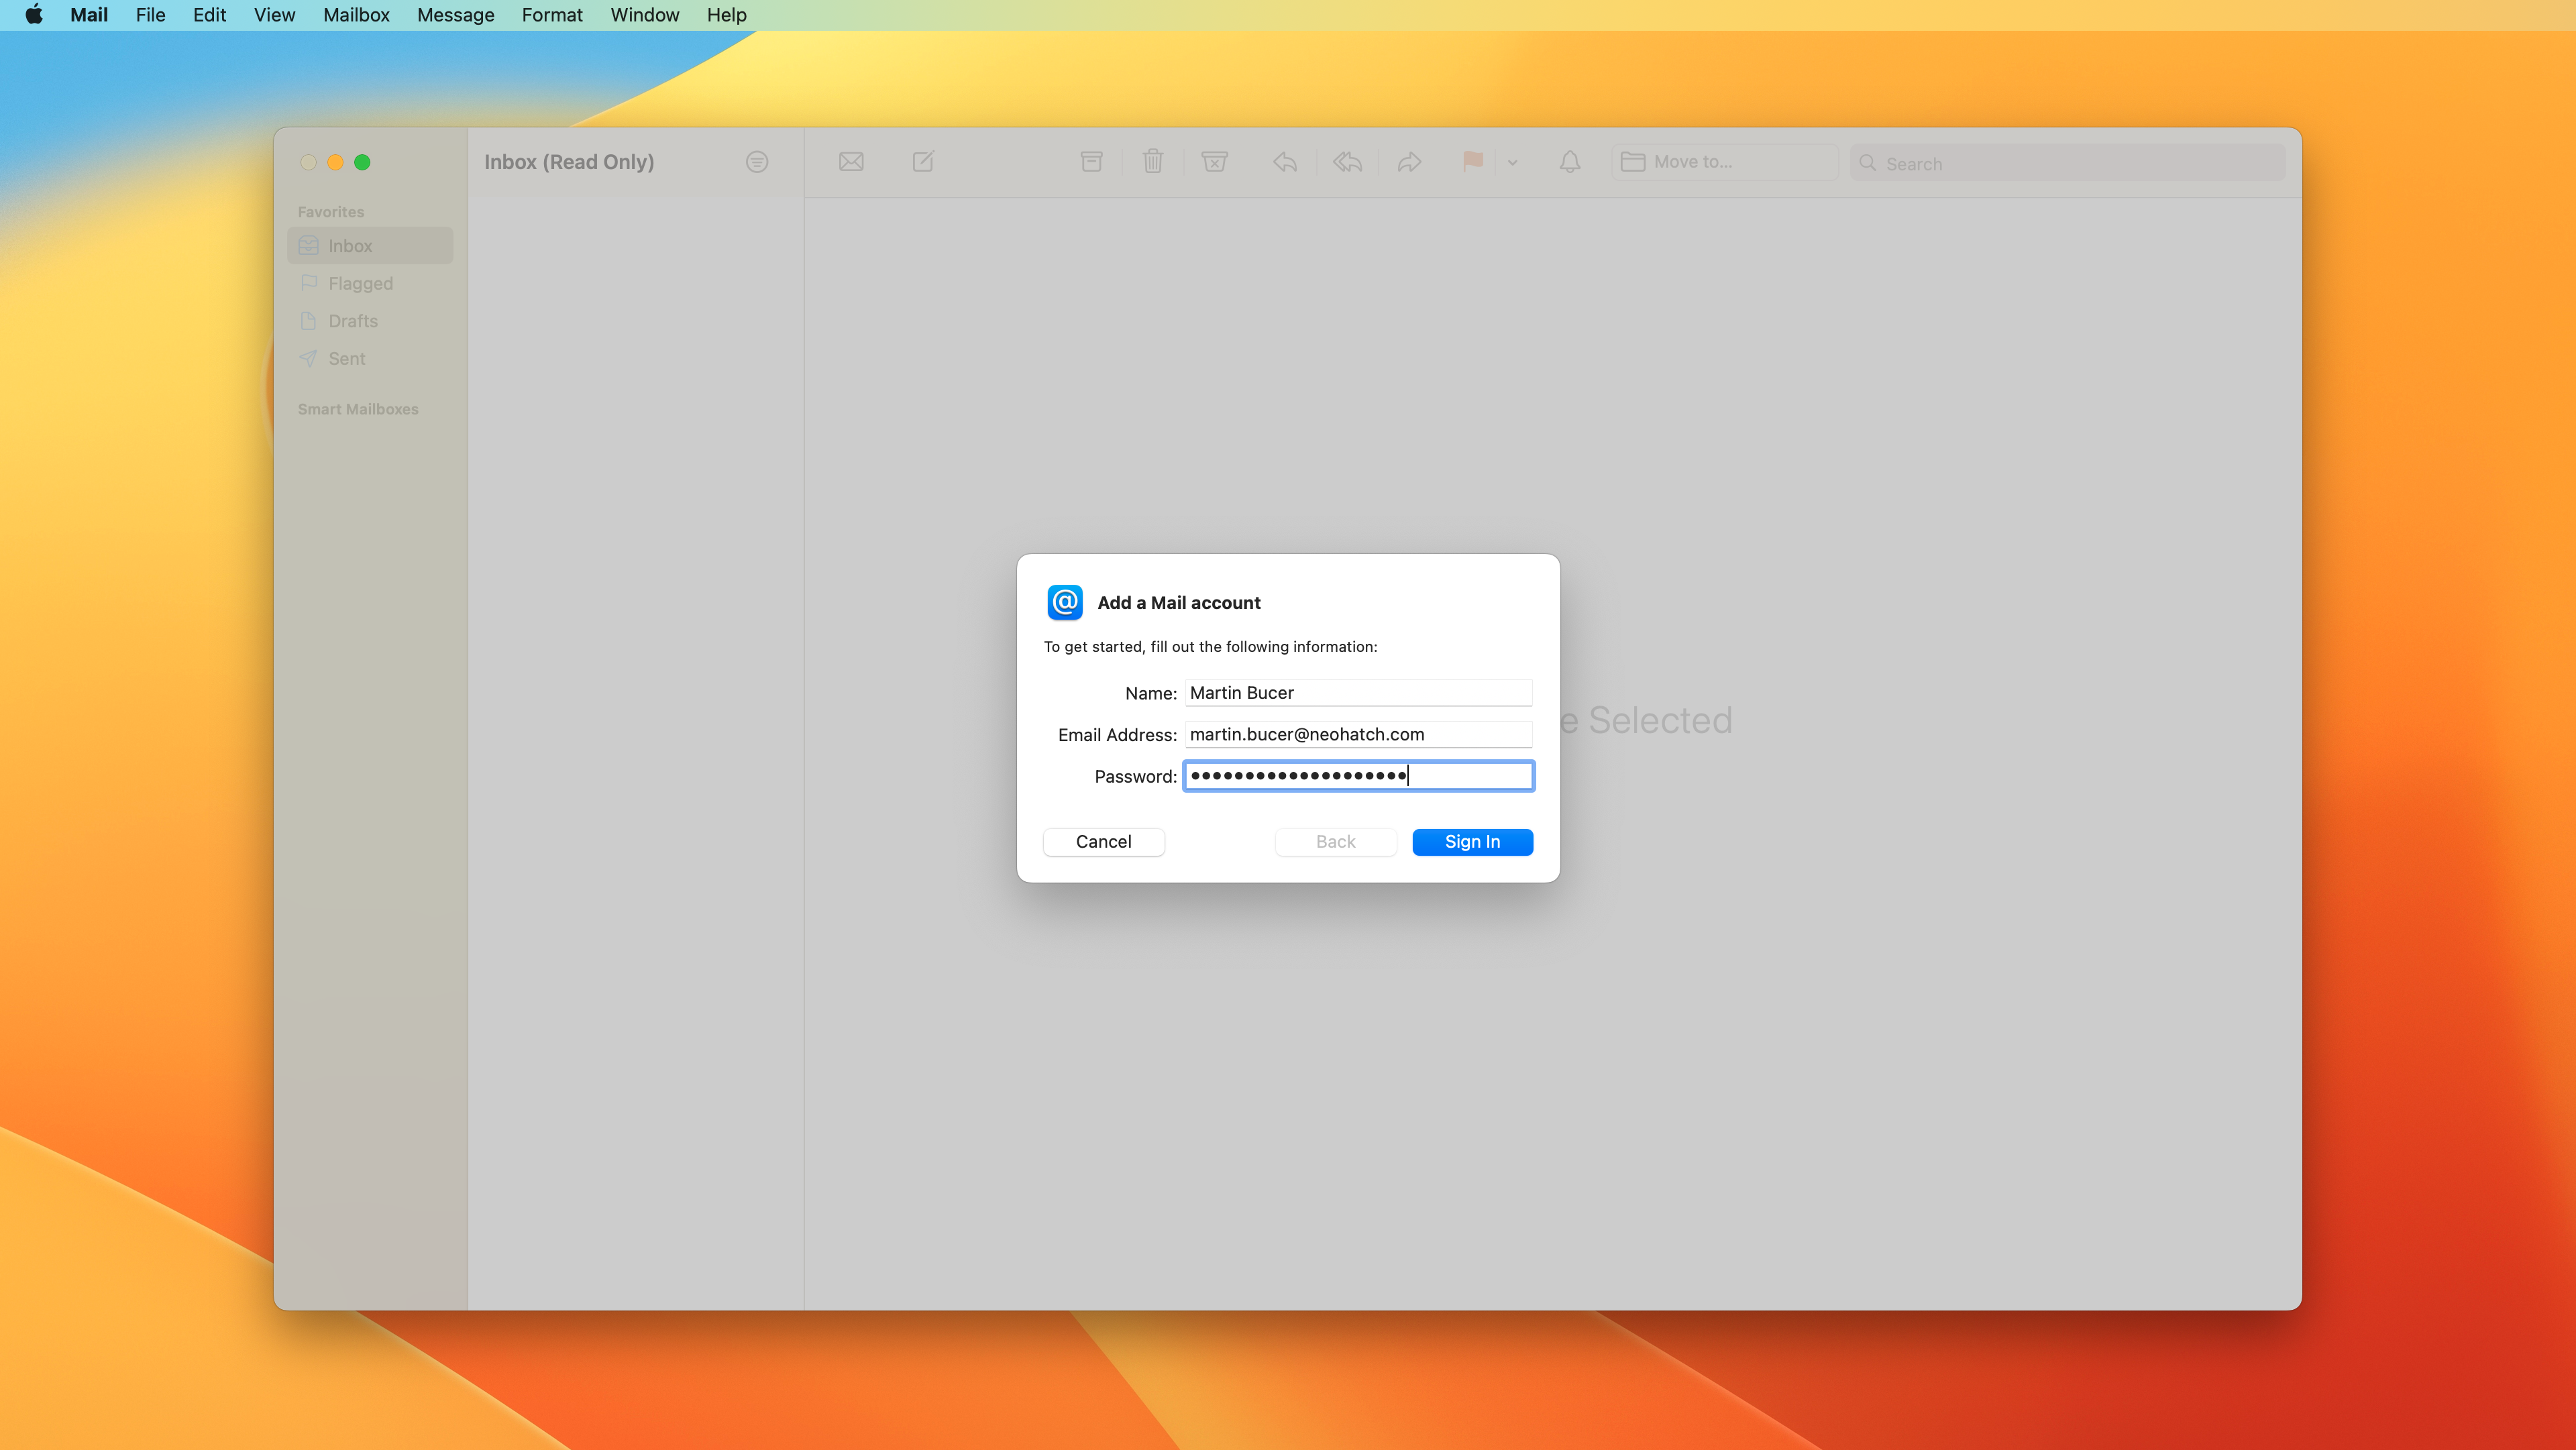
Fill out the form with your Name, Neohatch Email Address, and Password. Click Sign In
-
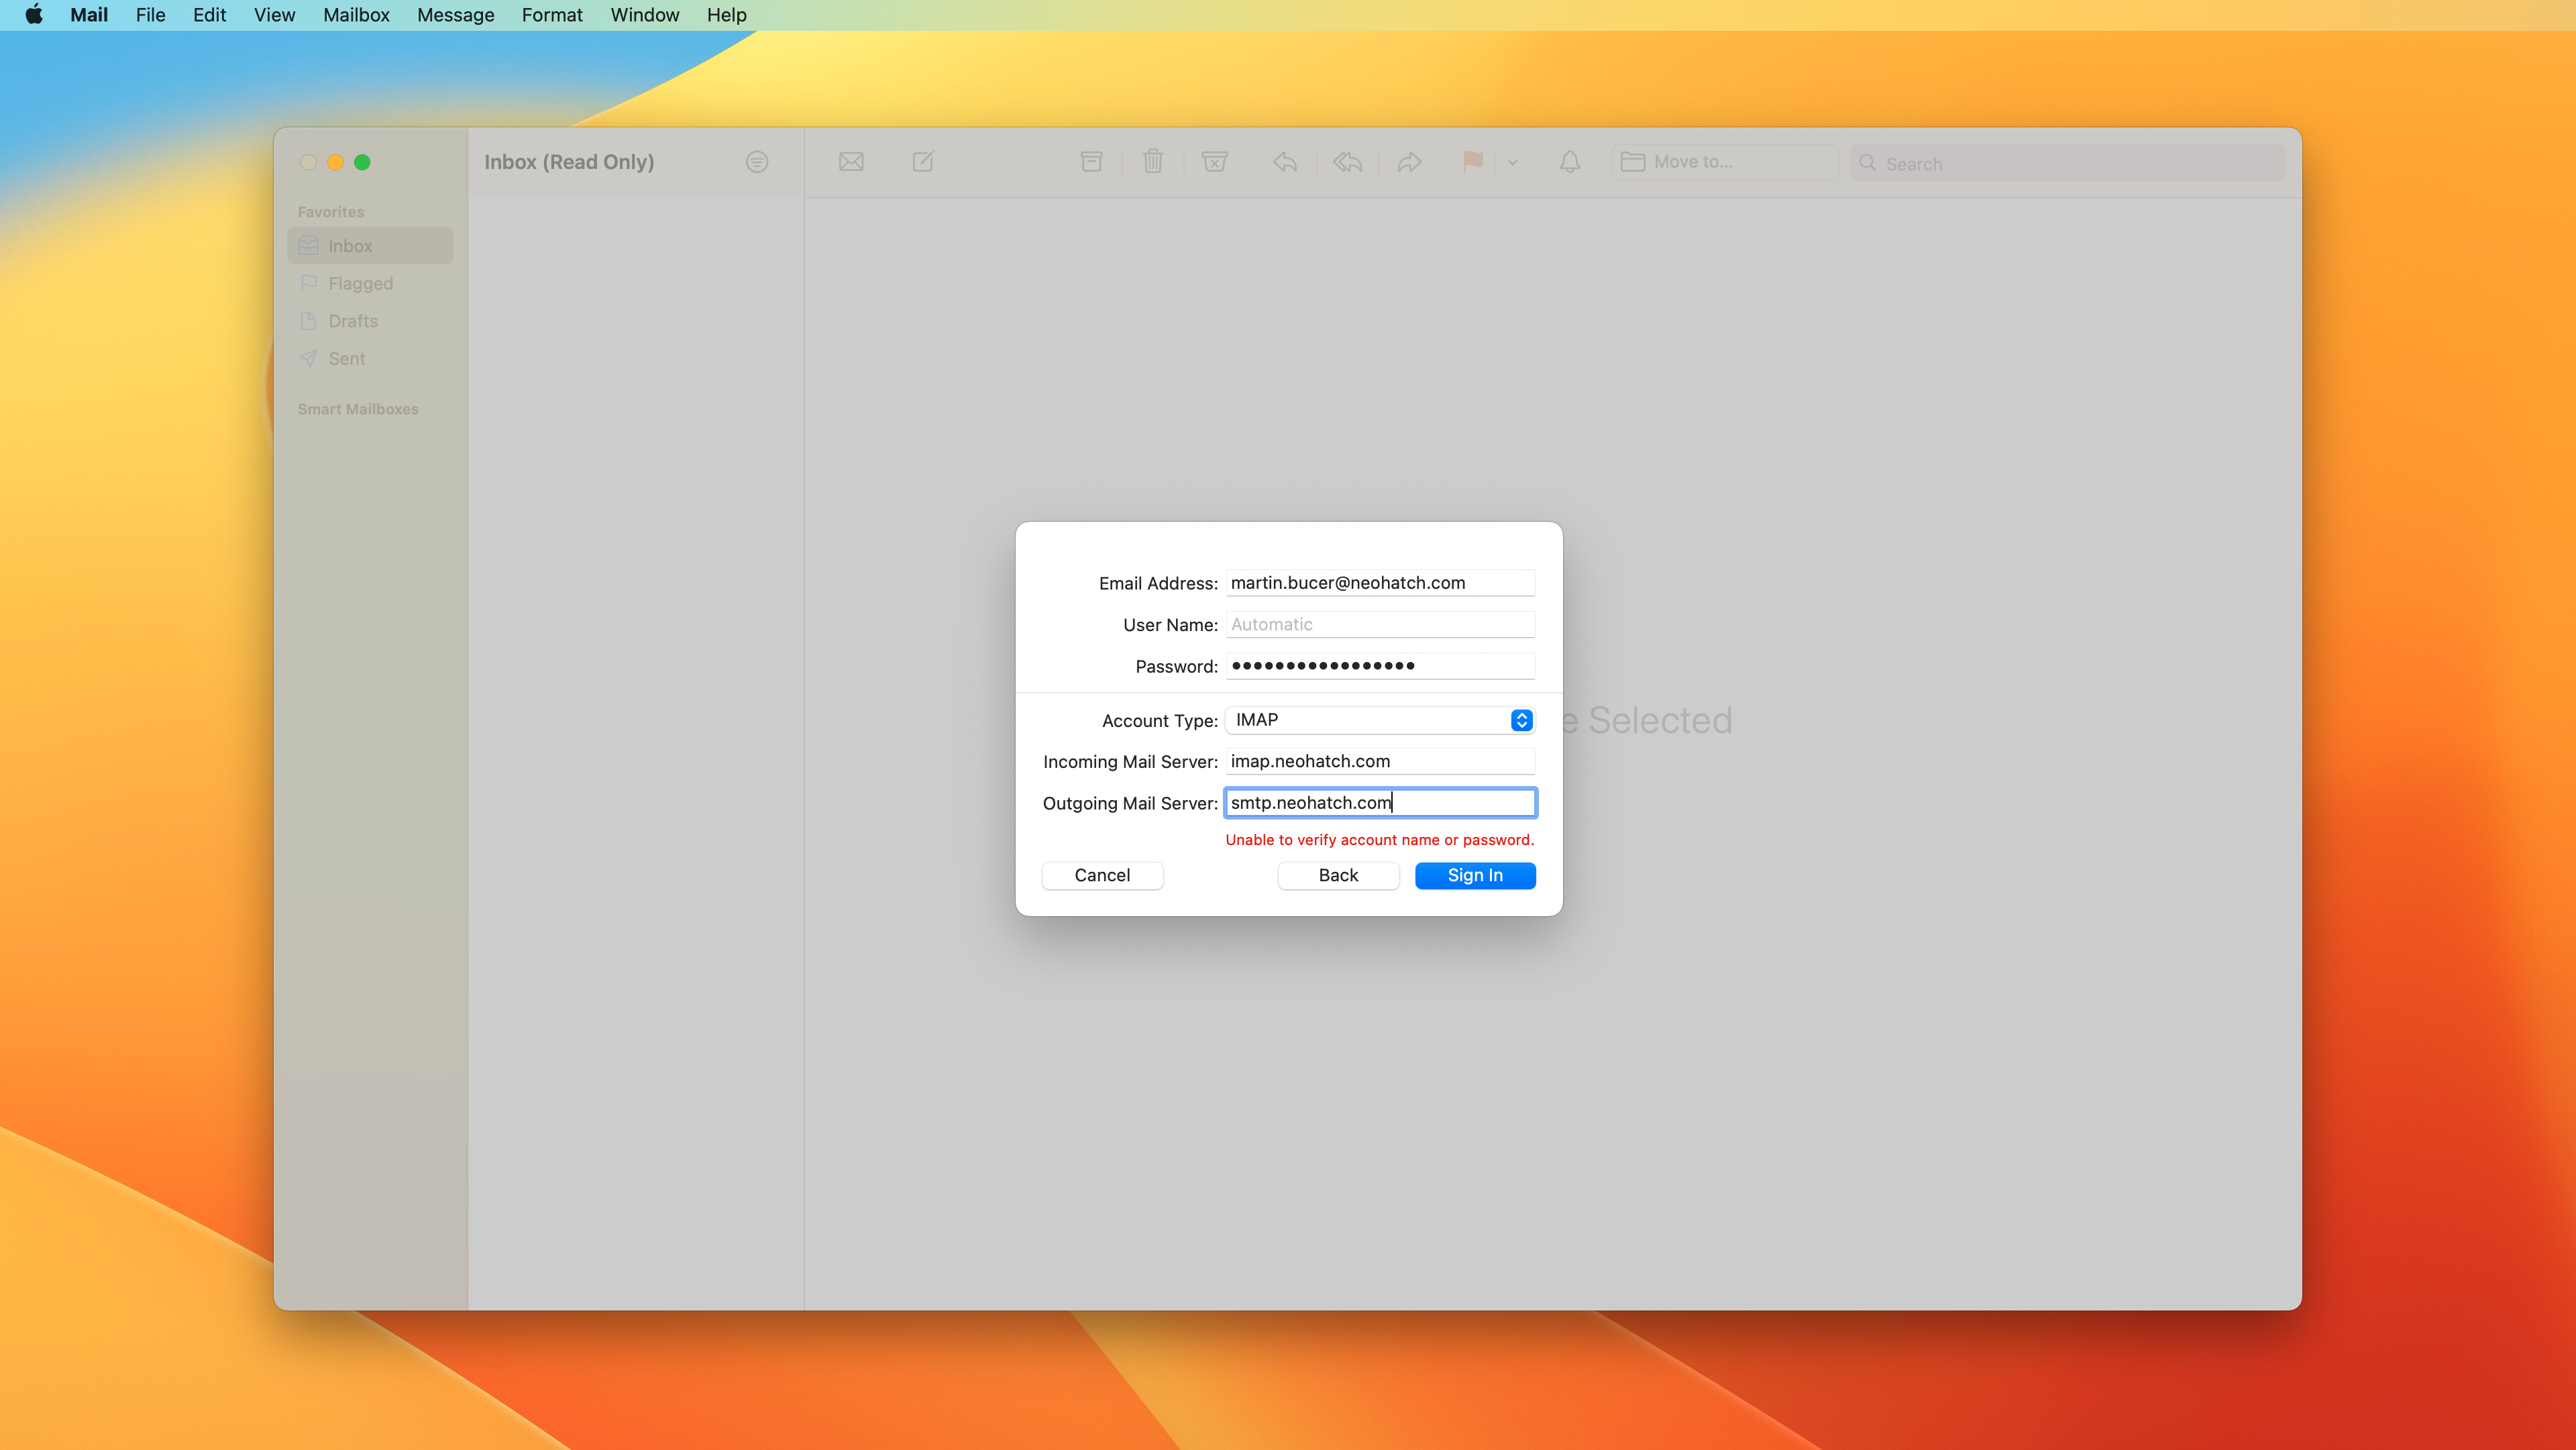
Once you click Sign In, the form will prompt for:
- Account Type - Select IMAP
- Incoming Mail Server - Enter imap.neohatch.com
- Outgoing Mail Server - Enter smtp.neohatch.com
Click Sign In.
-
You will be prompted to select apps that you want to connect with your email address. Select Mail. Click
Done.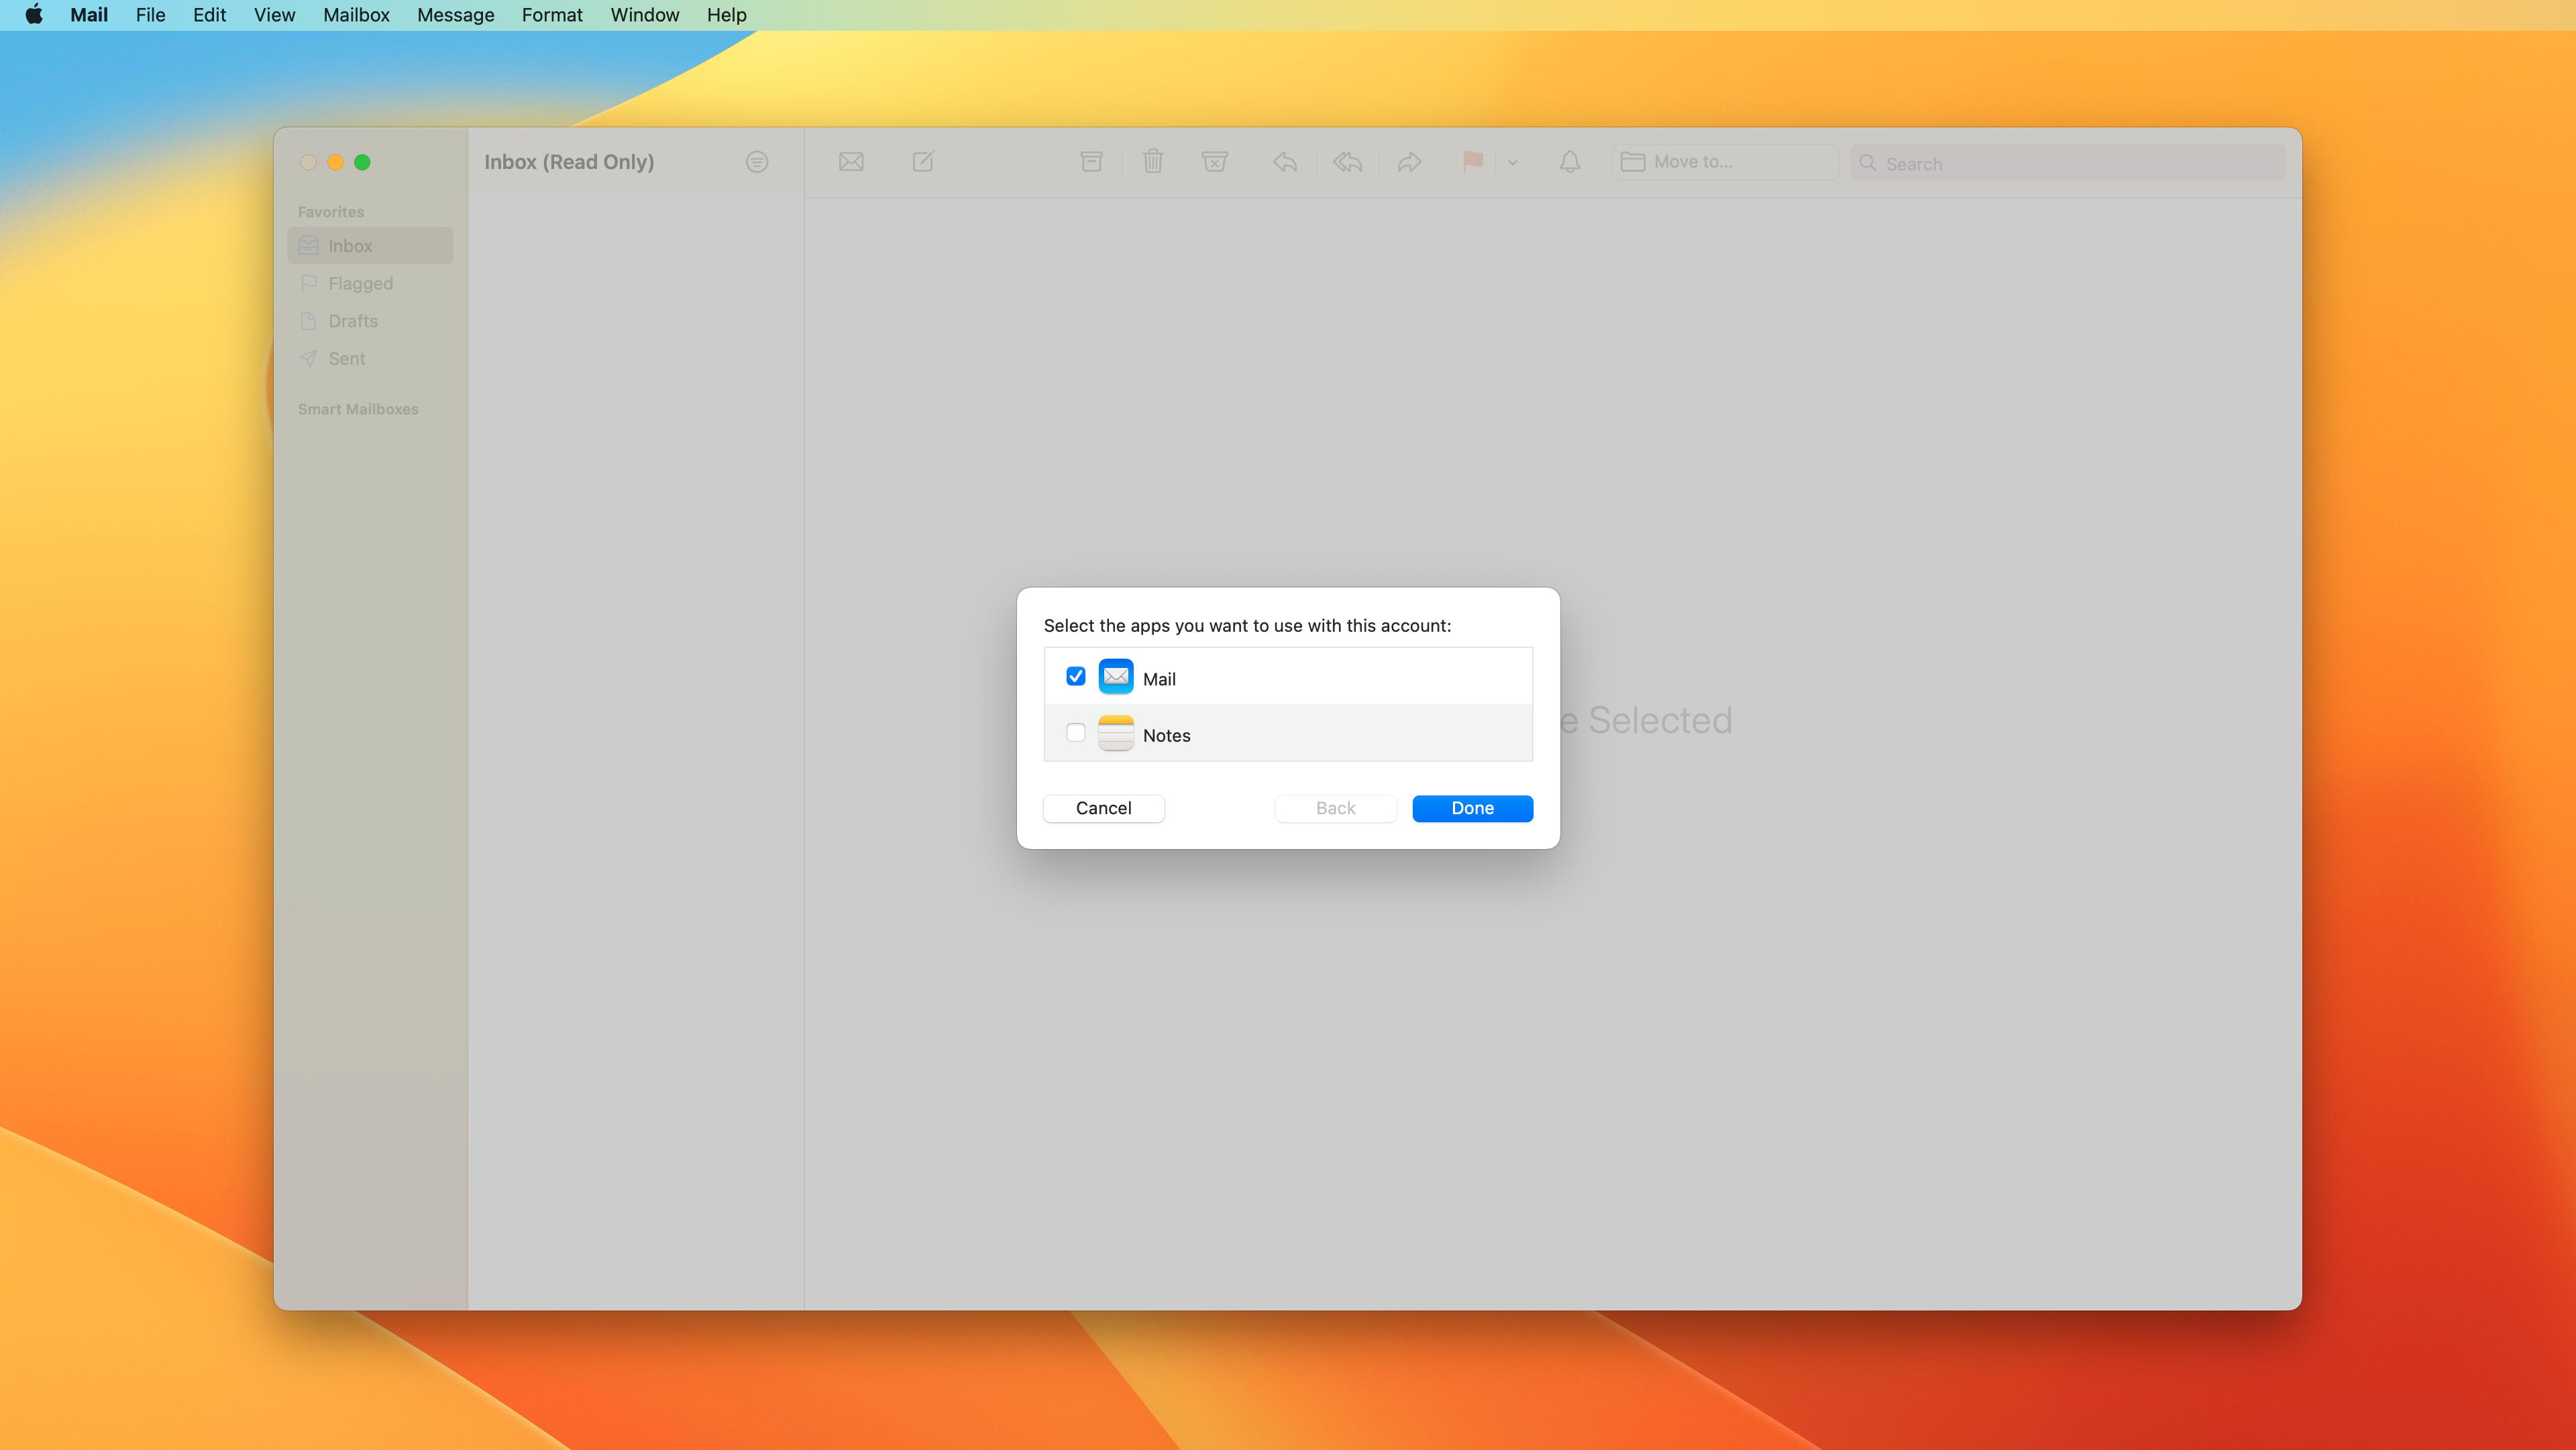
-
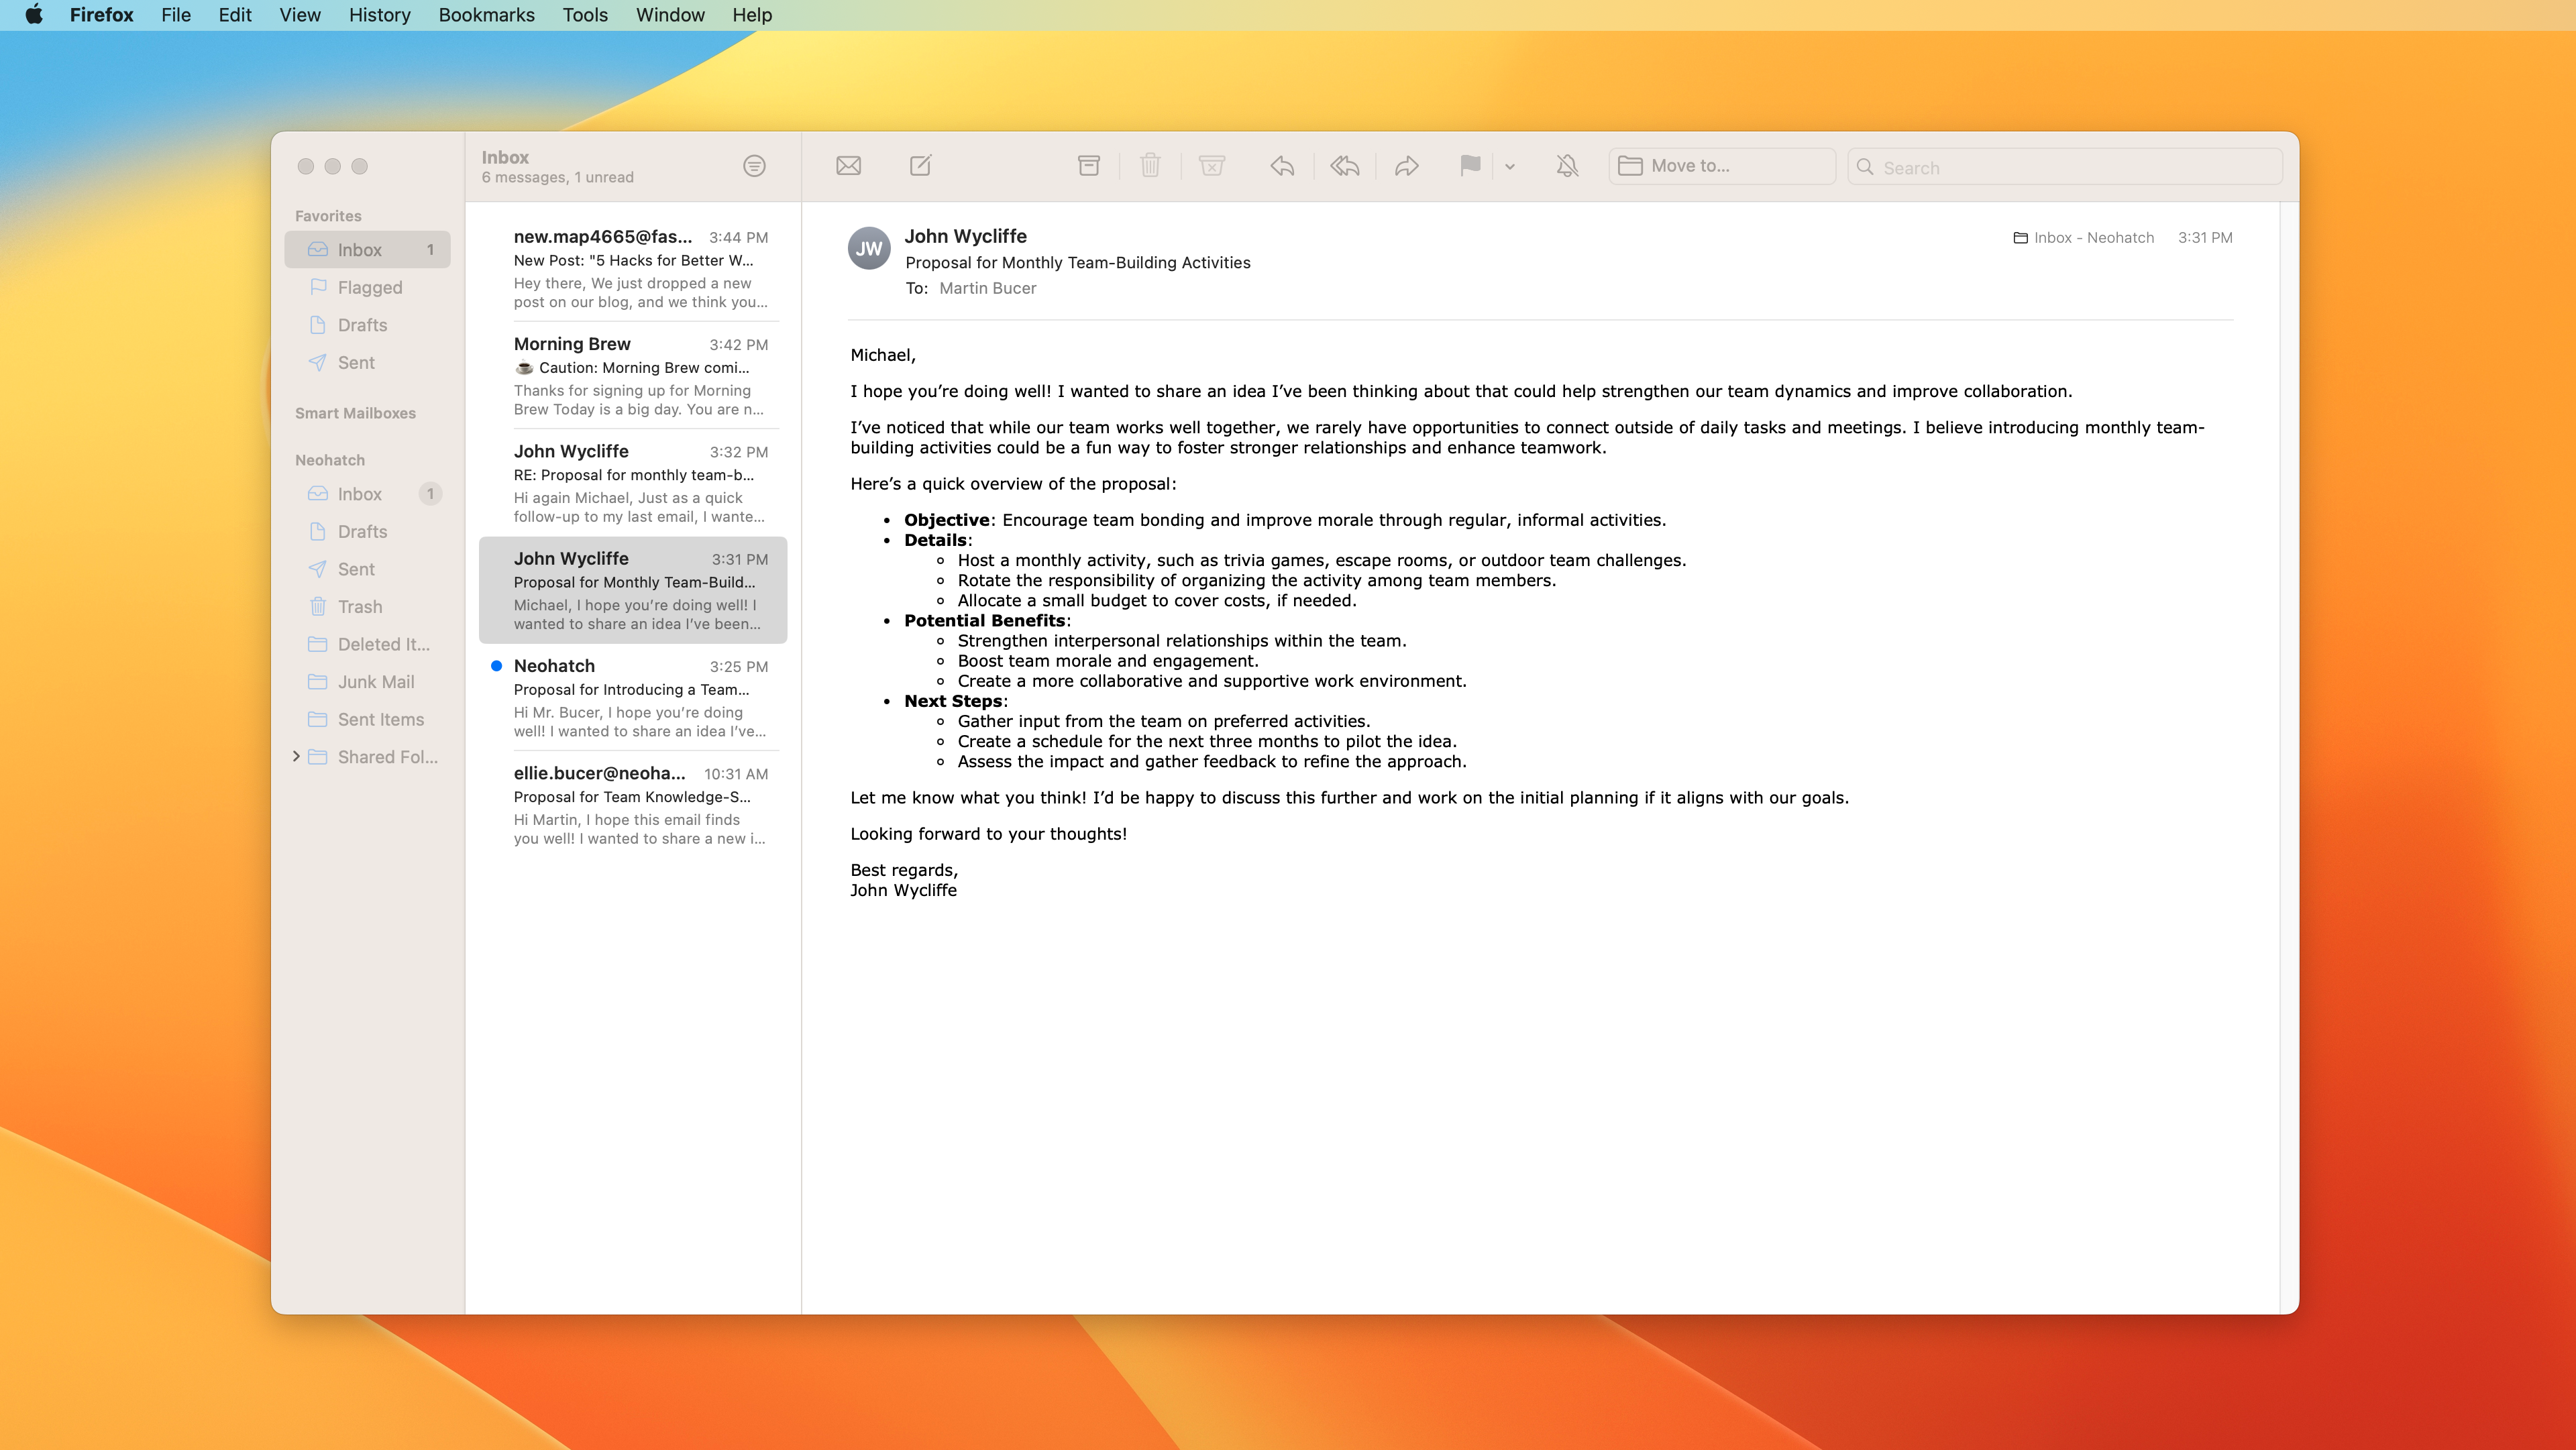
Your inbox will now populate. You are now able to send and receive emails from your NeoHatch email address!
Thunderbird
-
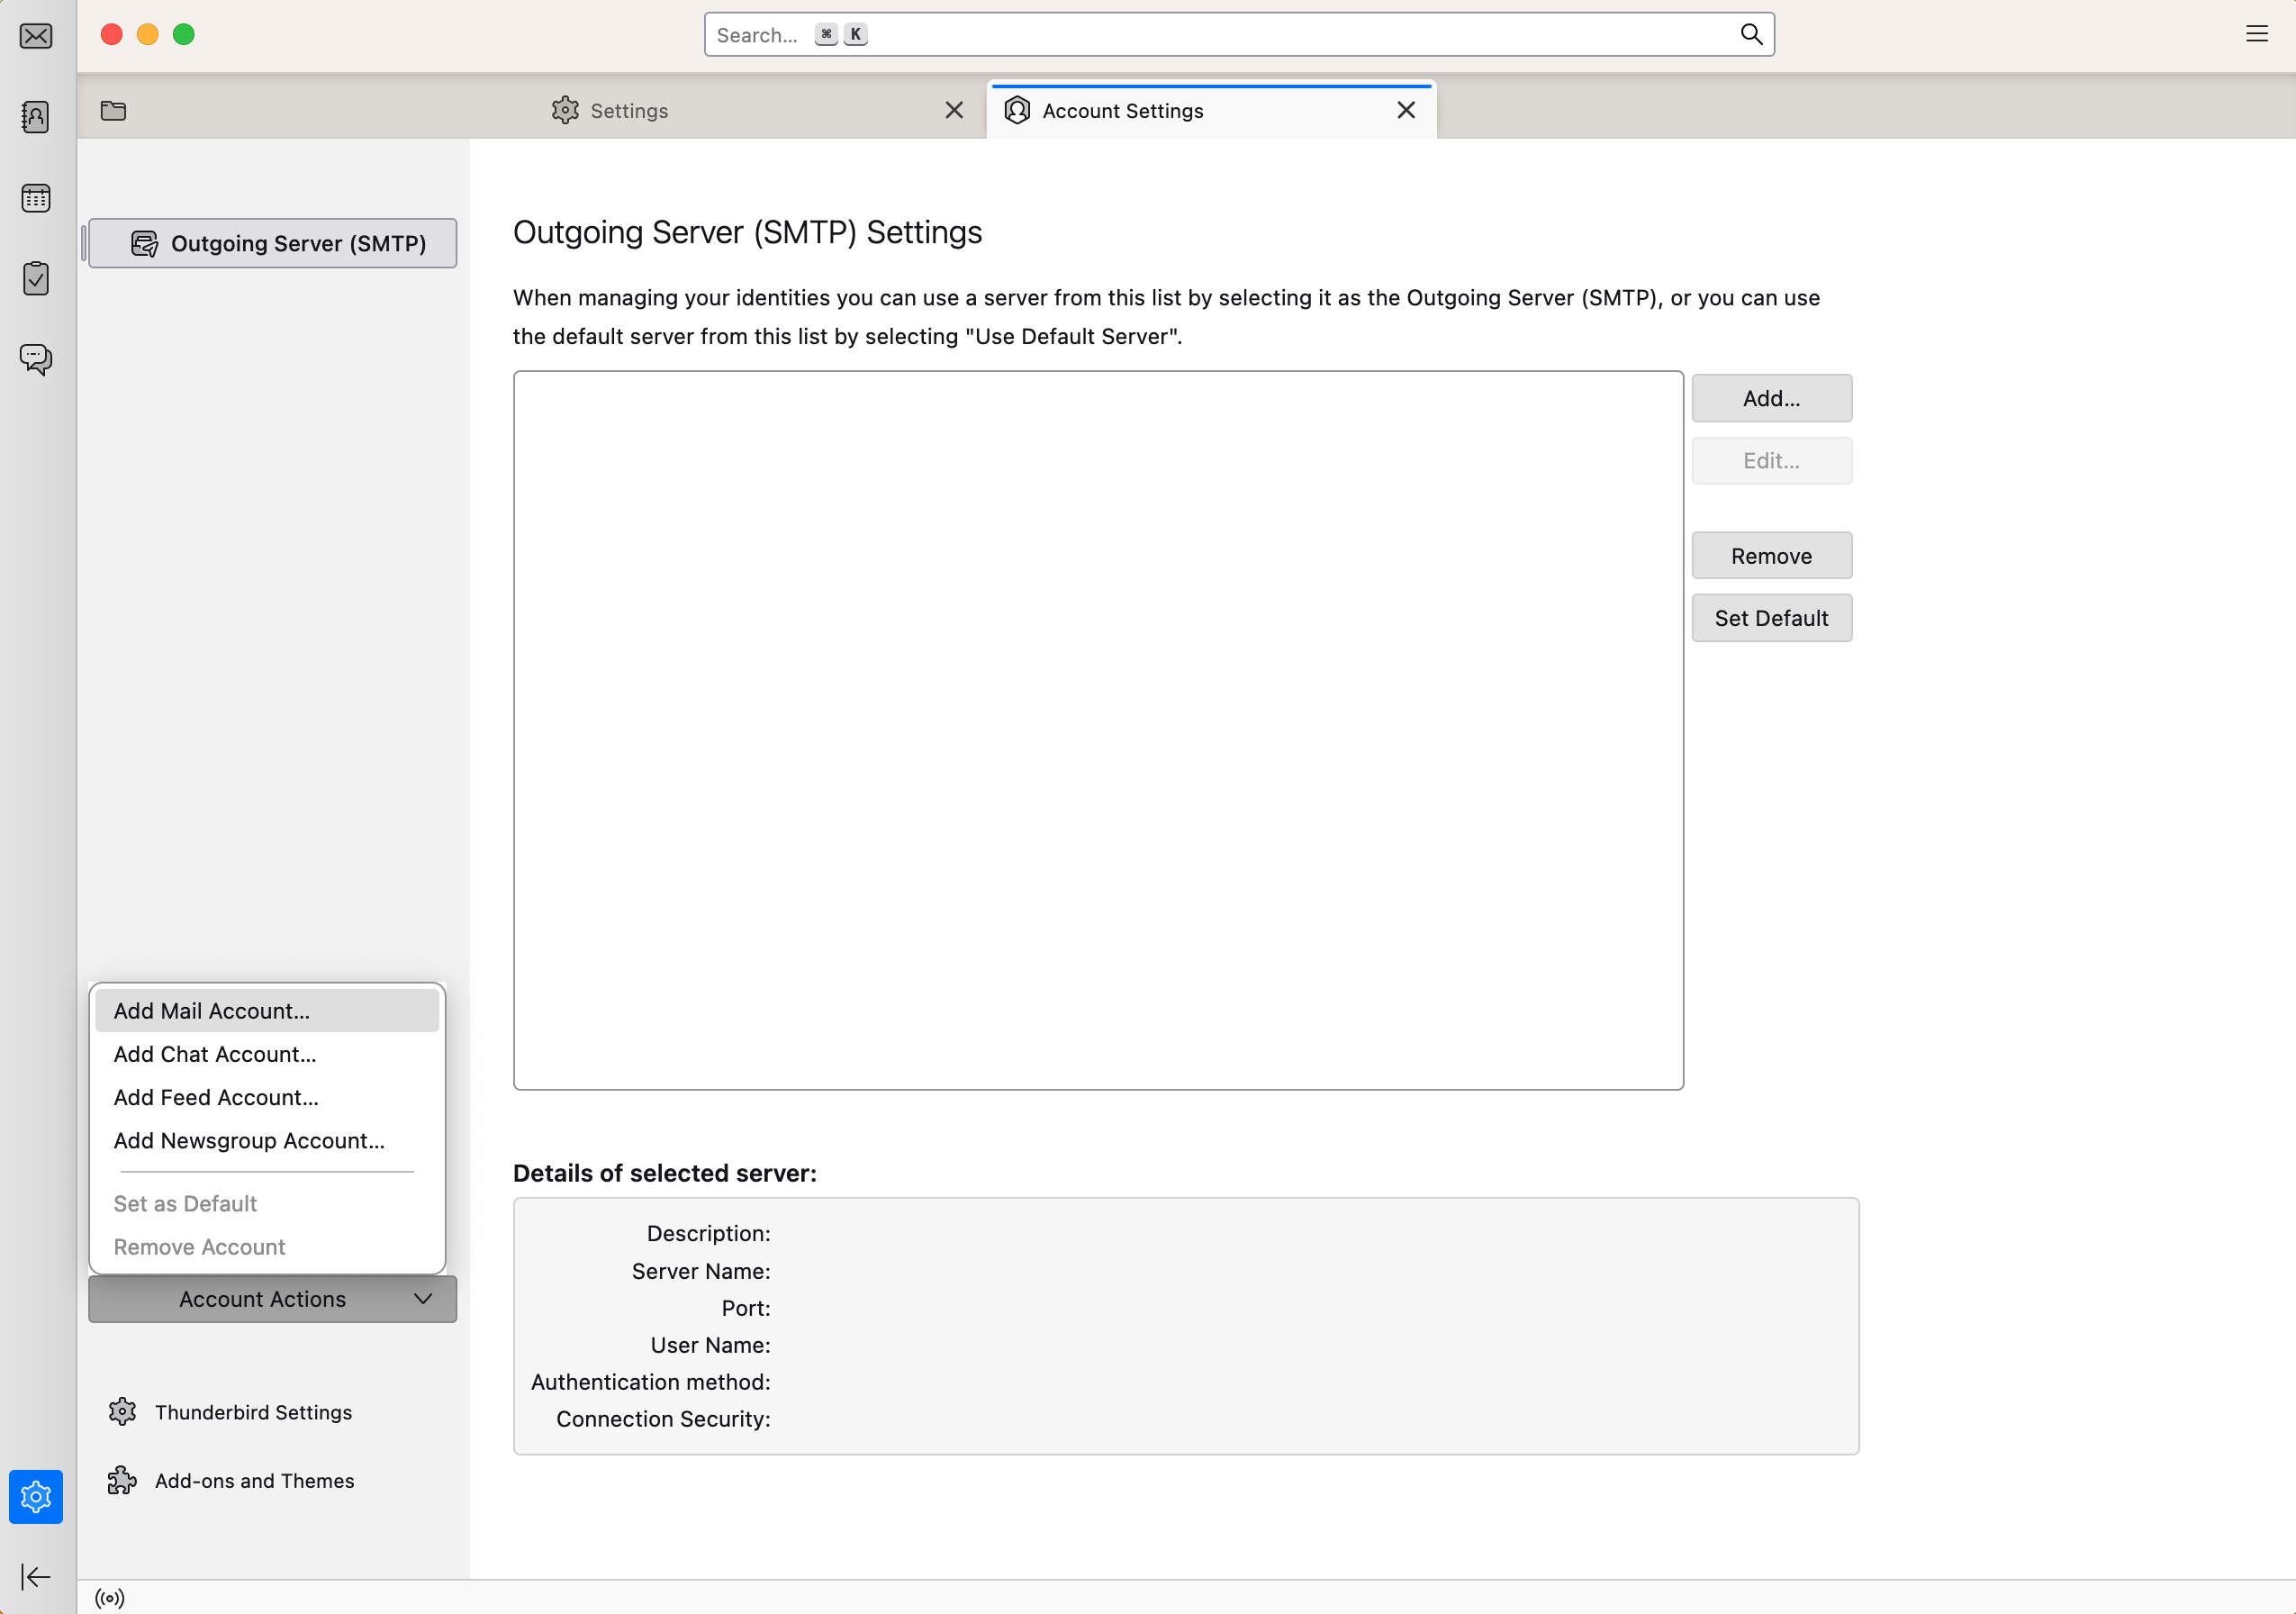
Open Thunderbird. Navigate to the settings menu by clicking on the gear icon on the bottom-left side of the window.
-
Select Add Mail Account under the Account Actions selection.
-
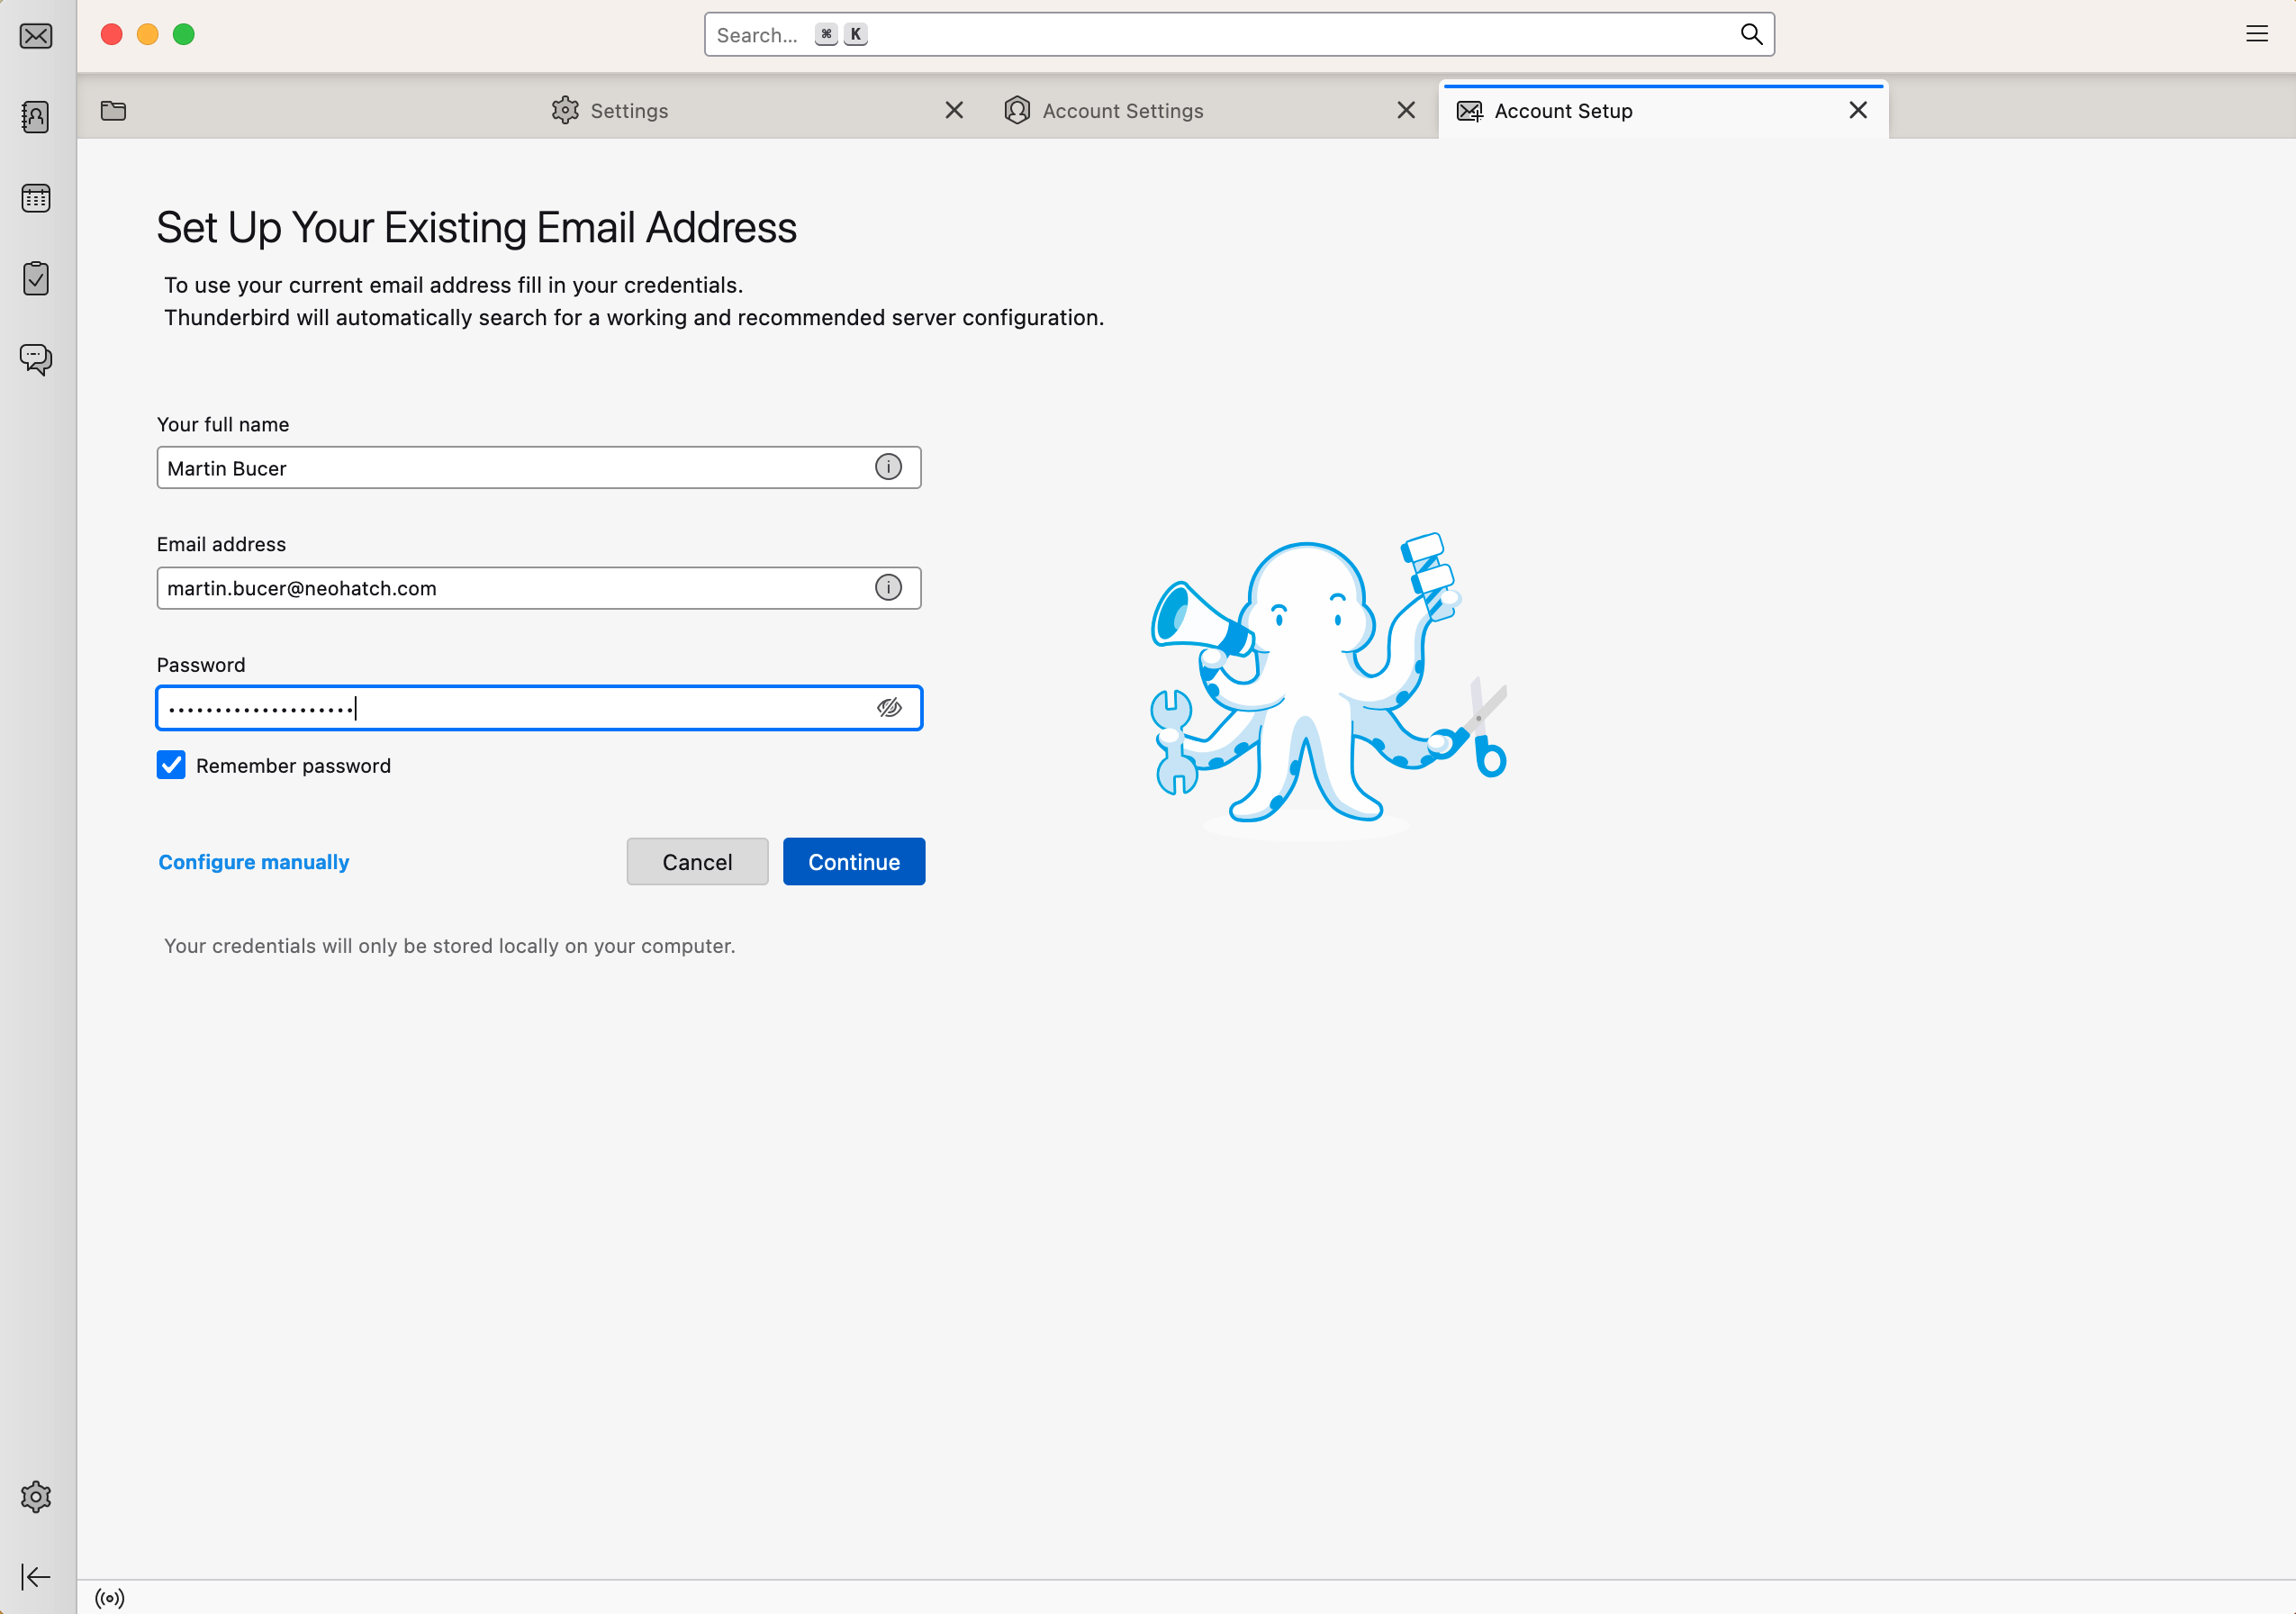
Enter your full name, neohatch email address, and neohatch password. Click Continue. The server settings will automatically configure and populate.
-
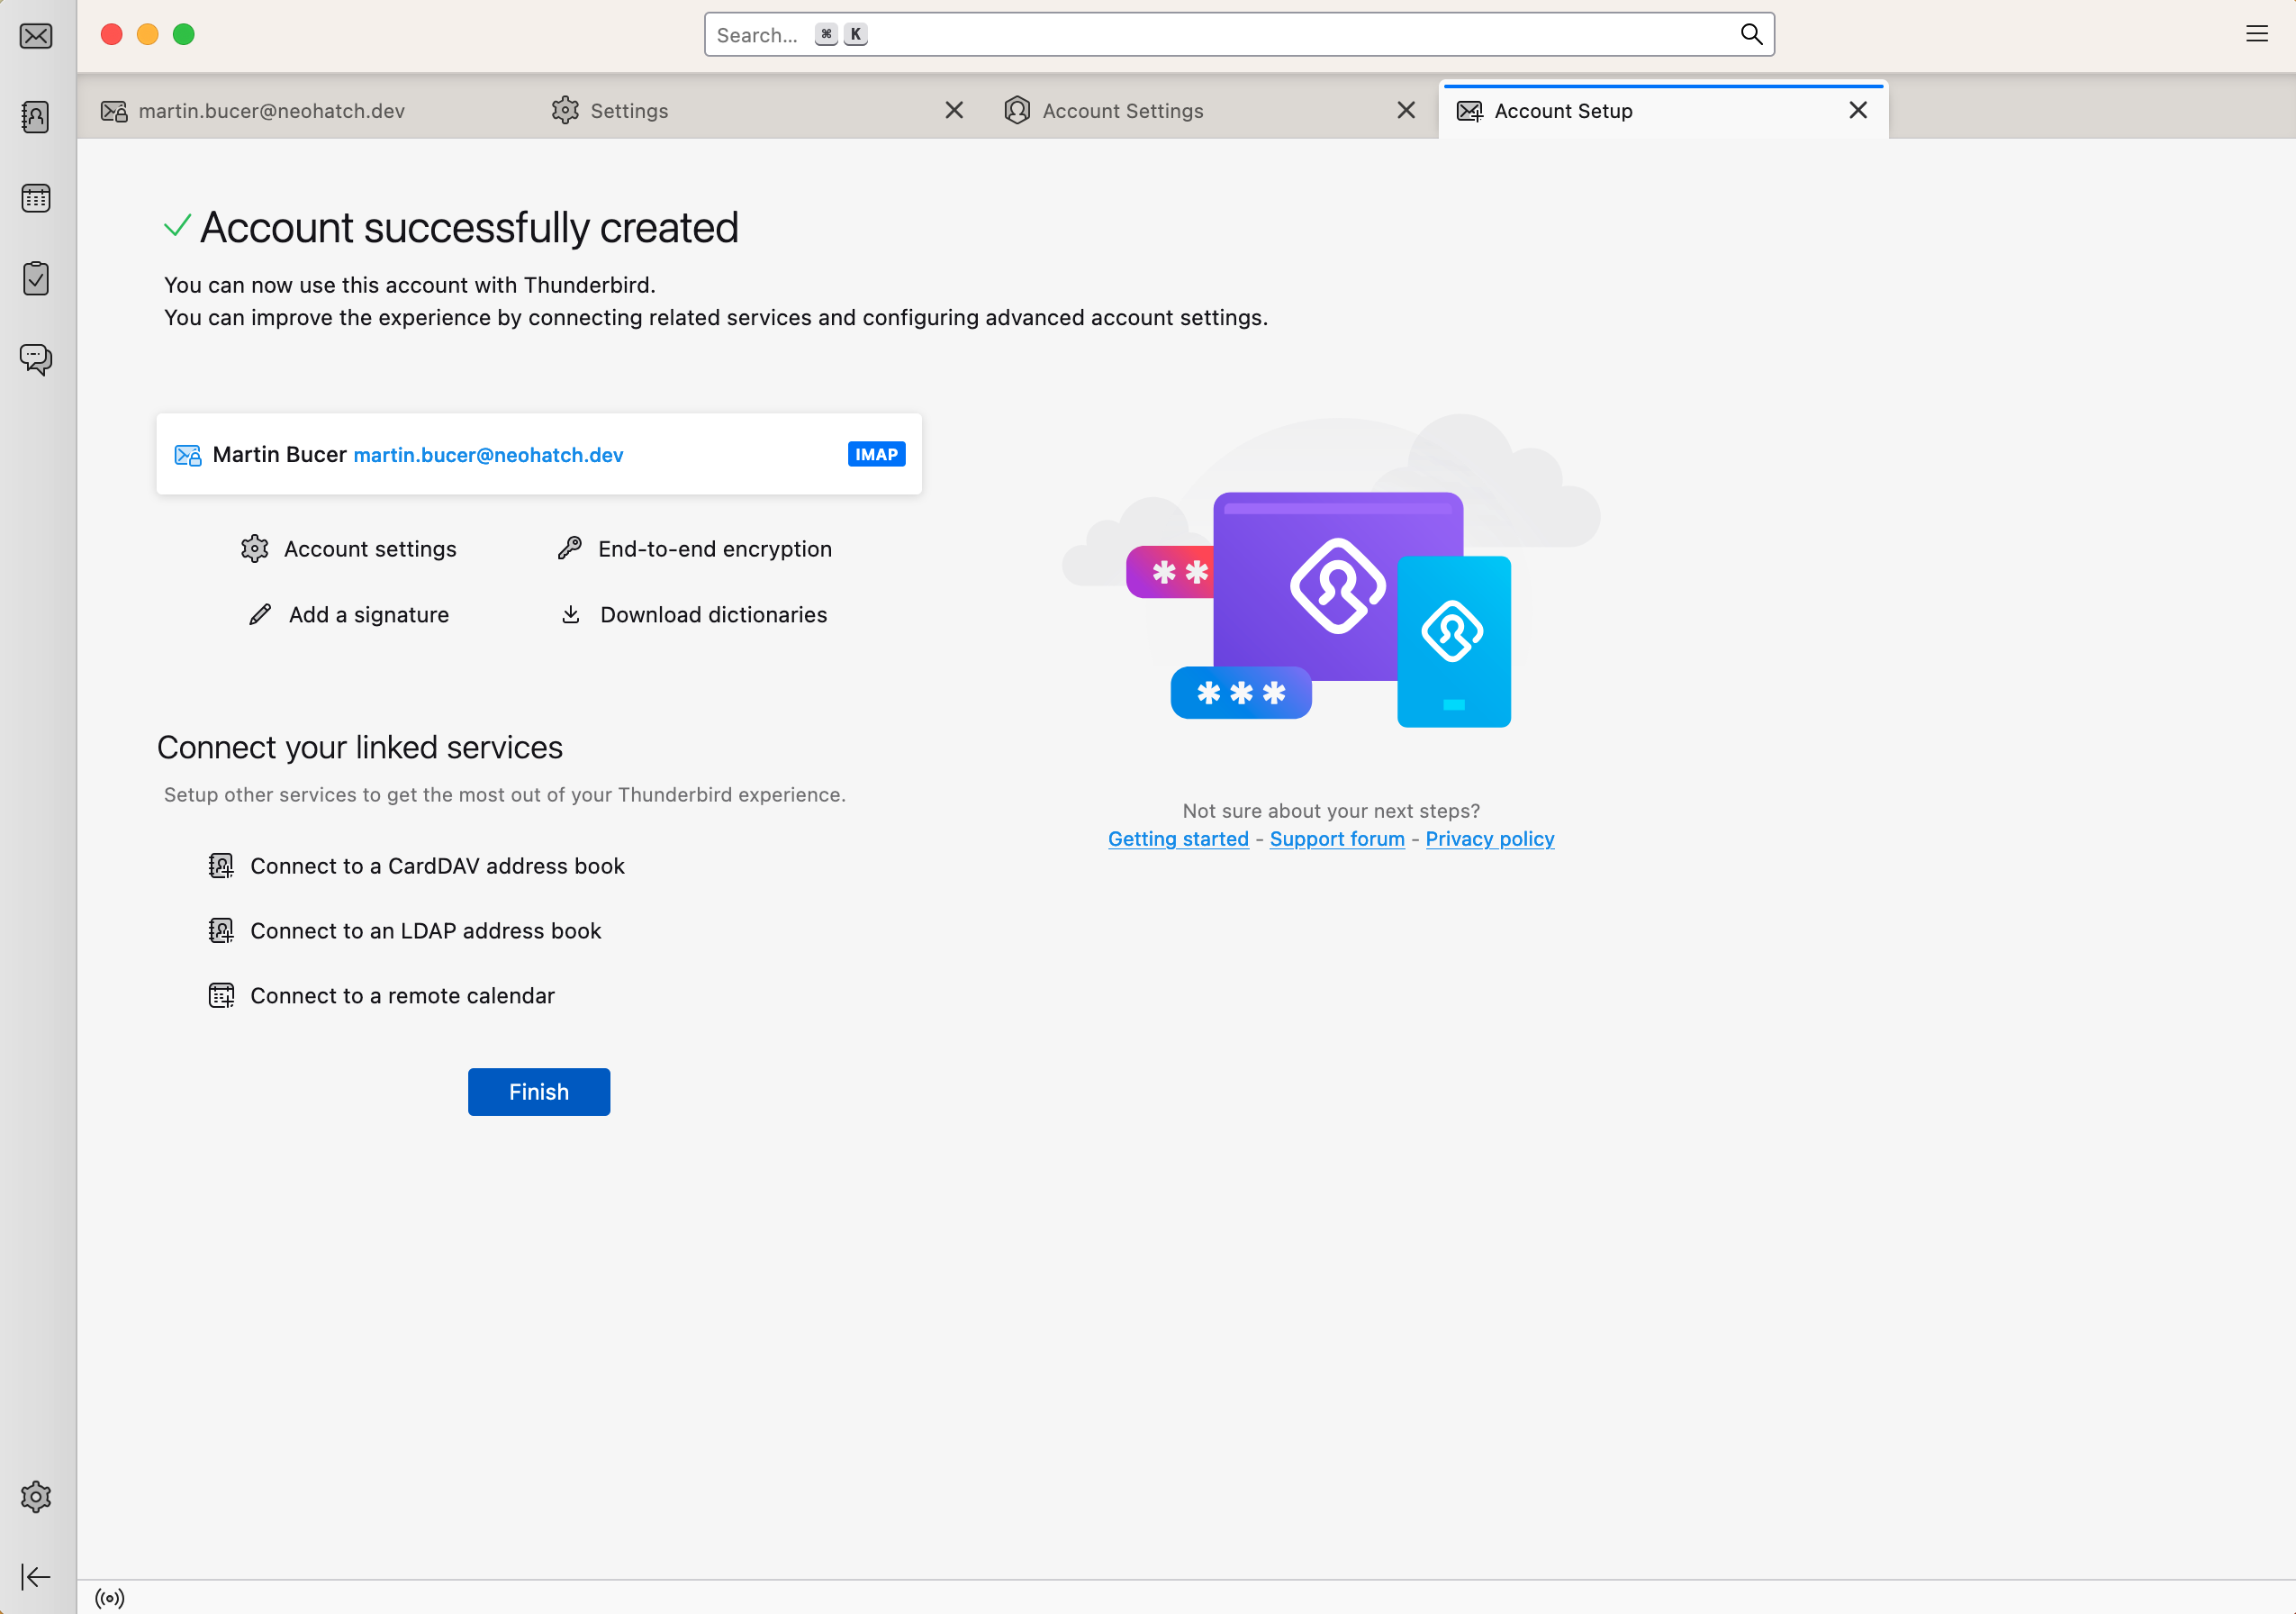
Once you enter your information and Thunderbird auto-configures the mail server information, you will see a success message. Click Finish.
-
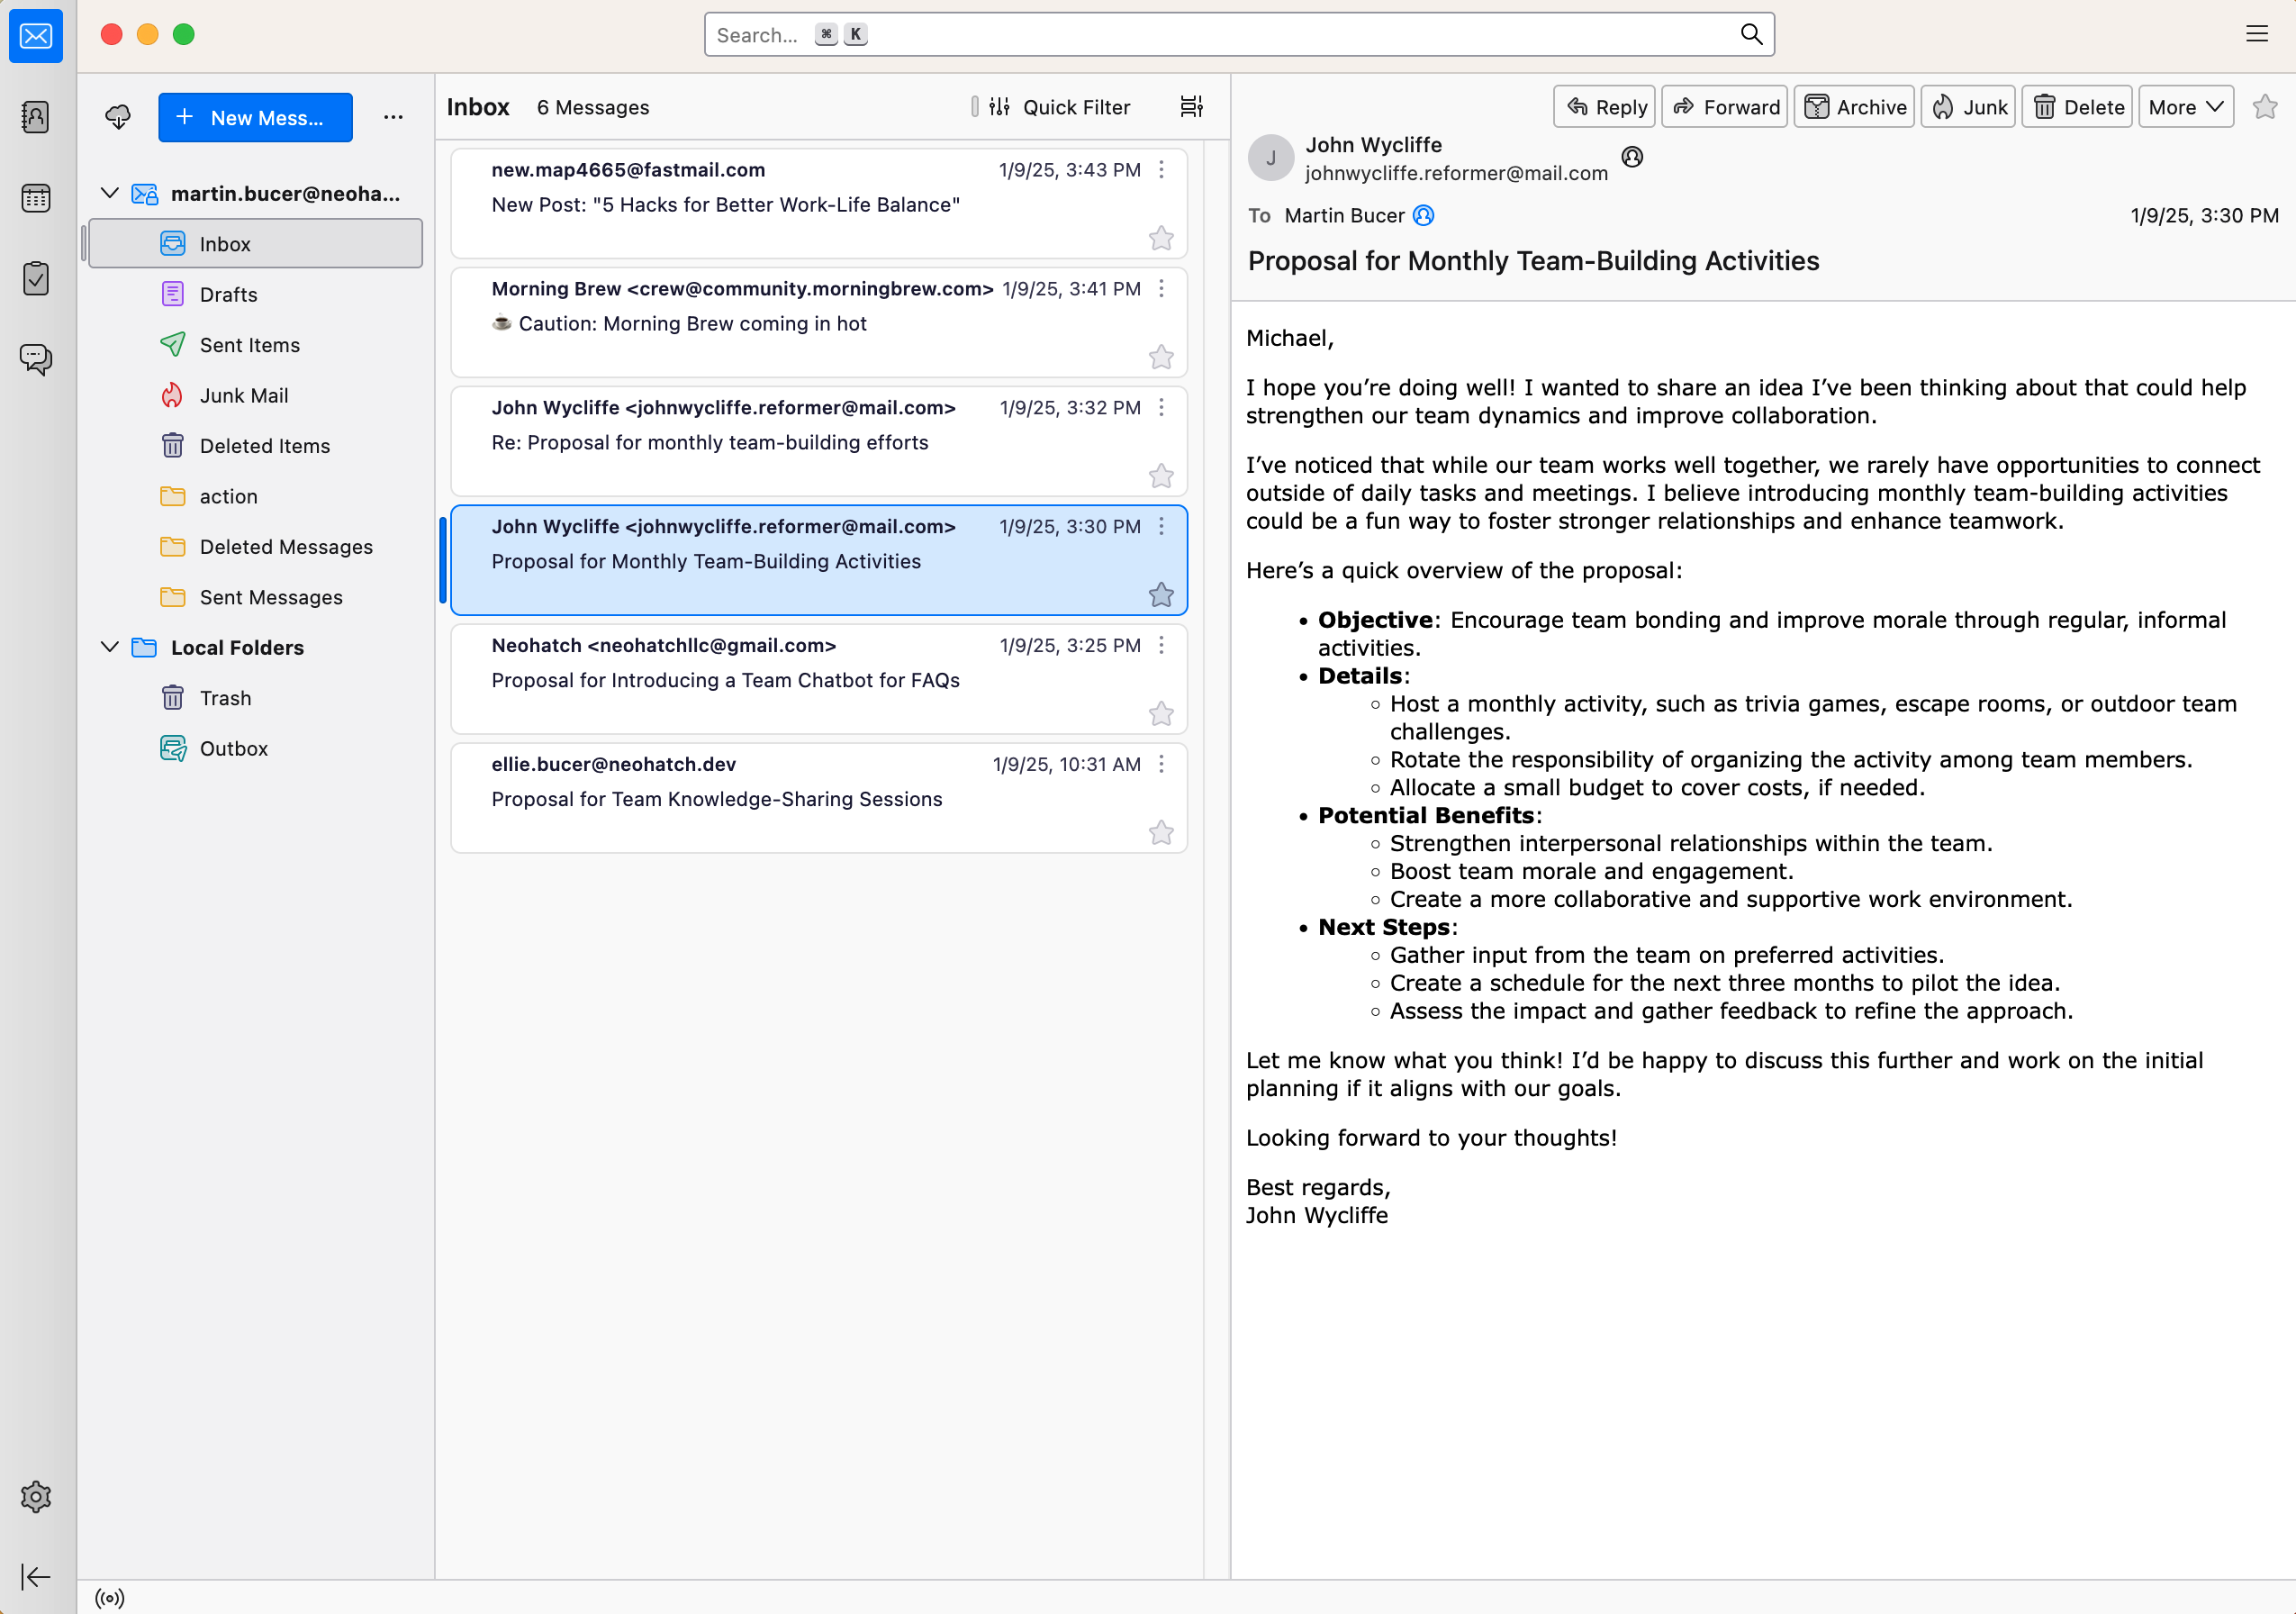
Your mail account will now be set up. You are now able to send and receive emails, sort them, and more.
Windows 10/11
-
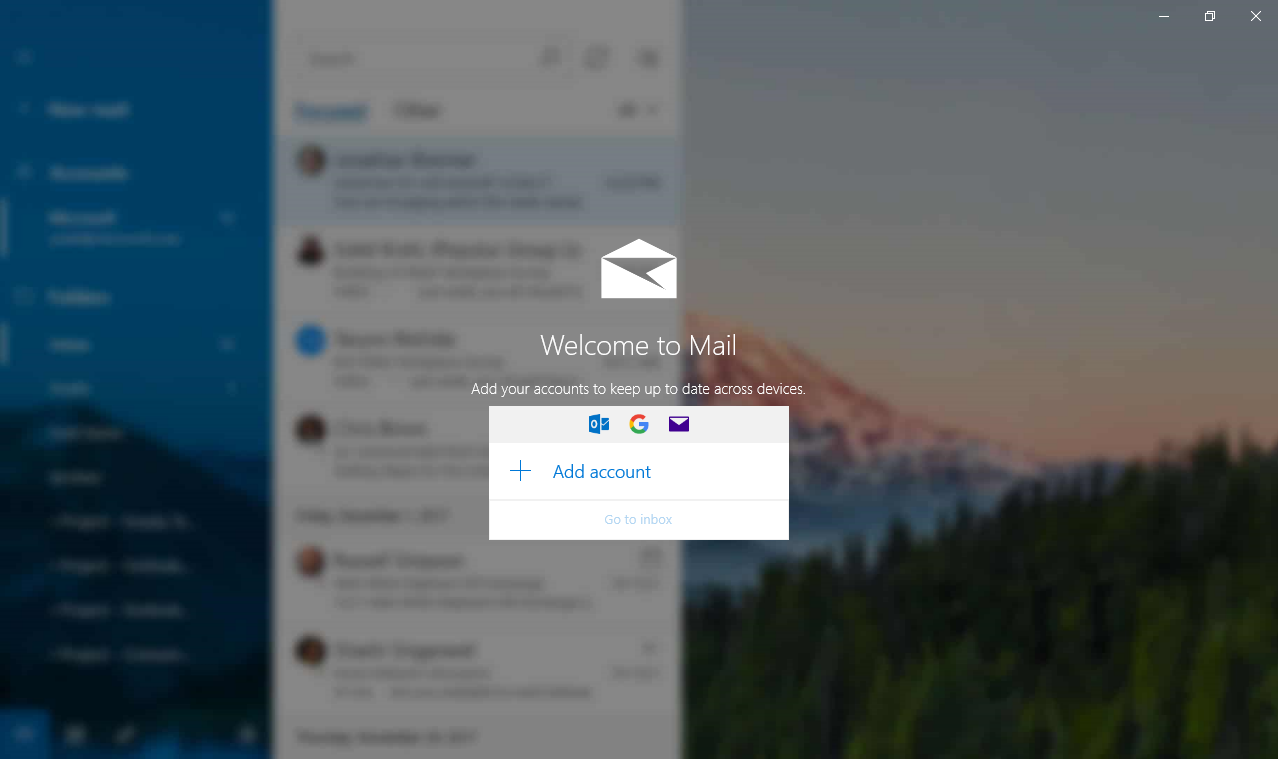
Open the mail app and select Add account.
-
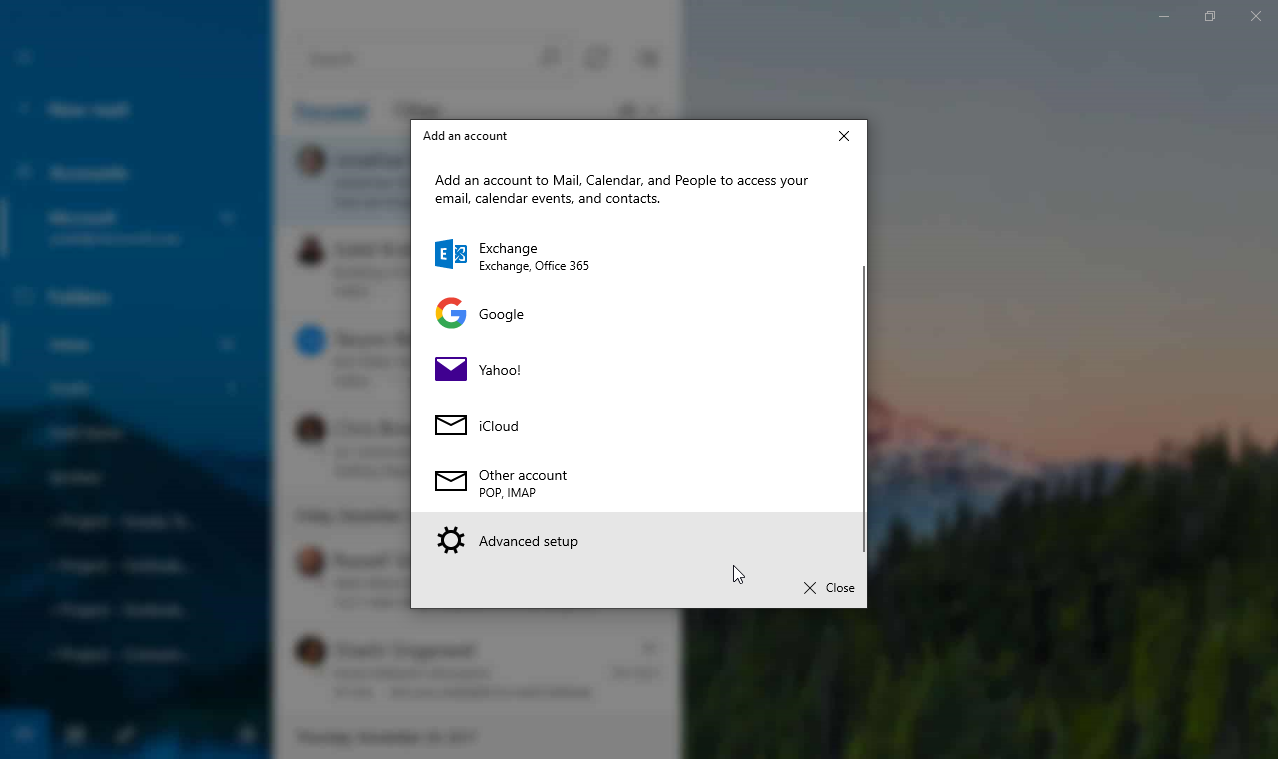
Select Advanced Setup.
-
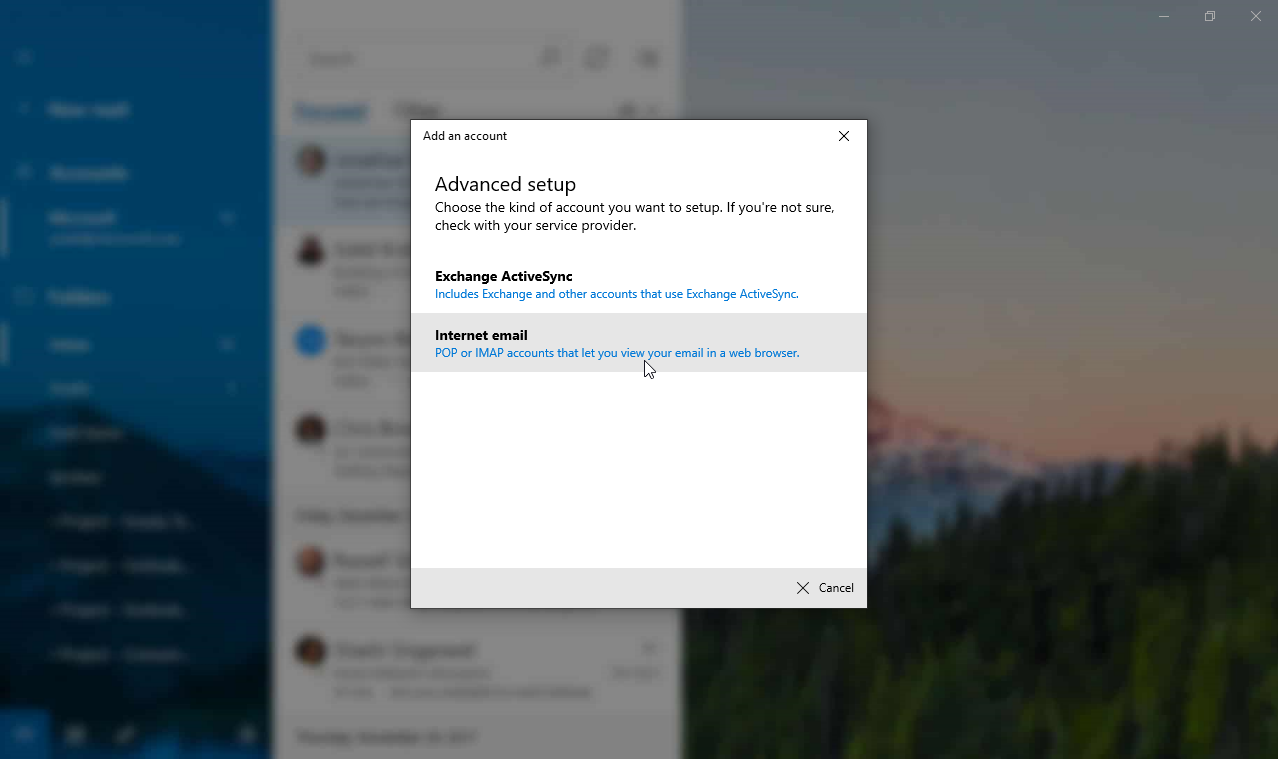
Select Internet email.
-
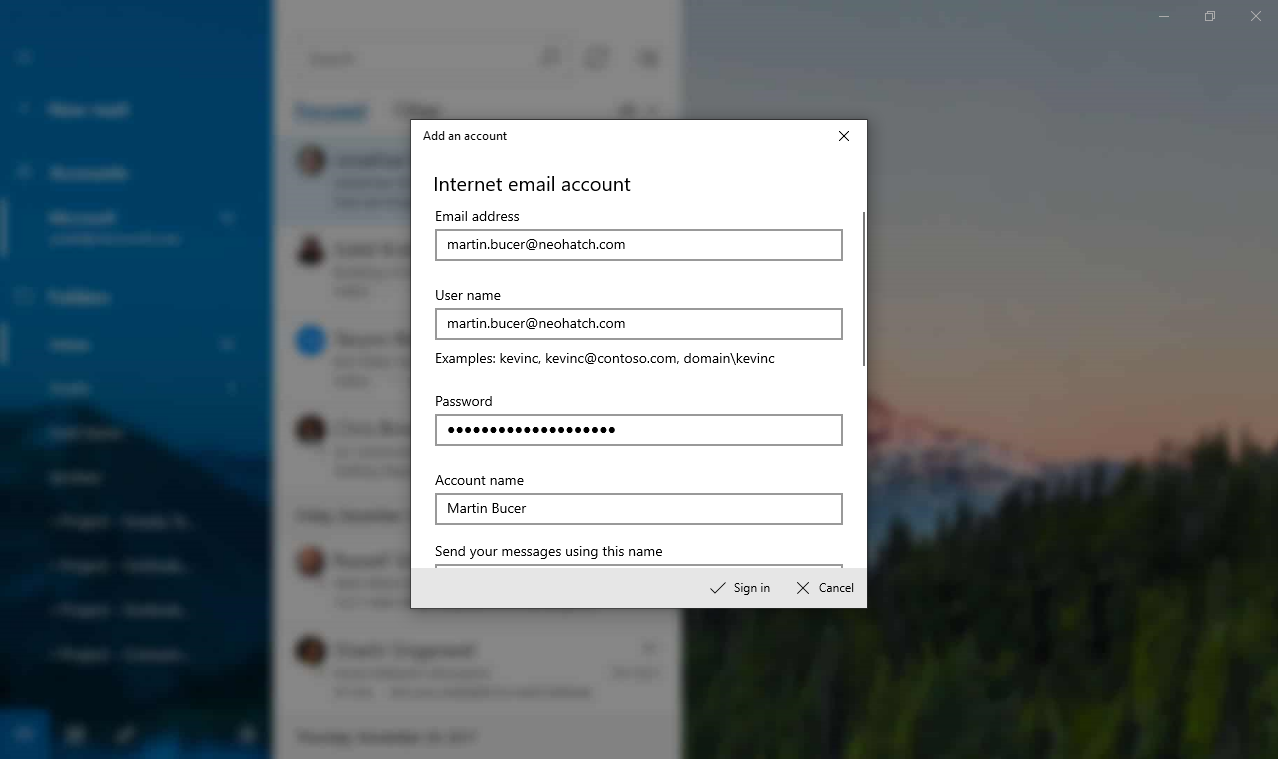
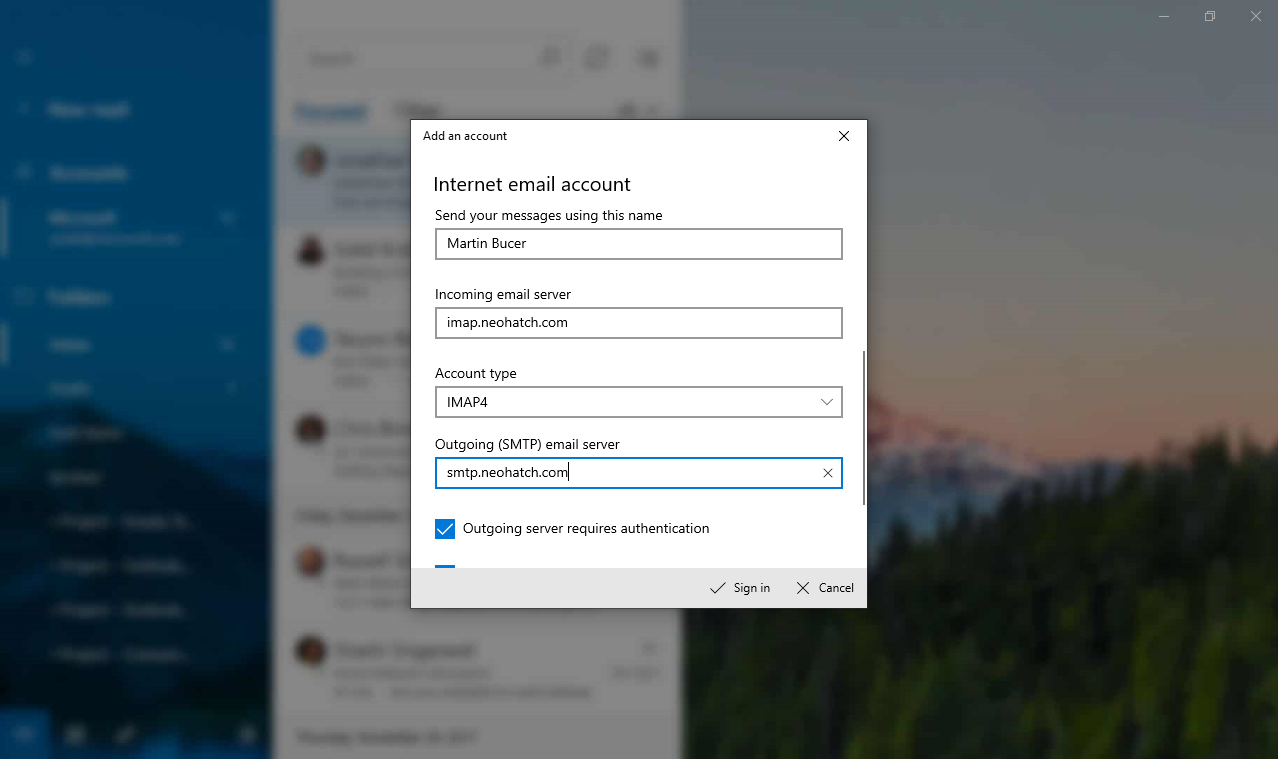
Enter your NeoHatch email information as seen in the examples below:
-
Click Sign in. Your email account will now be set up for sending and receiving emails. Your inboxes will populate with any pre-existing emails.