Managing and Syncing Files
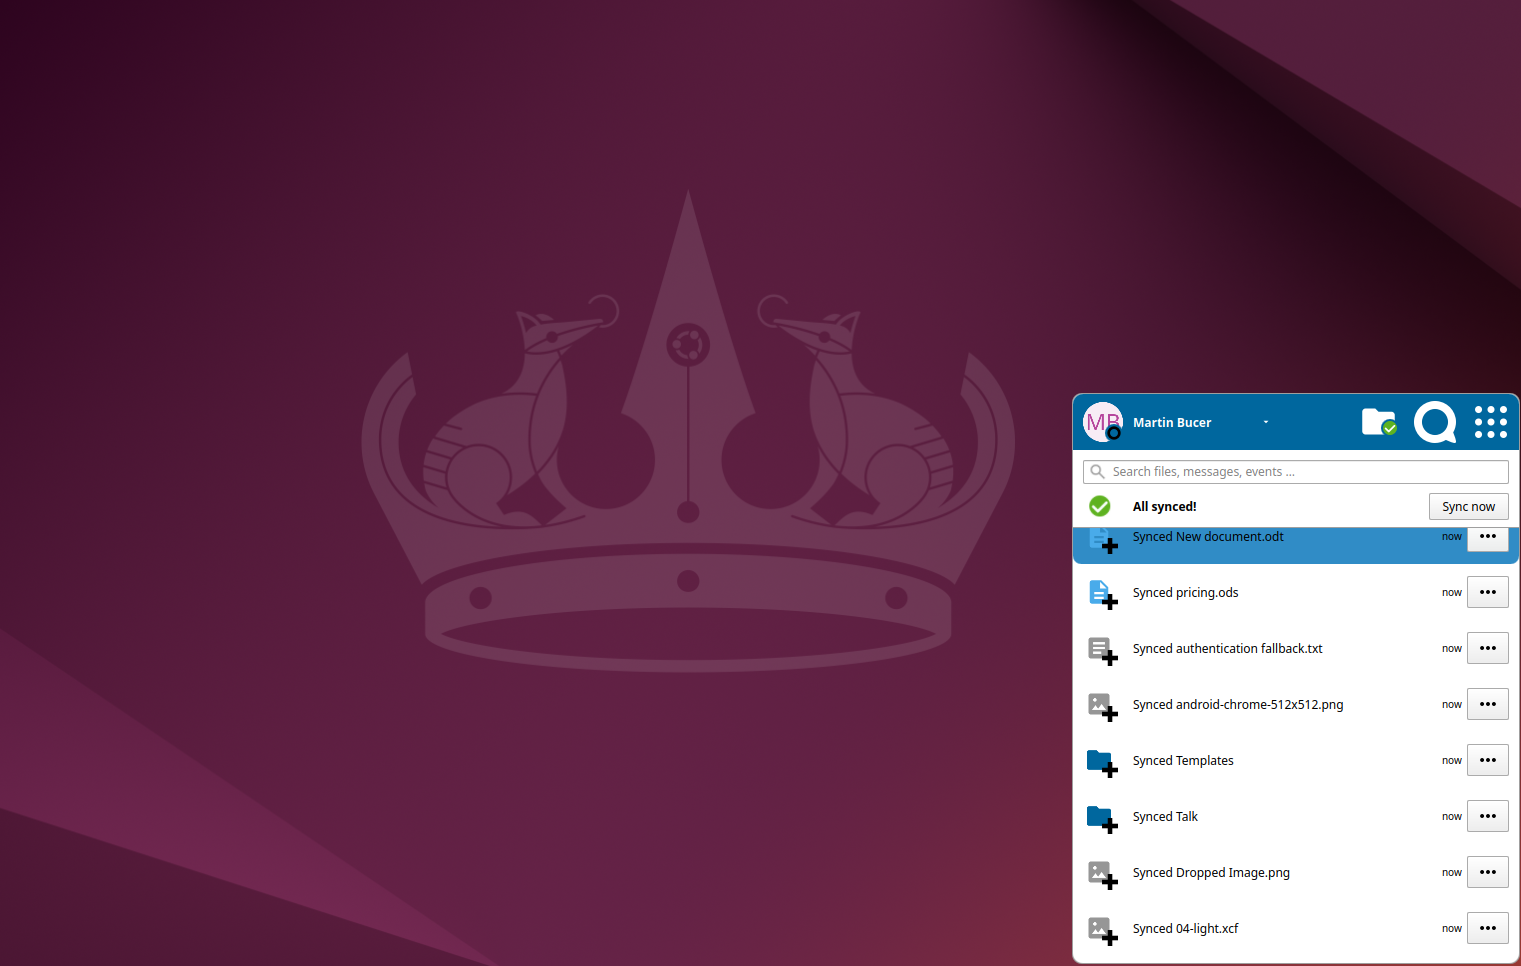
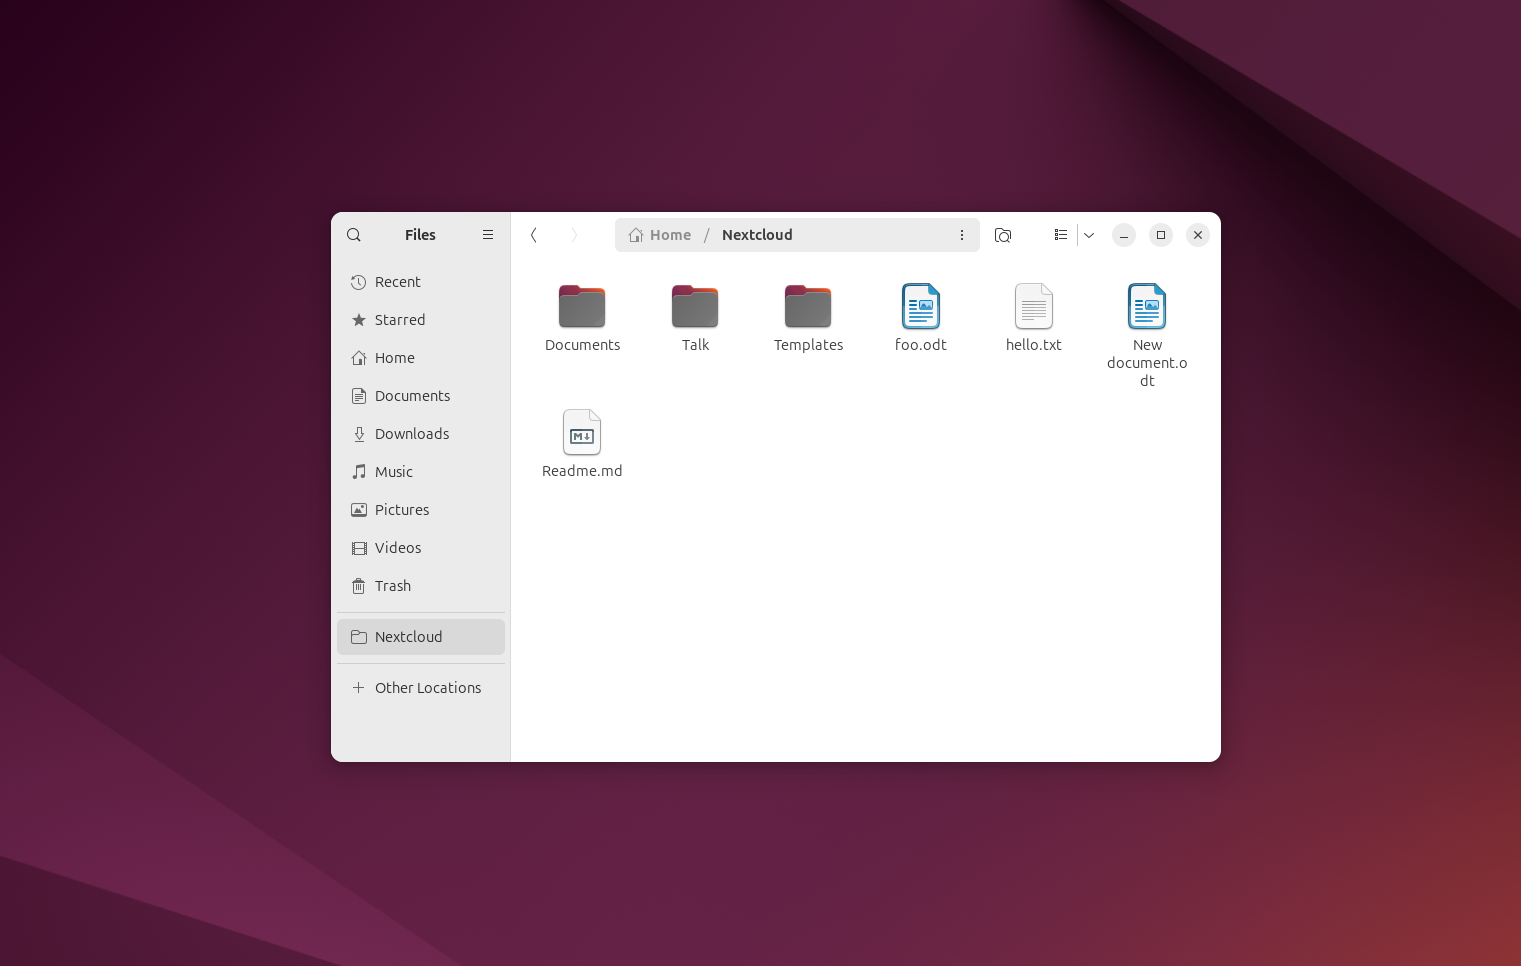
The Nextcloud Desktop Sync Client allows you to link up with your Nextcloud Server easily. By creating folders on your computer, you can seamlessly keep their contents synchronized with your Nextcloud server. Just drop a file into the folder, and the Nextcloud desktop client takes care of syncing. If you modify any files on one device, the changes automatically update on all your other devices through these desktop sync clients. This way, you'll always have access to your most up-to-date files, no matter where you are.
See instructions below:
MacOS Instructions
-
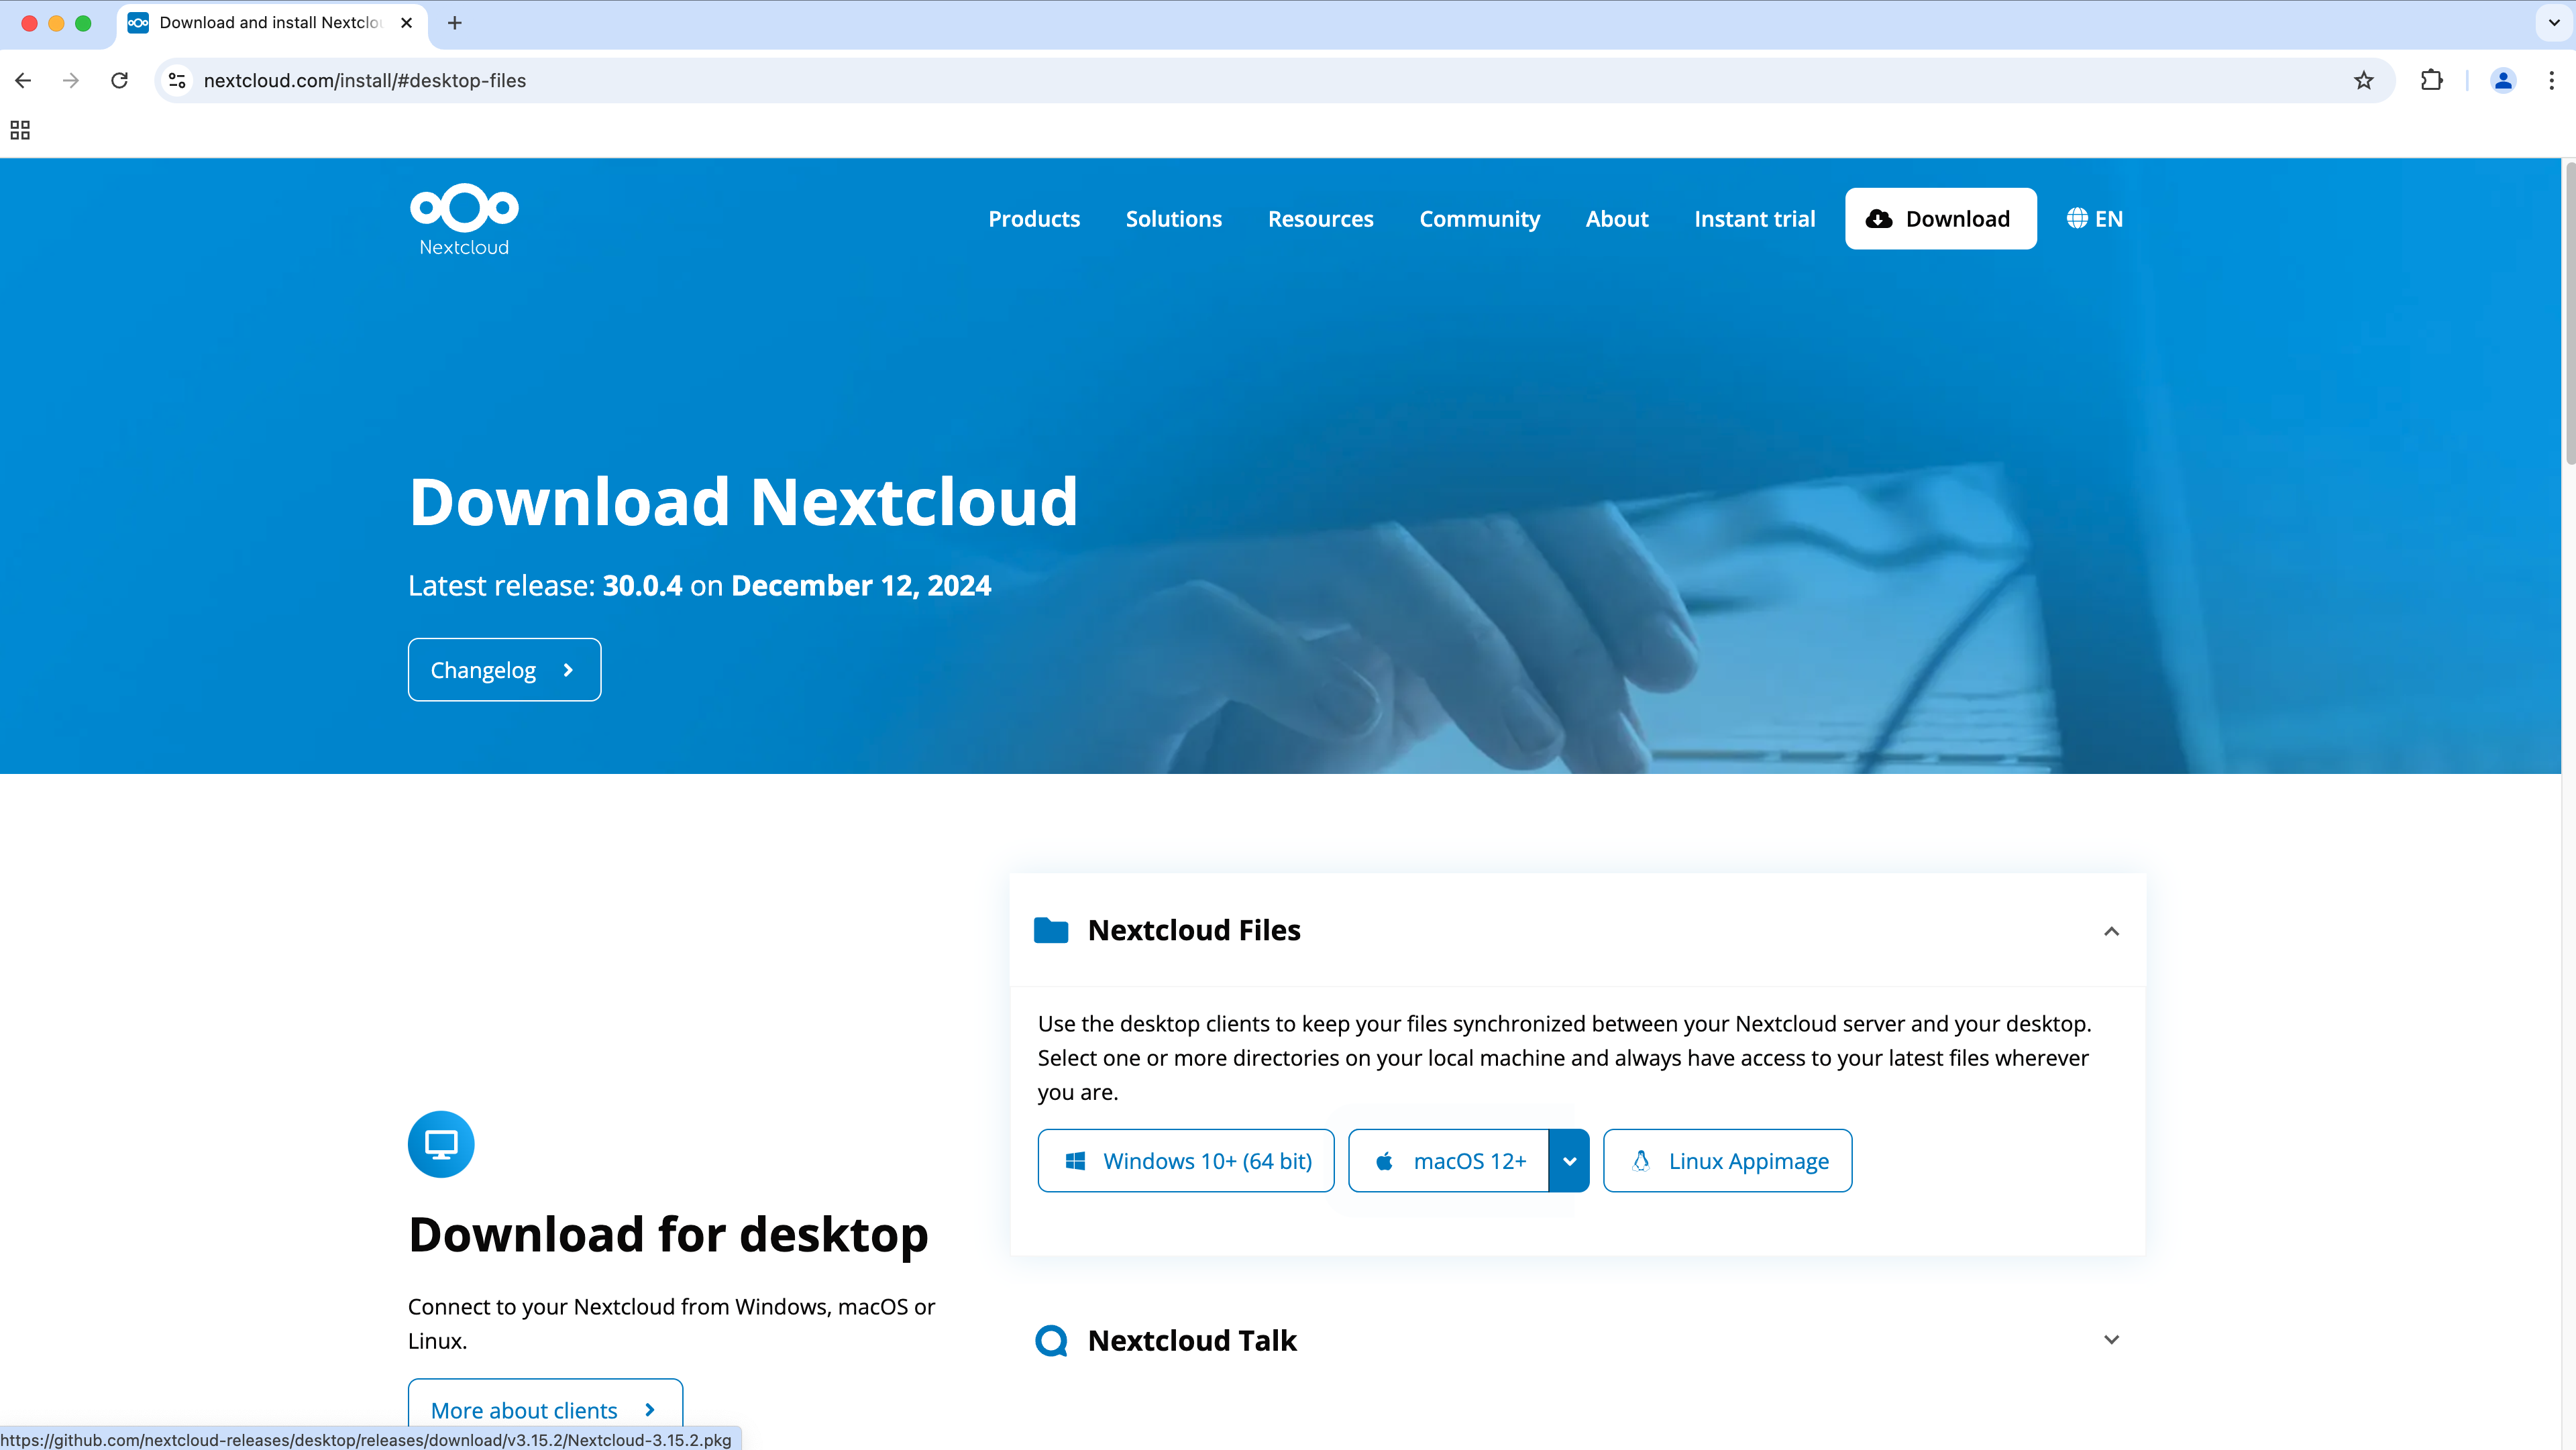
Go to nextcloud.com/install and click download. Select “Desktop & mobile apps”. Click on Nextcloud Files and select the installation according to your operating system.
-
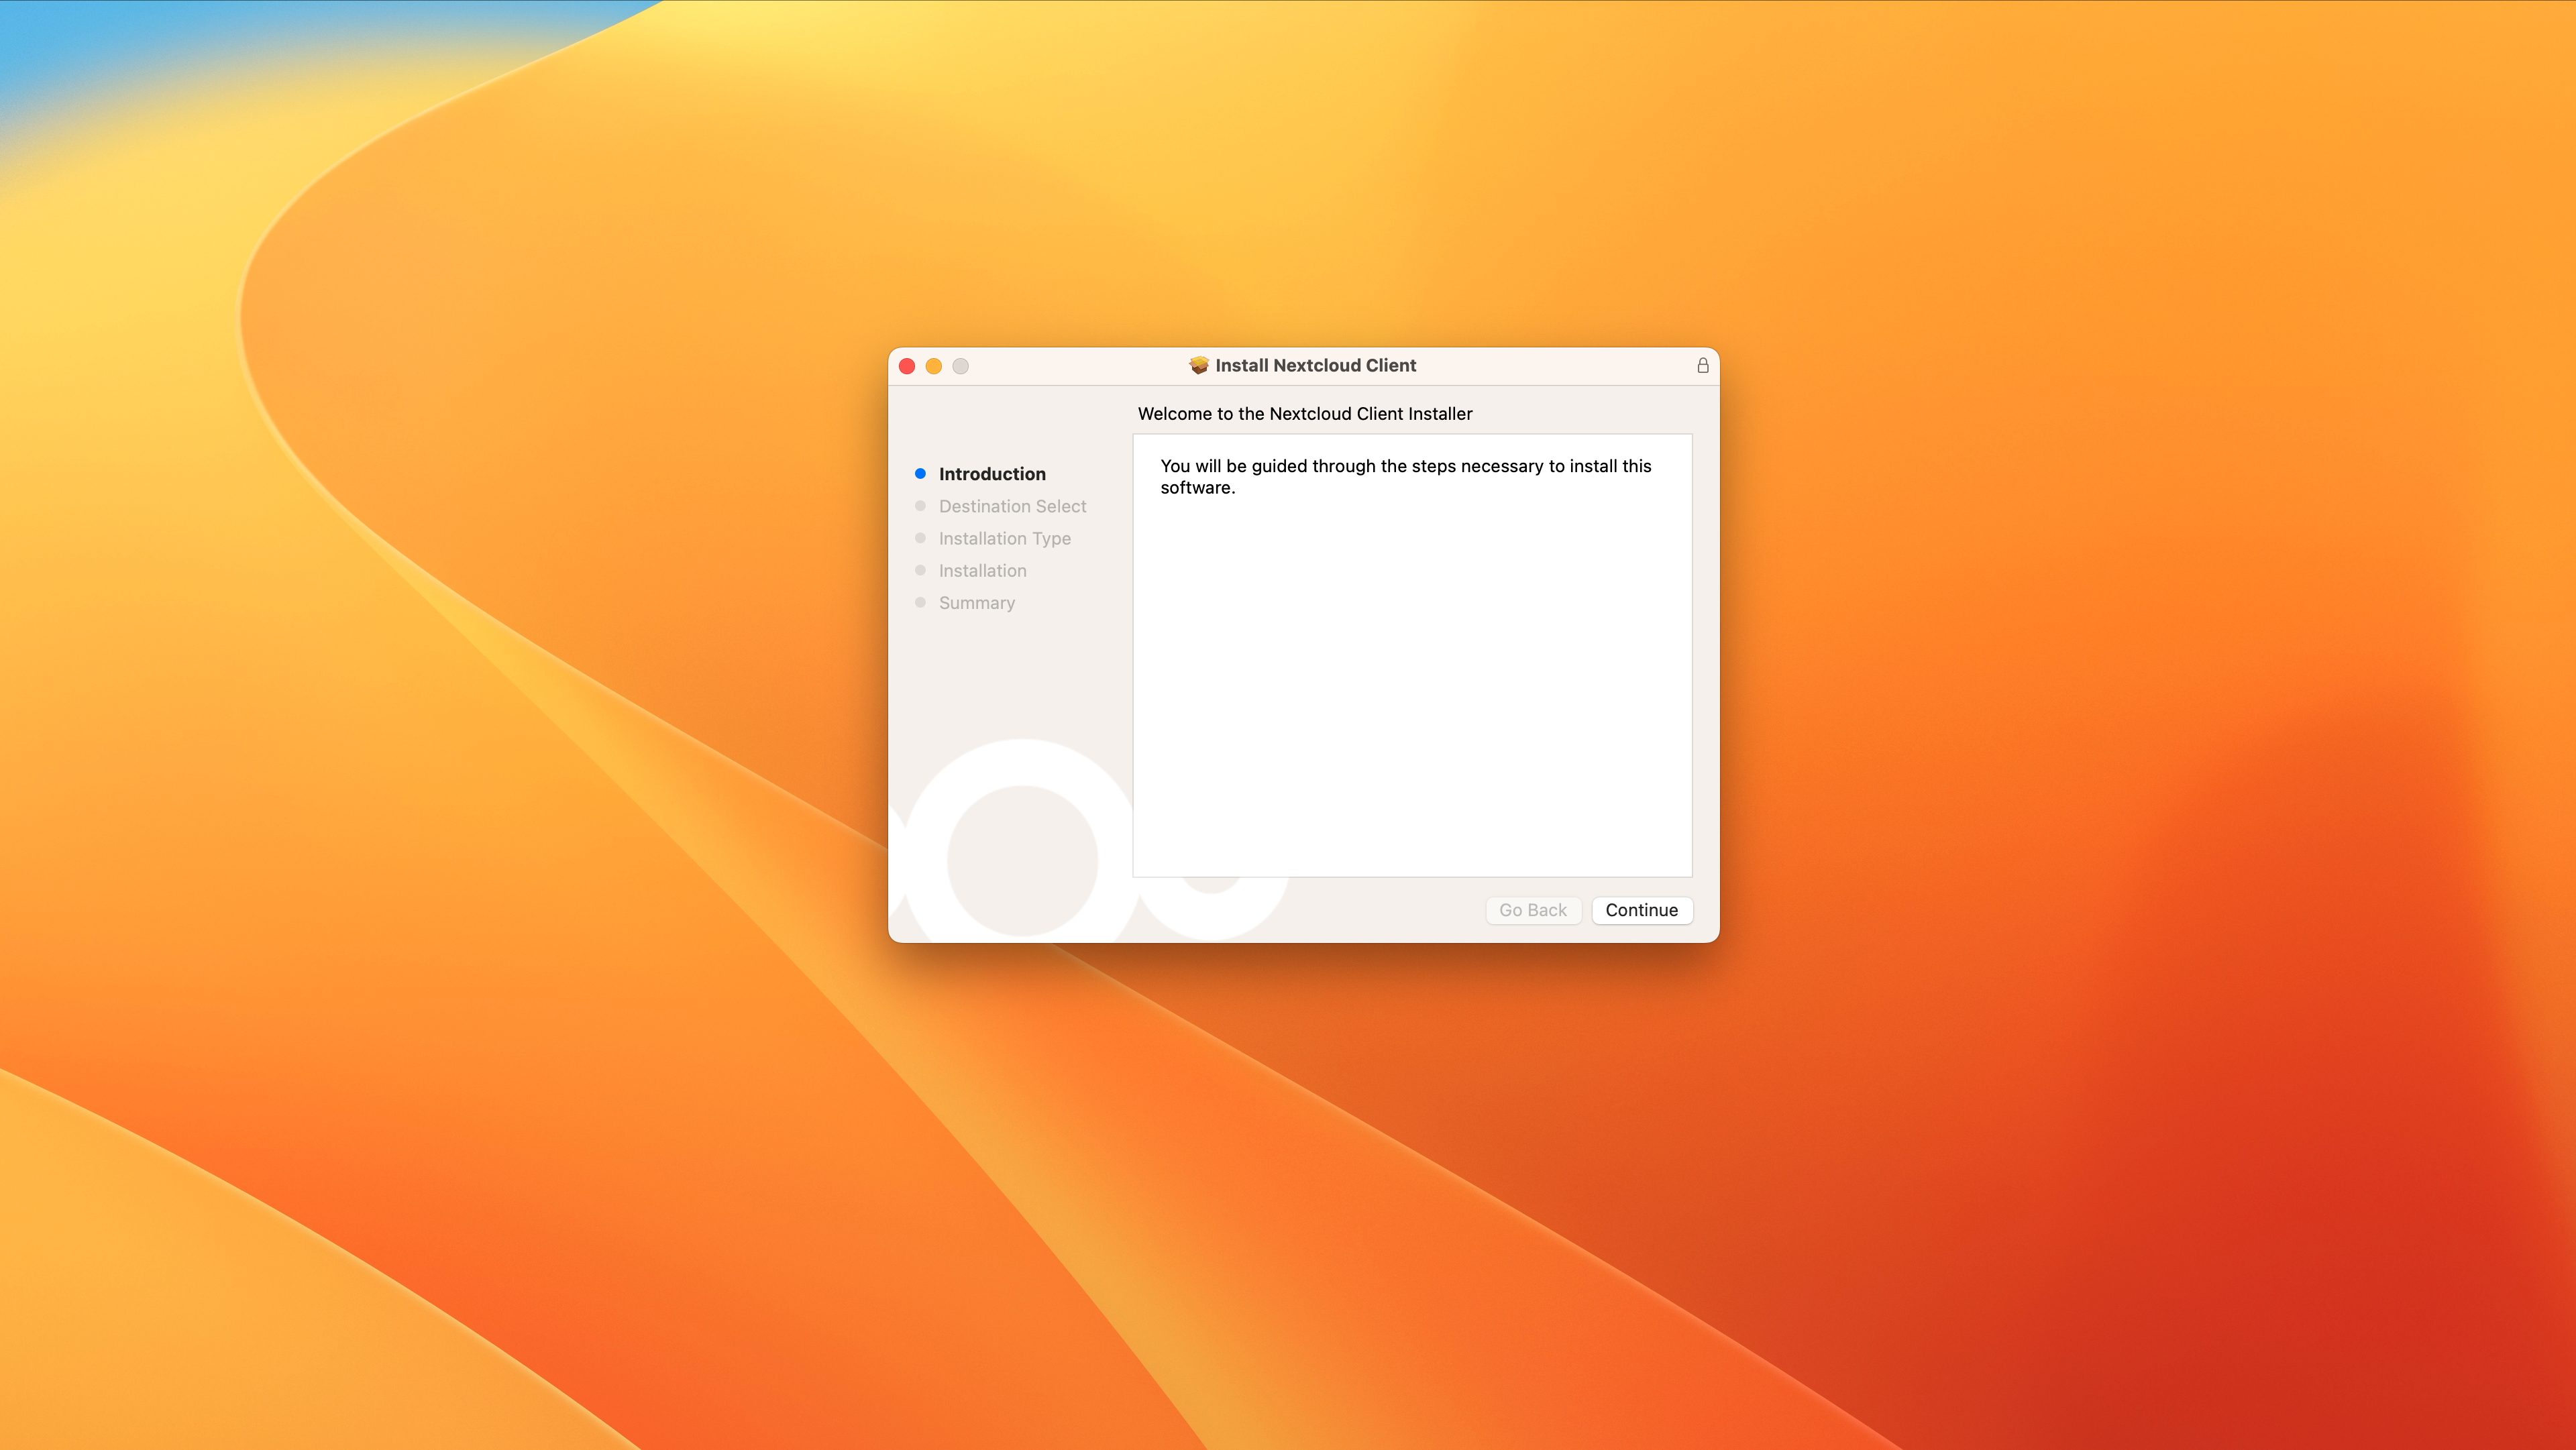
Once you have downloaded the installer, launch the installer and follow the instructions for installing the Nextcloud files client.
-
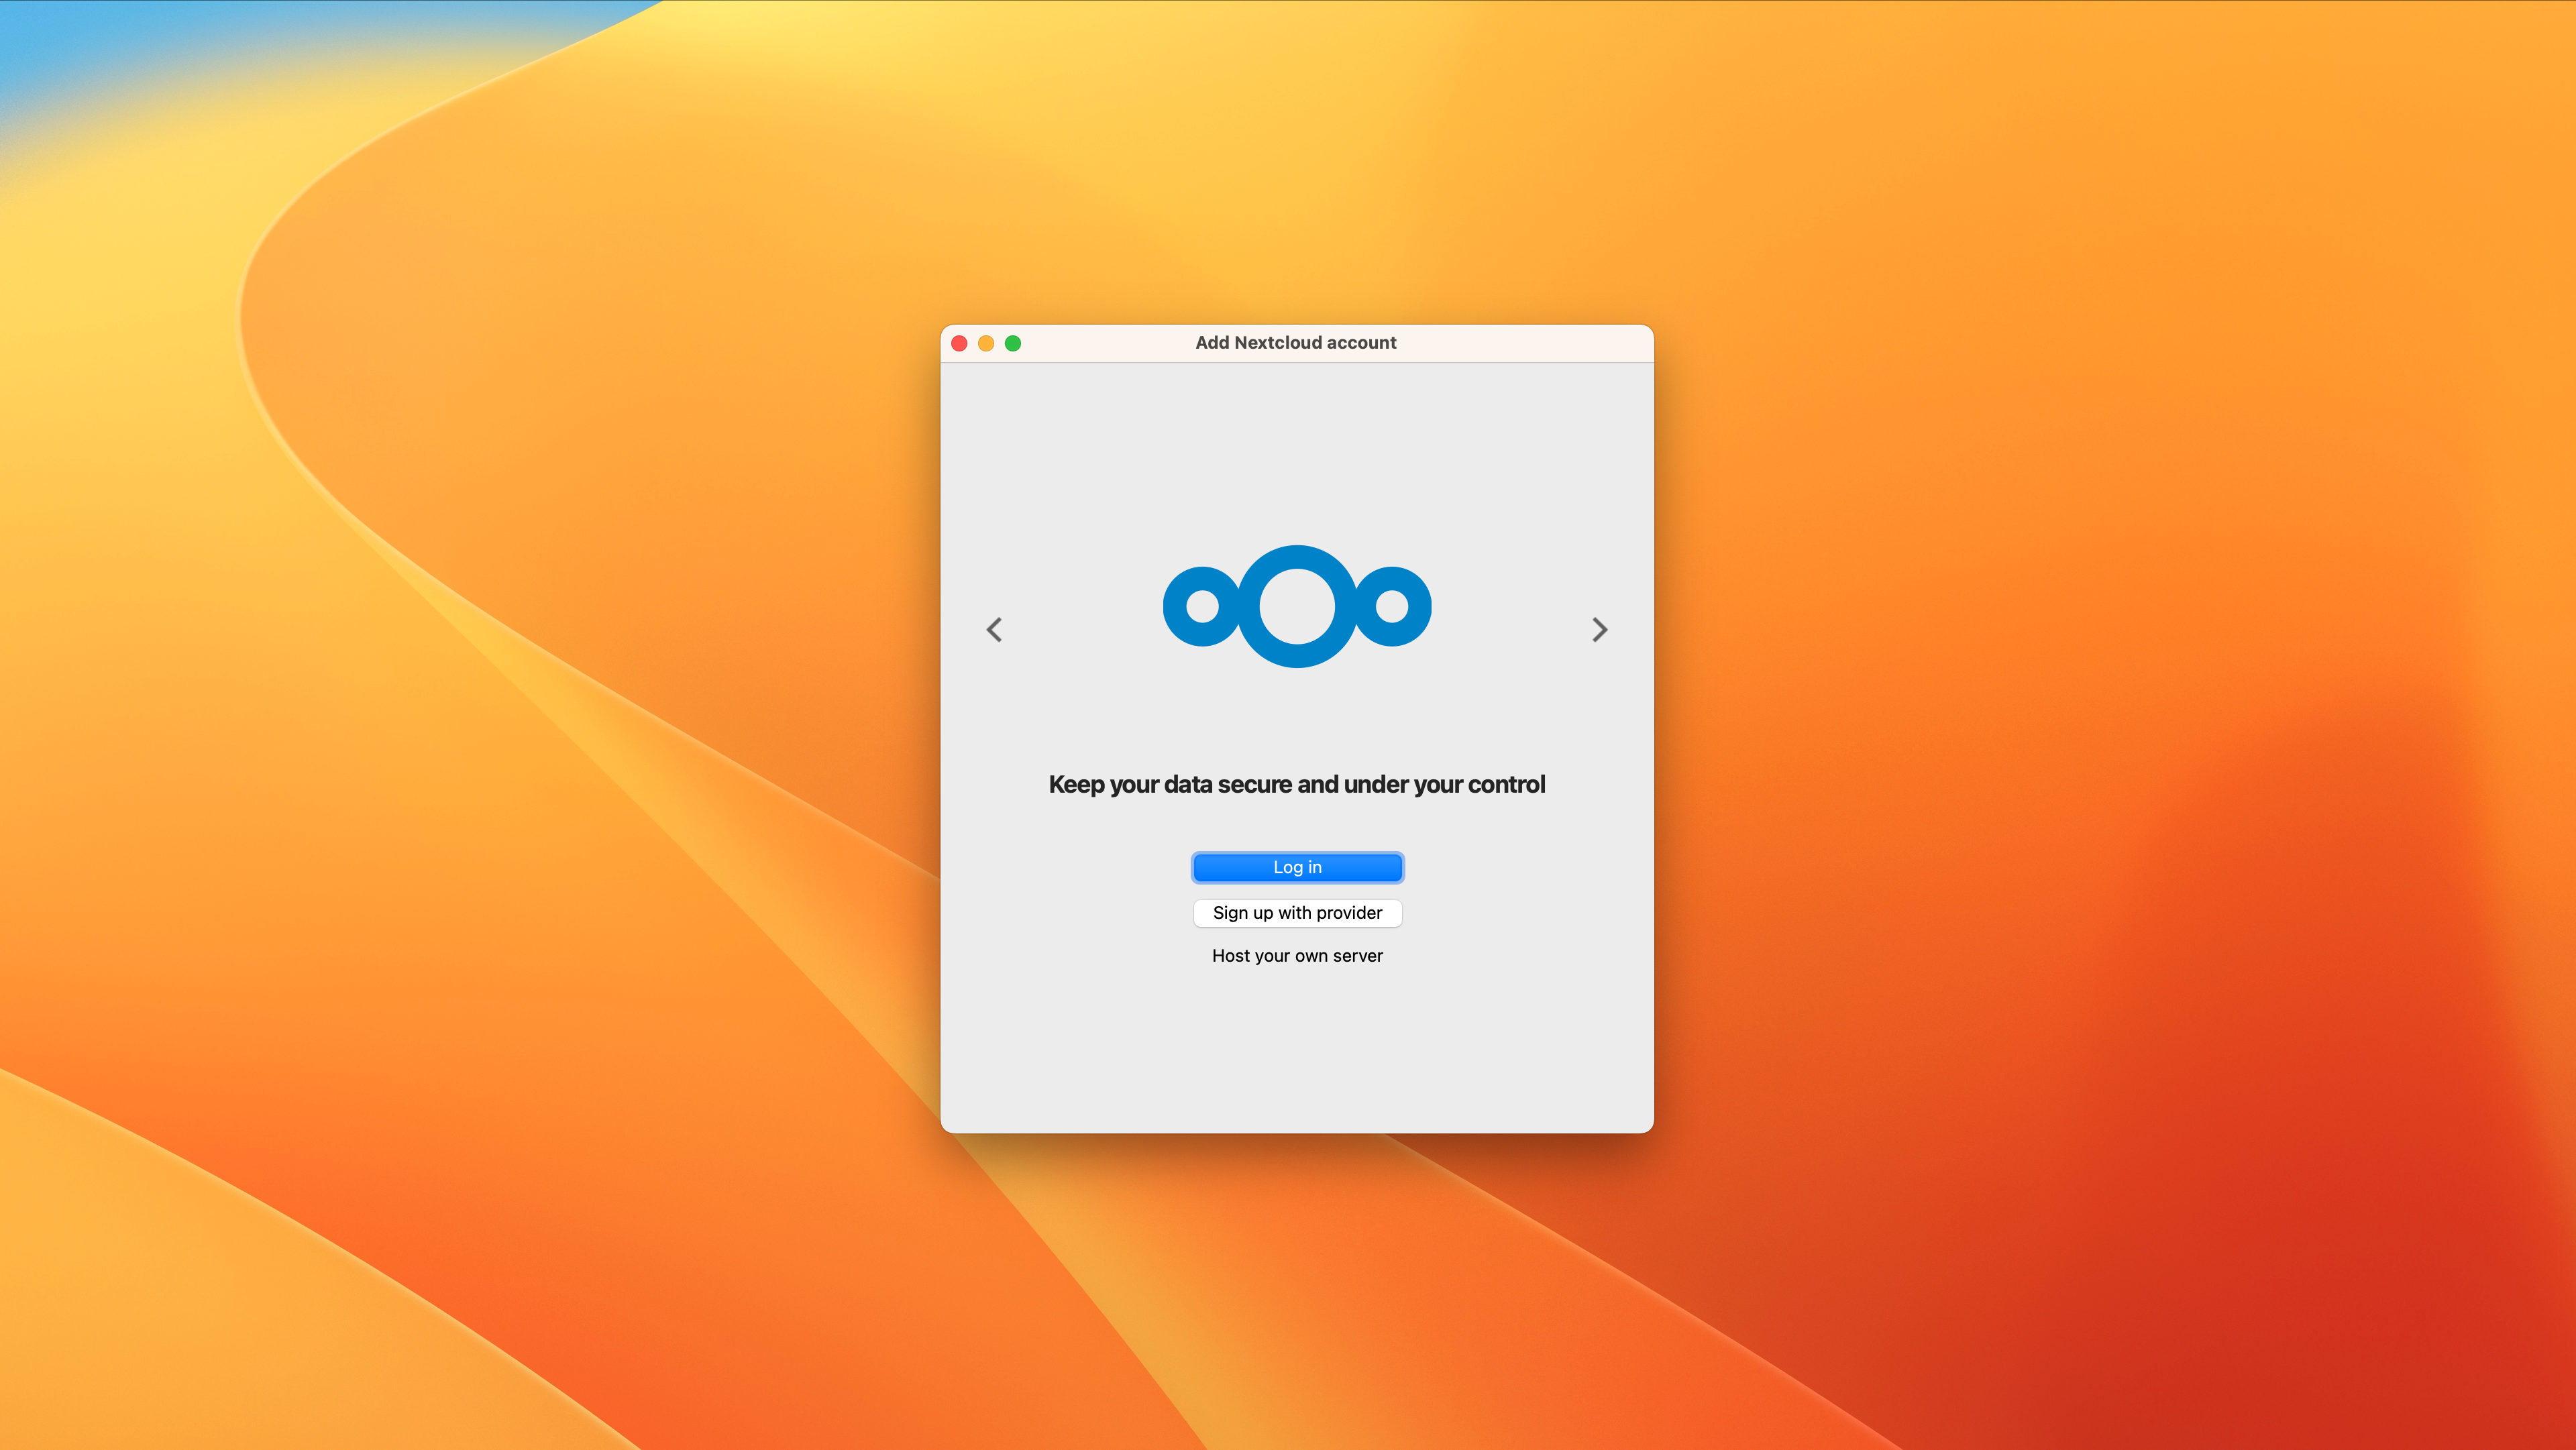
Once the install finishes, launch the installed Nextcloud app. You will be prompted to log in or sign up with provider. Select log in.
-
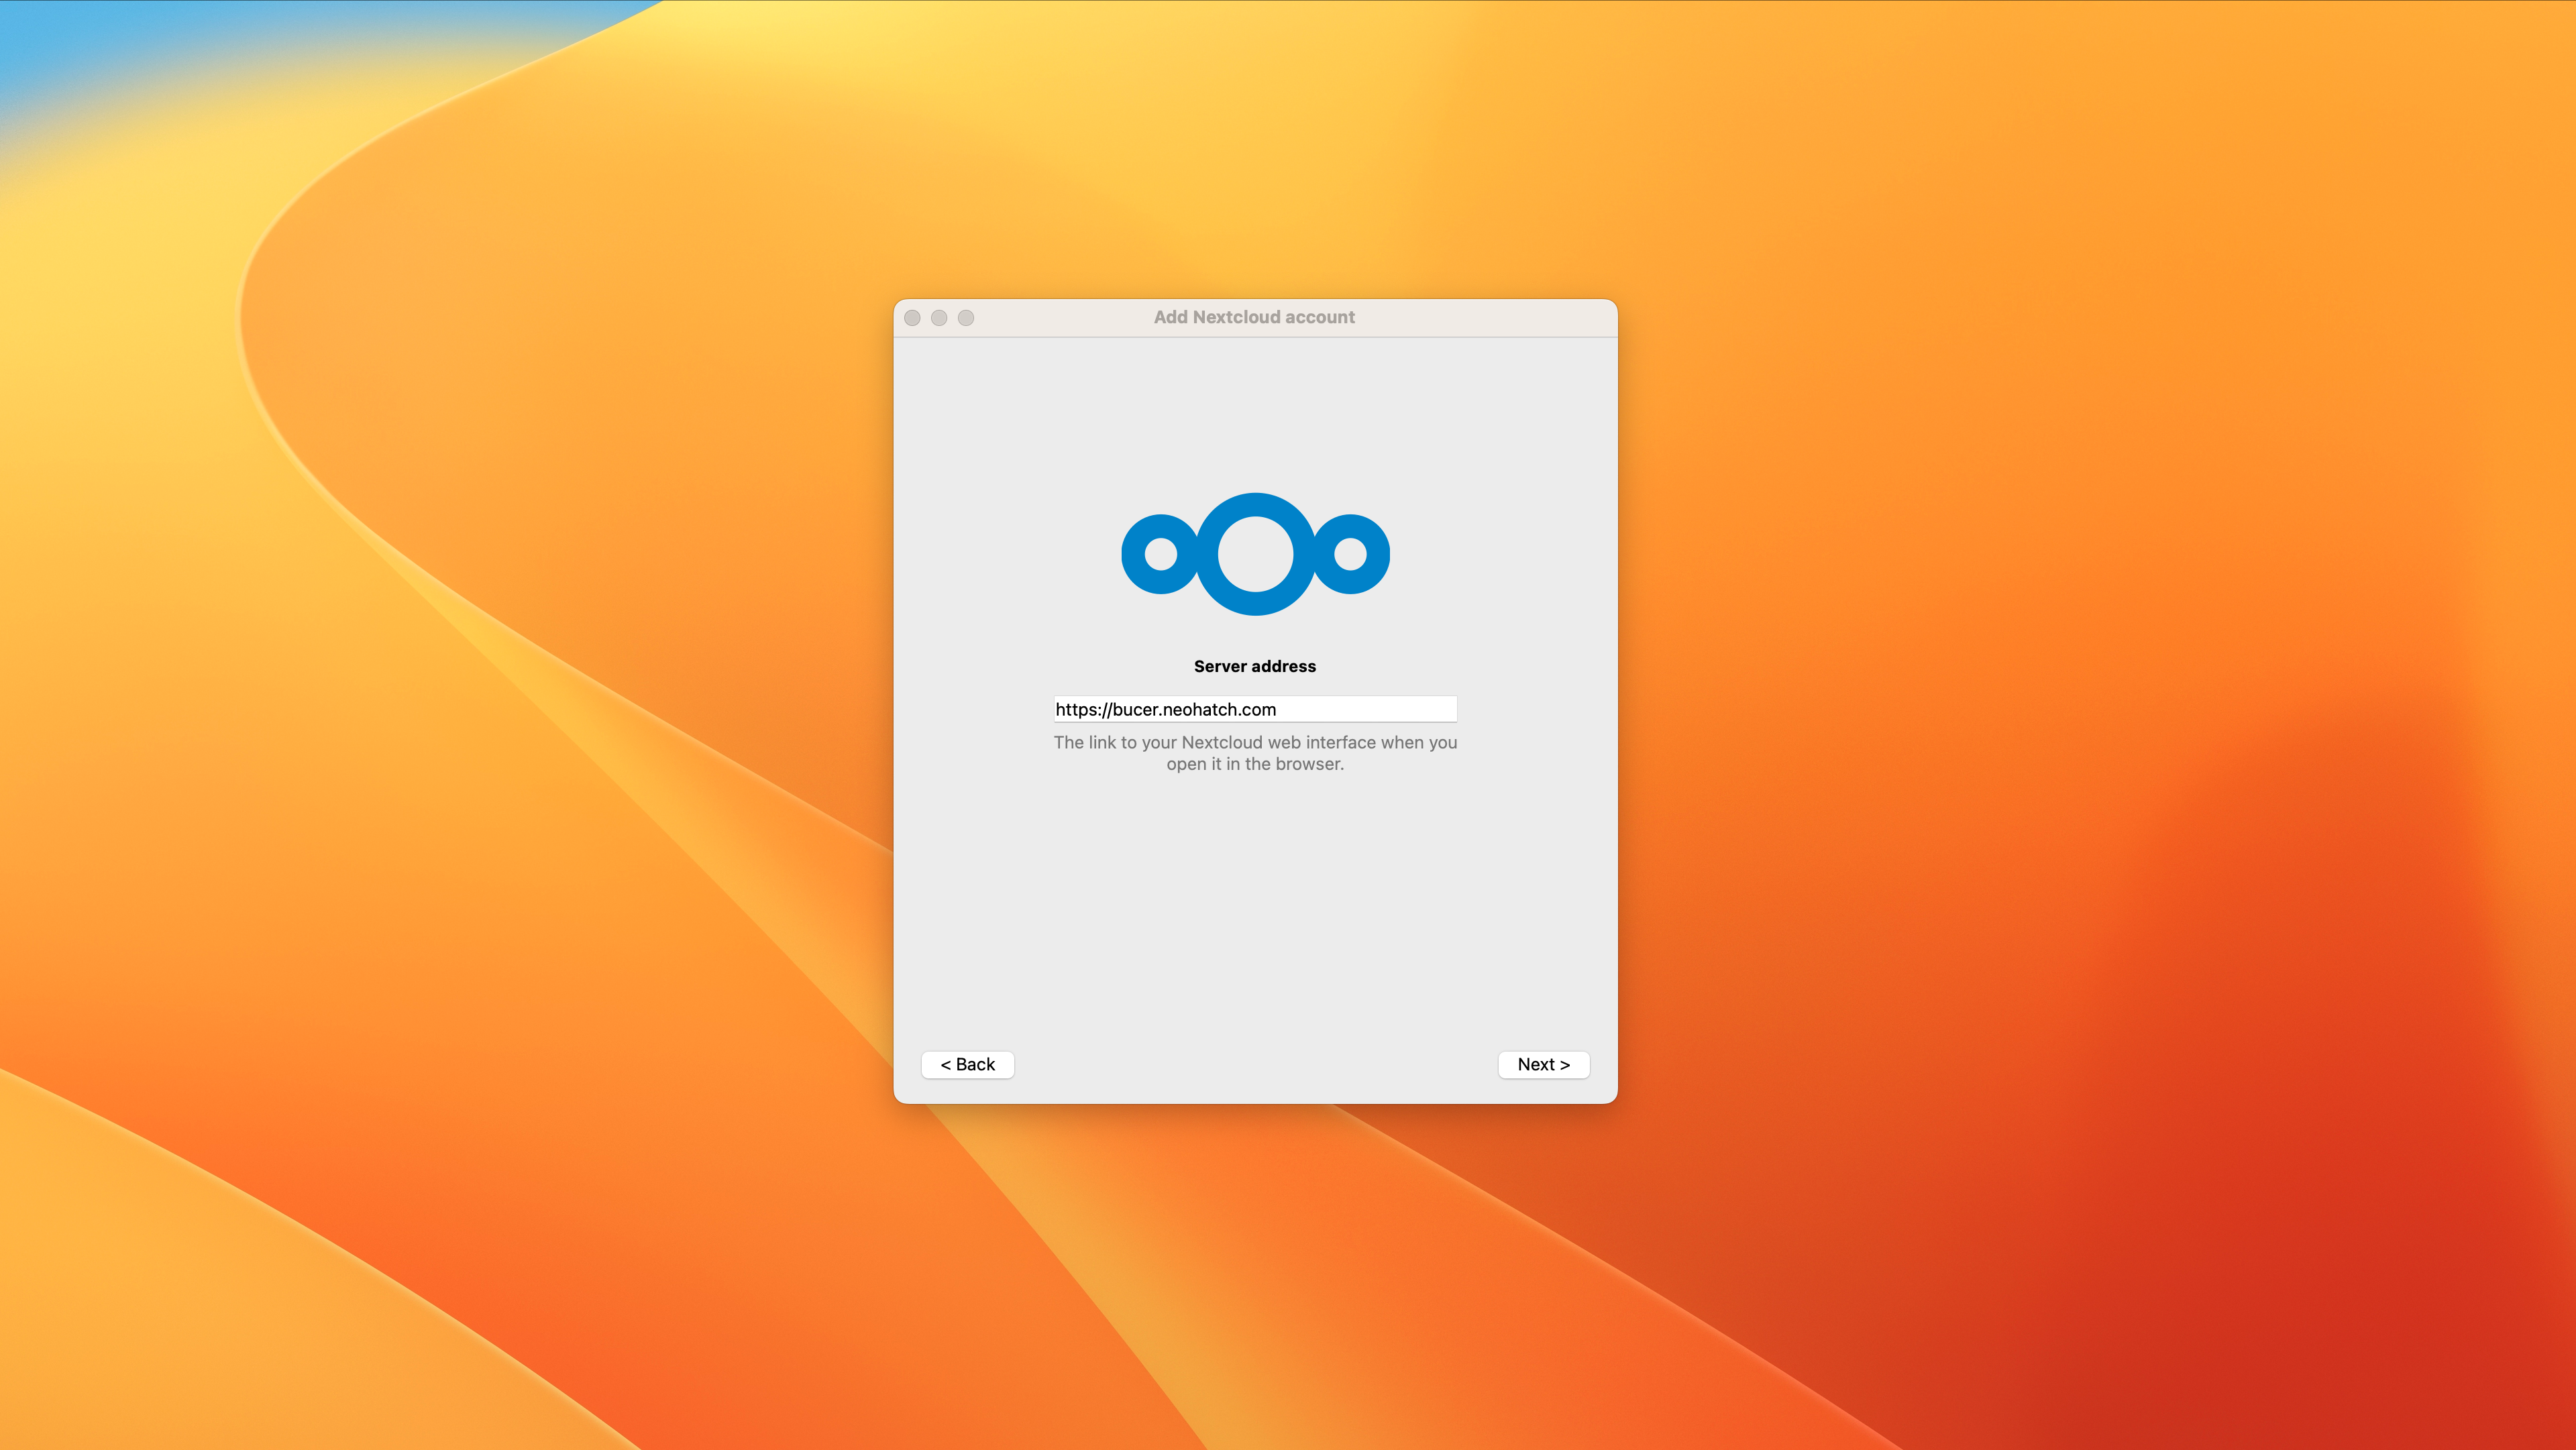
Enter your domain name and click next
-
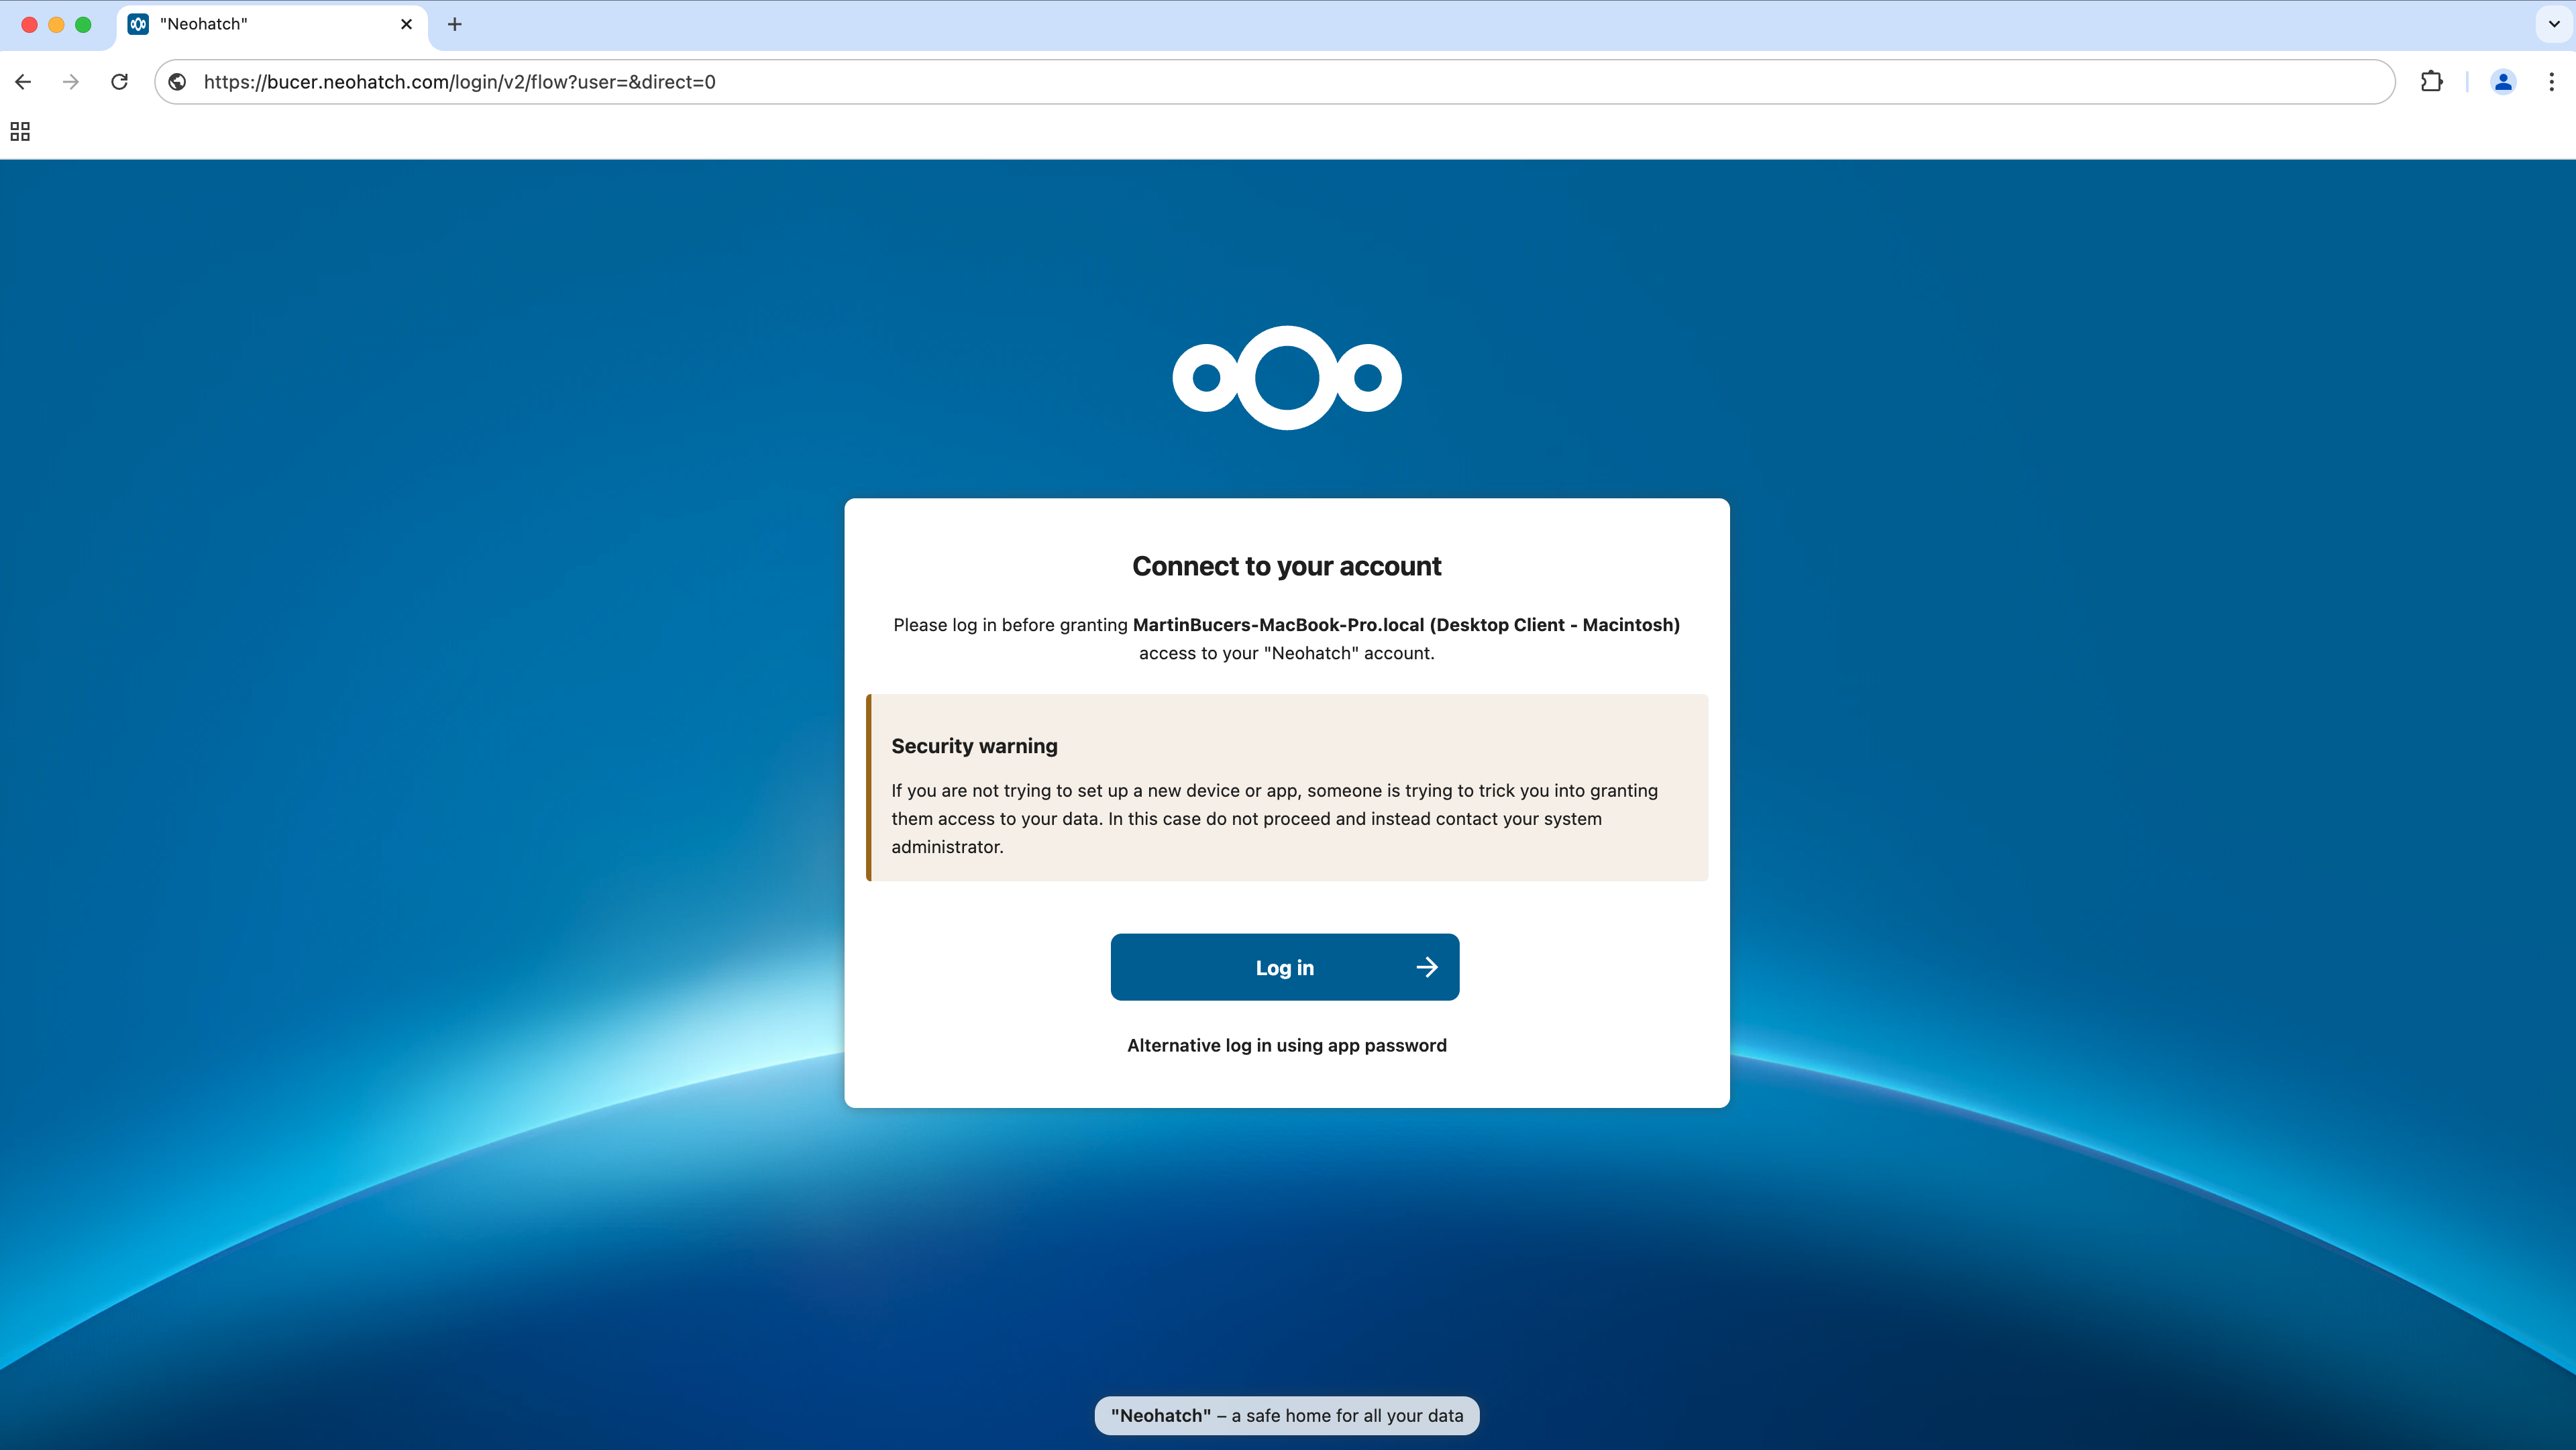
Your web browser will open and prompt you to log in to your Neohatch account. Enter your information and follow the prompts
-
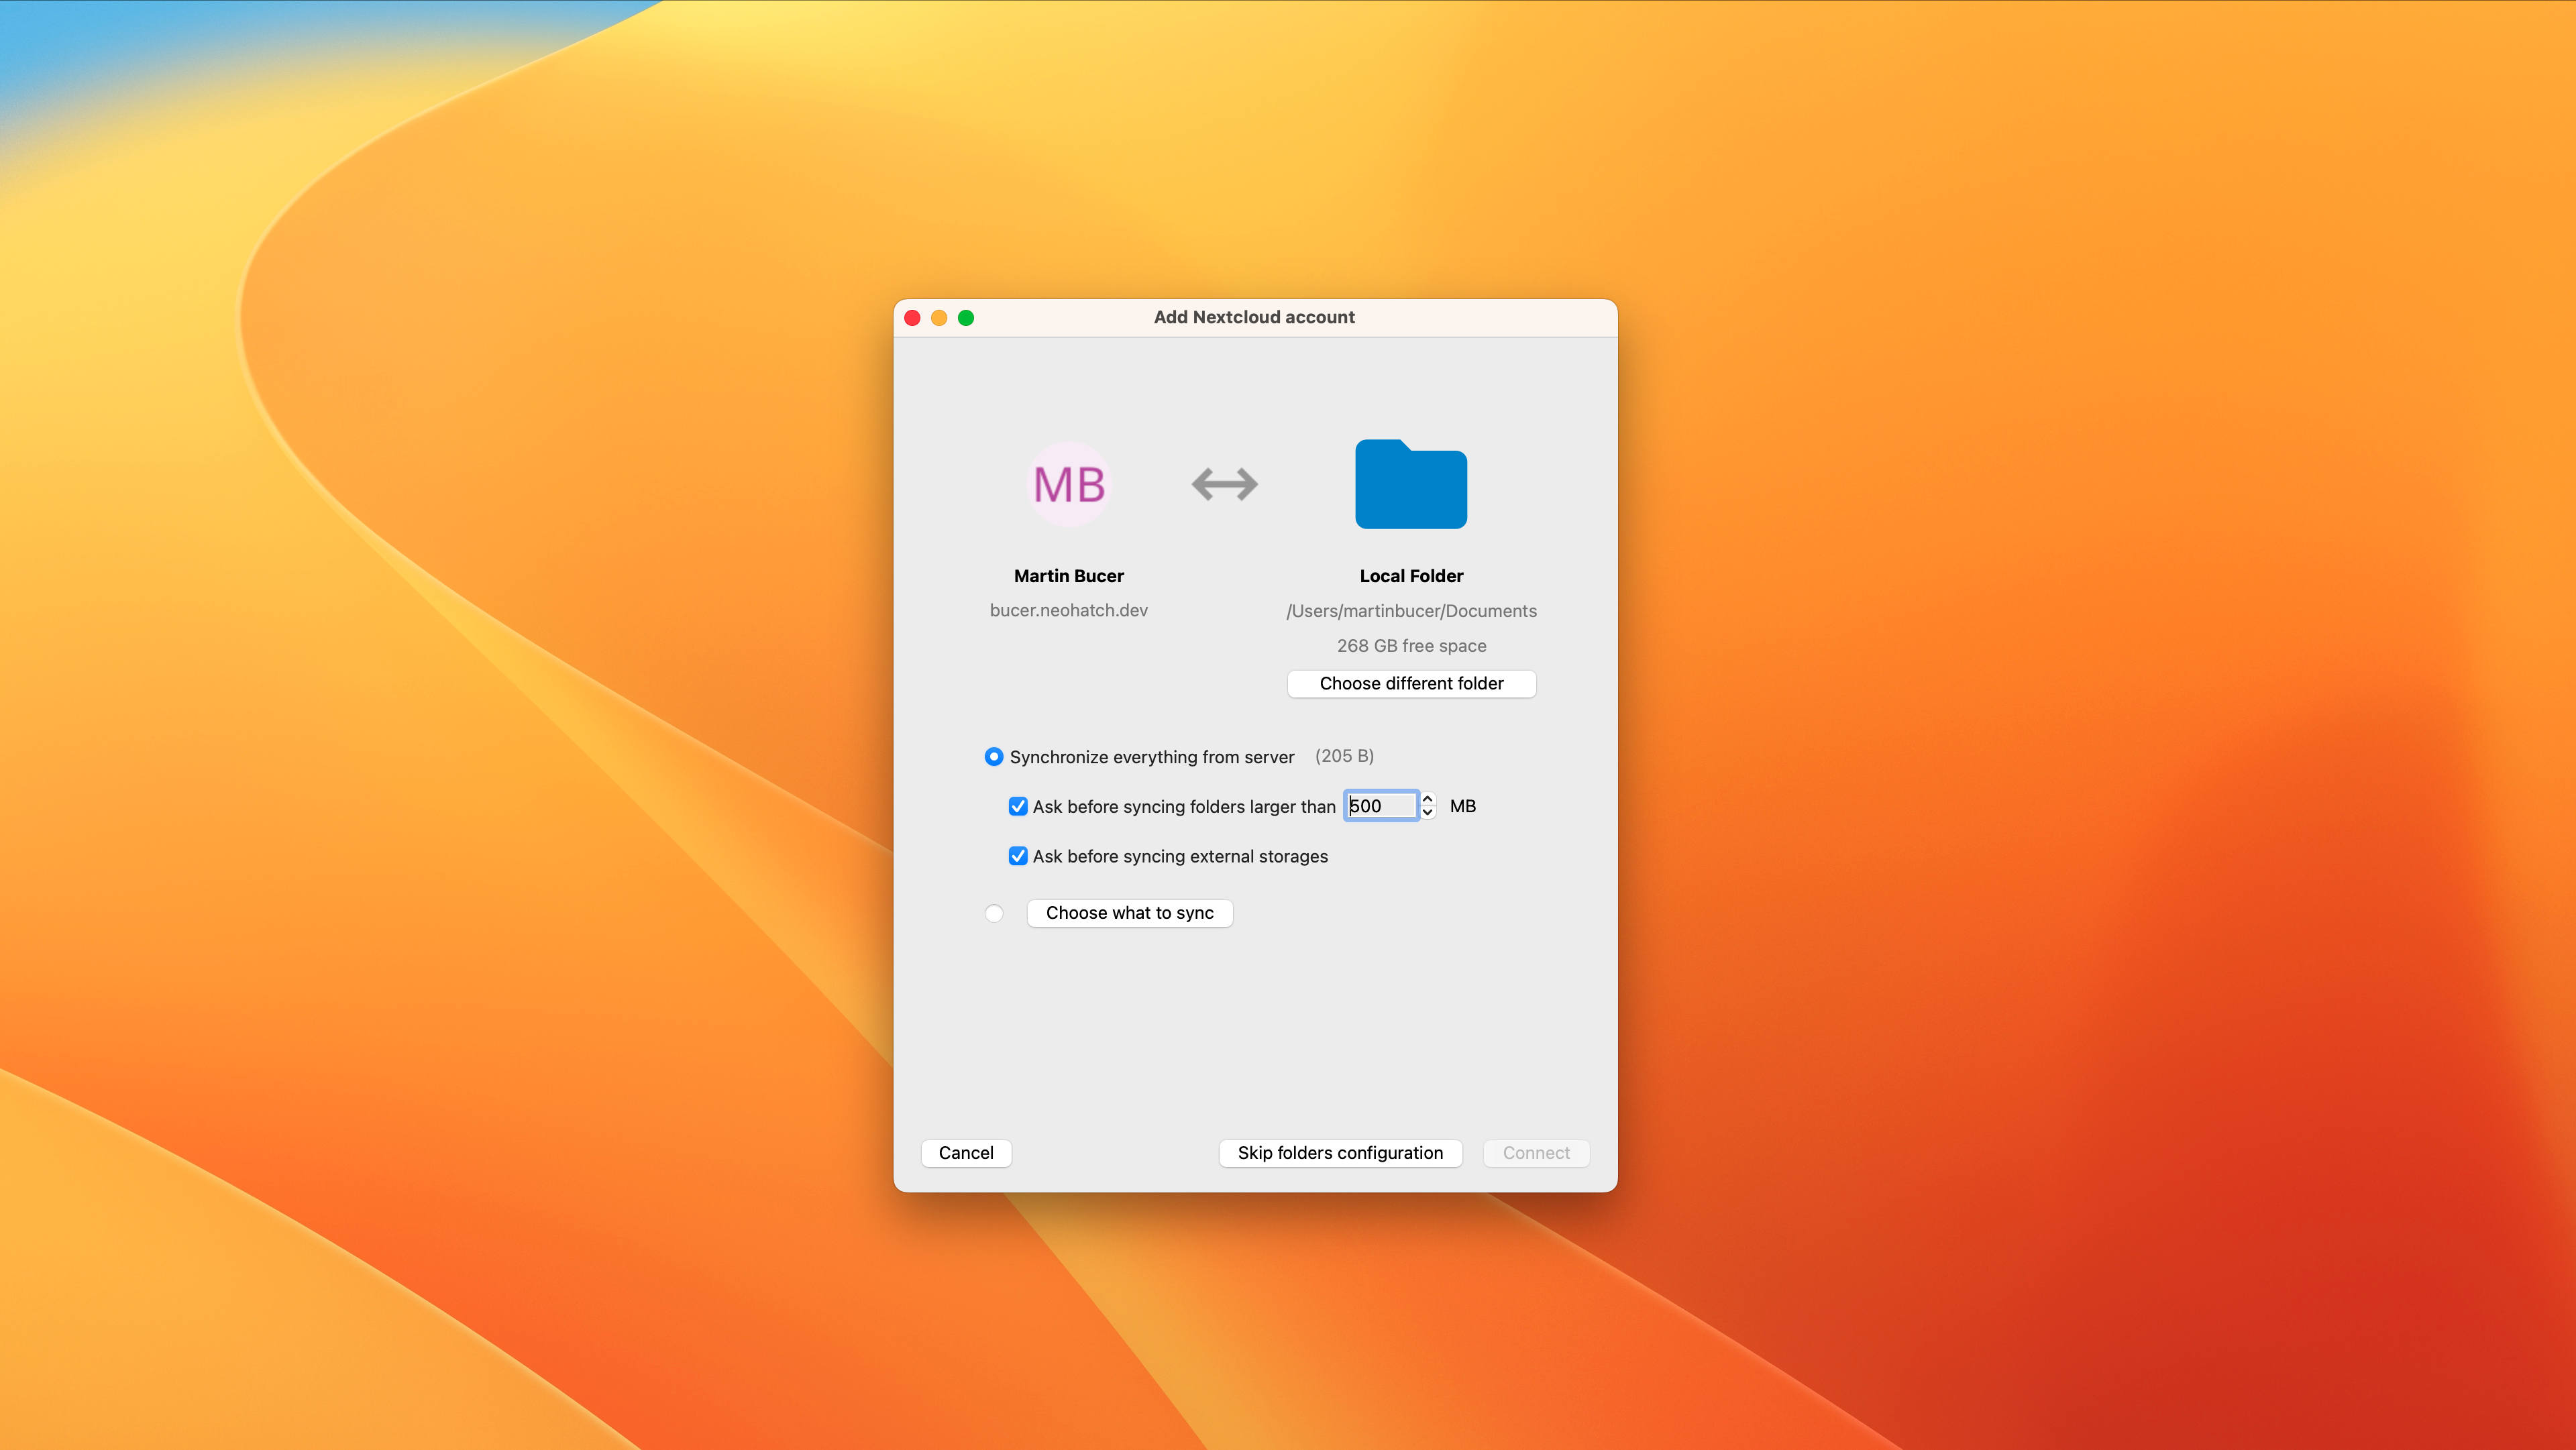
Once you are redirected, you may close the web browser window. Return to the Nextcloud app setup window. You will now be prompted to set up your sync folder, and set your preferred settings. We recommend you leave the settings as default. Click connect.
-
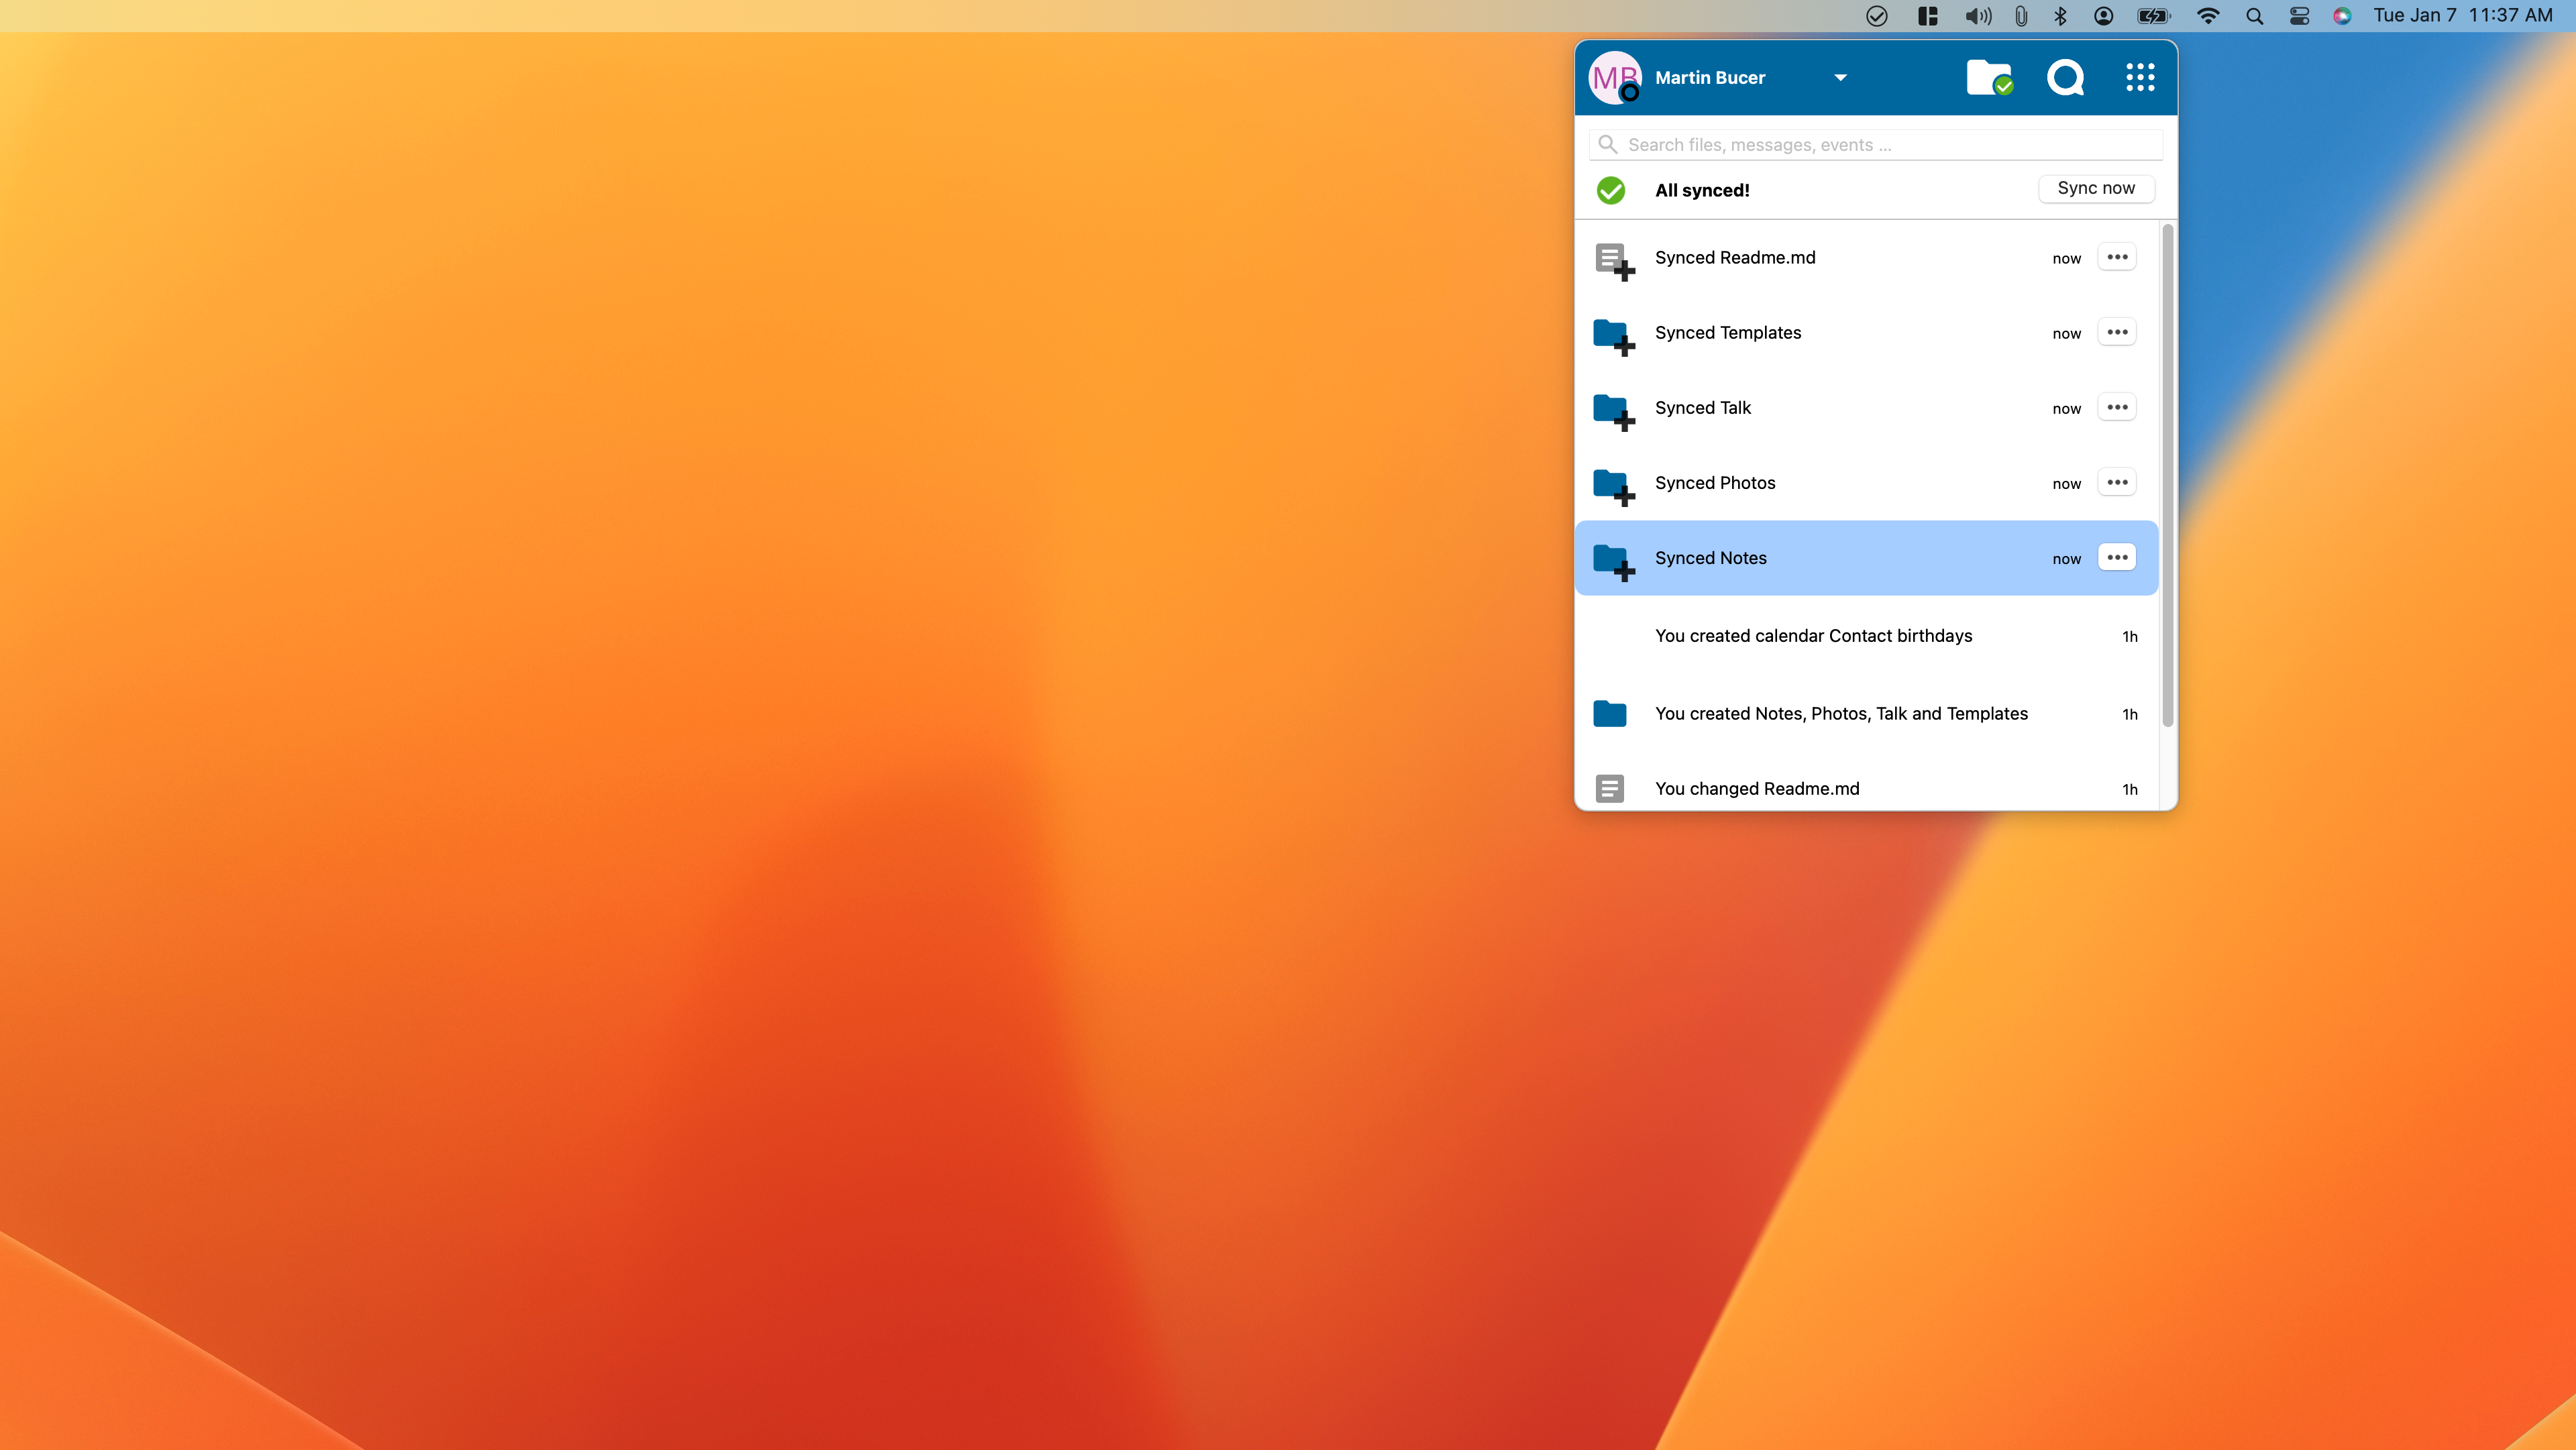
The Nextcloud app should now be running in the background on your computer. Depending on your operating system and settings, you can see and open the app through the top settings bar (Mac). There you can see some recent files, edit sharing permissions, and more.
-
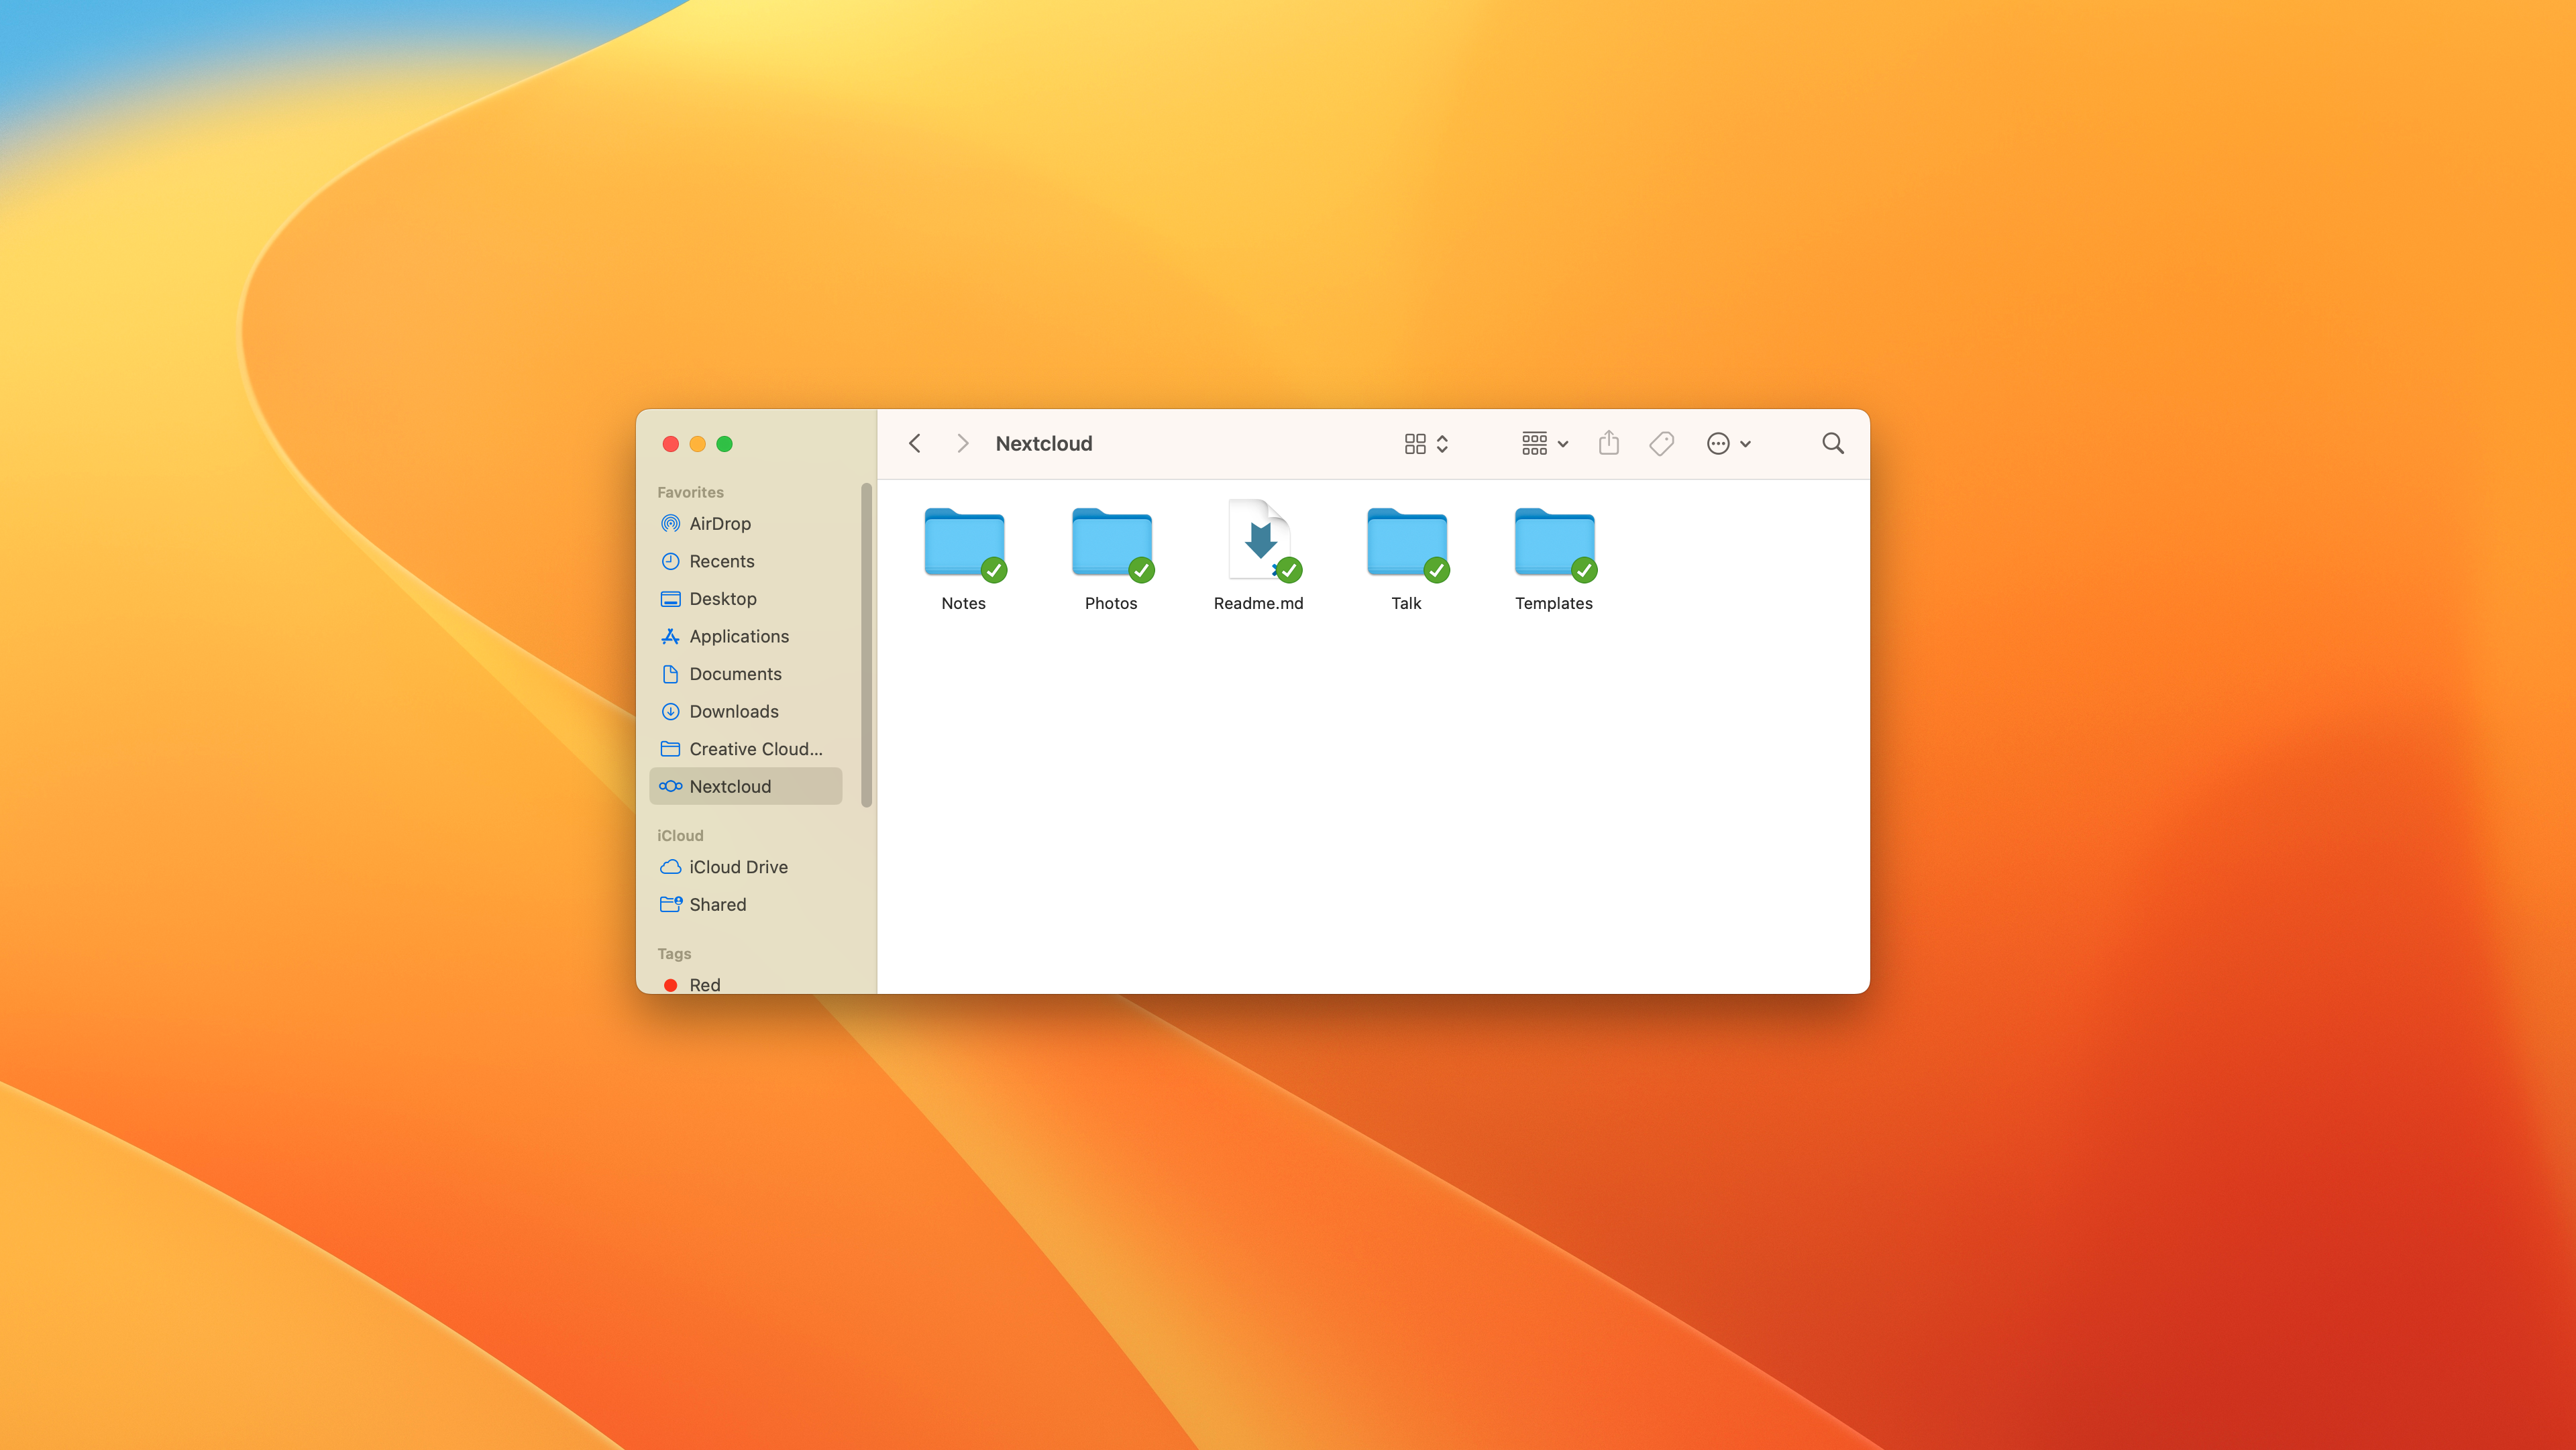
A folder called Nextcloud should now be available and visible in your file manager. You can now add, remove, and edit files just like any other folder on your computer and they will sync to your Nextcloud files.
Windows 10/11 Instructions
-
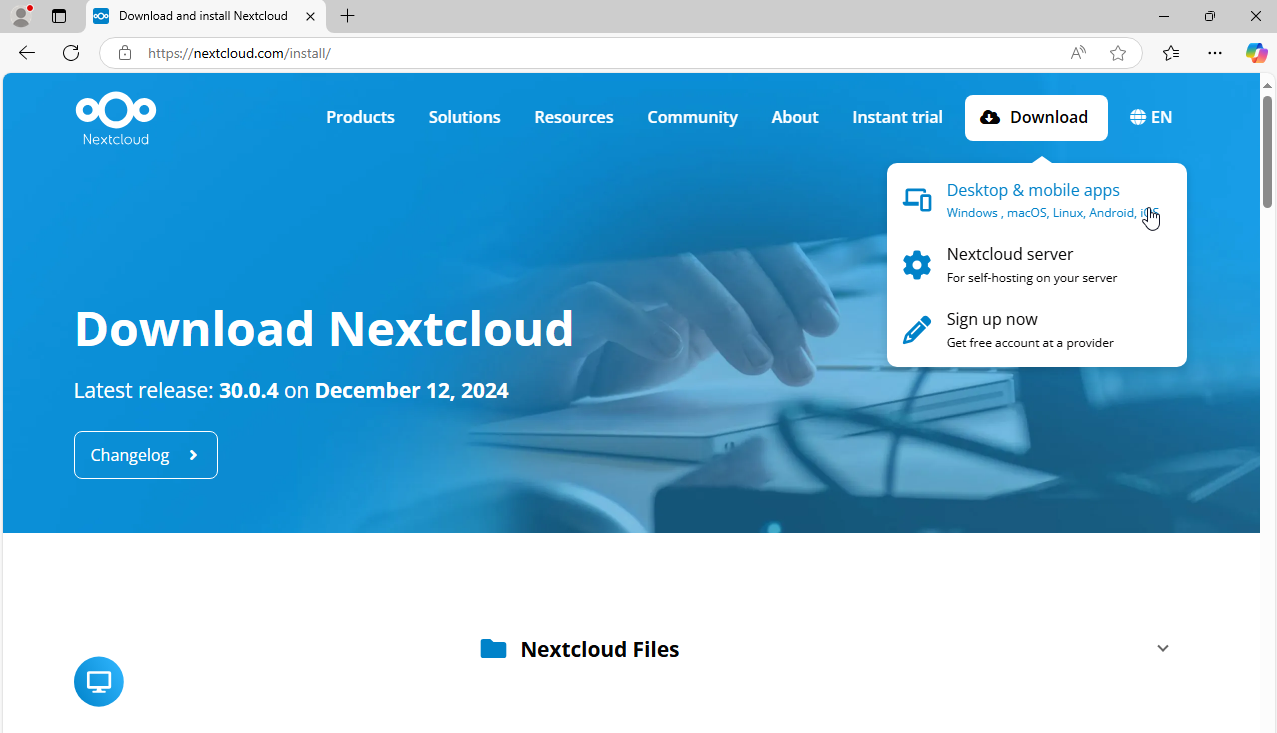
Navigate to nextcloud.com/install. Select Desktop & mobile apps under the Download button.
-
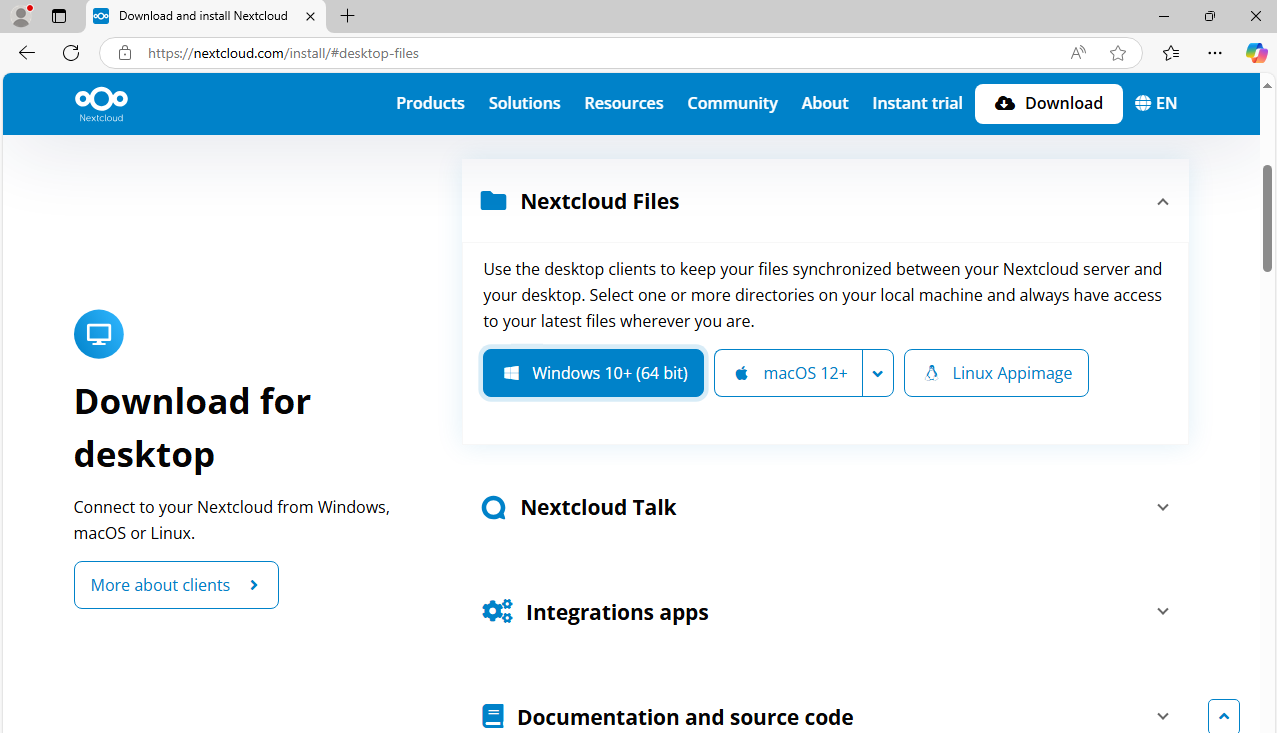
Under the Nextcloud Files heading, select your respective version (Windows 10+ in this case) to download the installer.
-
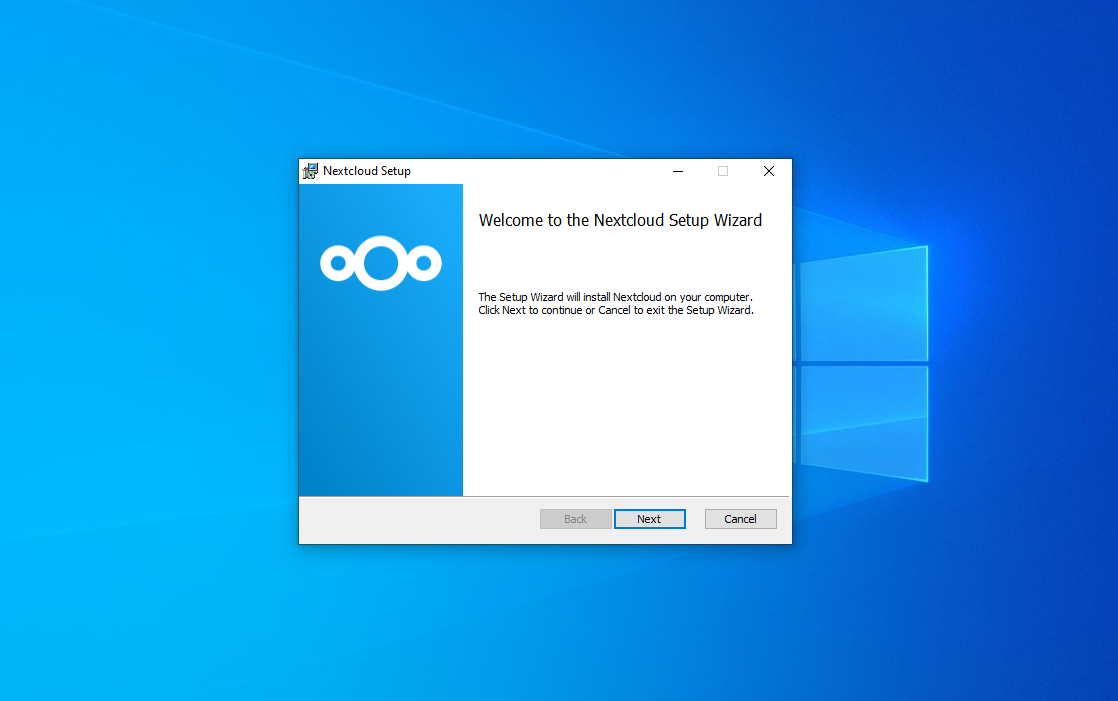
Launch the downloaded installer. You will see a welcome message. Click Next.
-
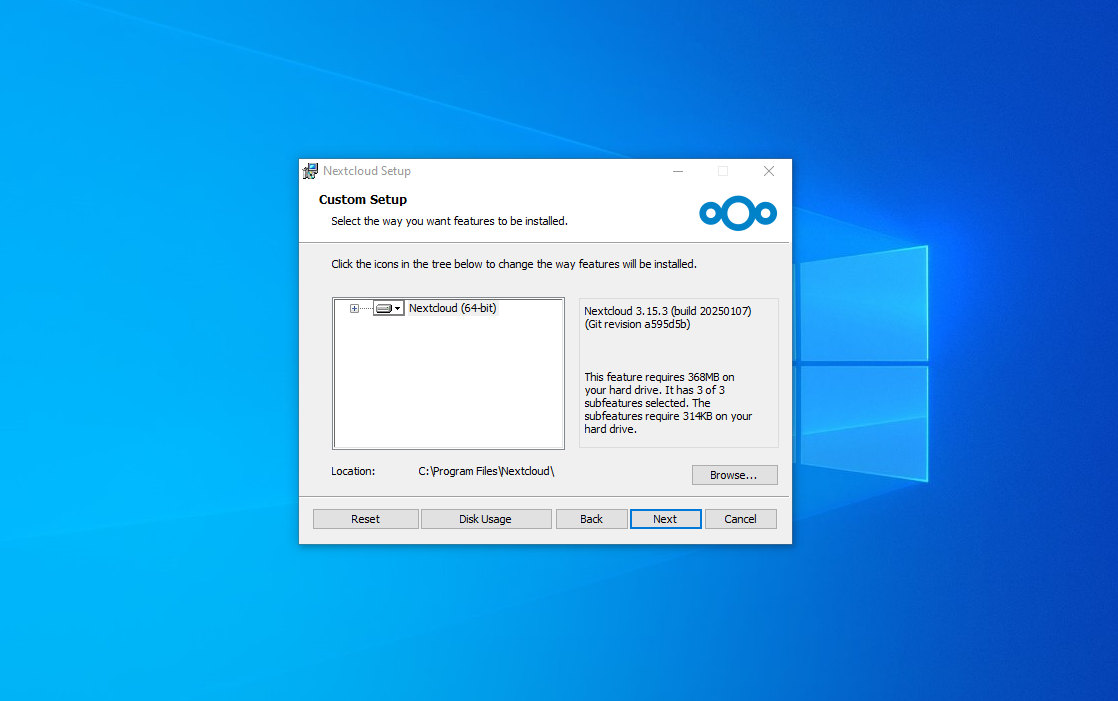
EntYou will now see Custom Setup with some settings you can modify. We recommend you keep the settings as default. Click Next.
-
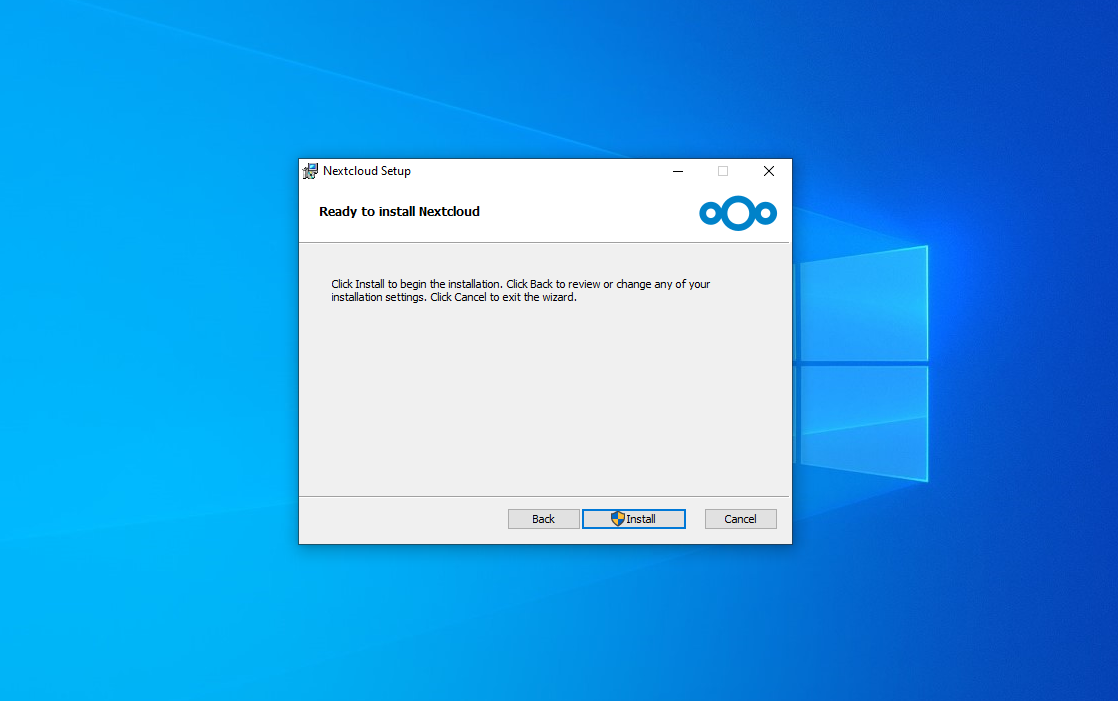
Click Install.
-
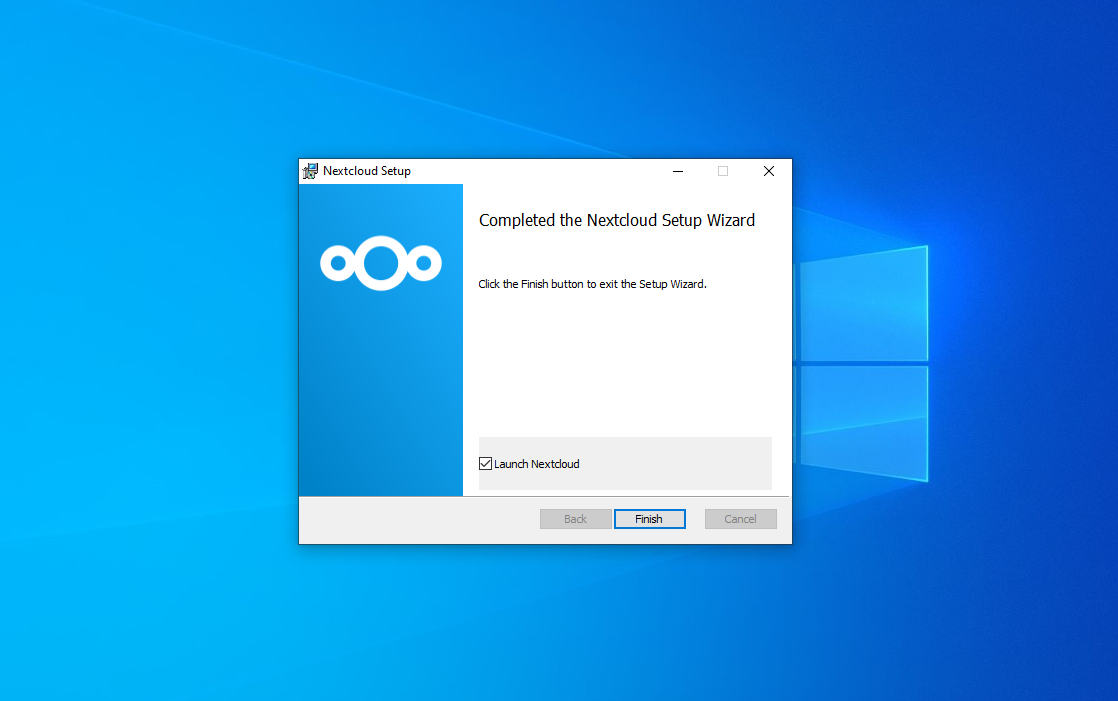
Click Finish.
-
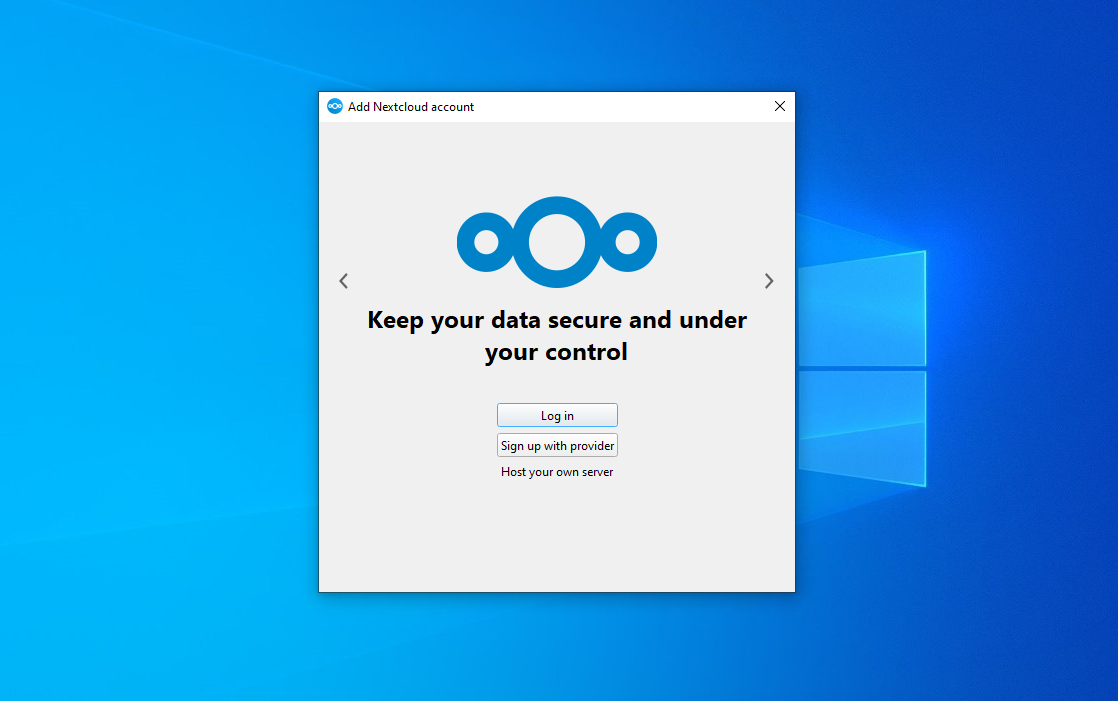
Once Nextcloud launches, select Log in.
-
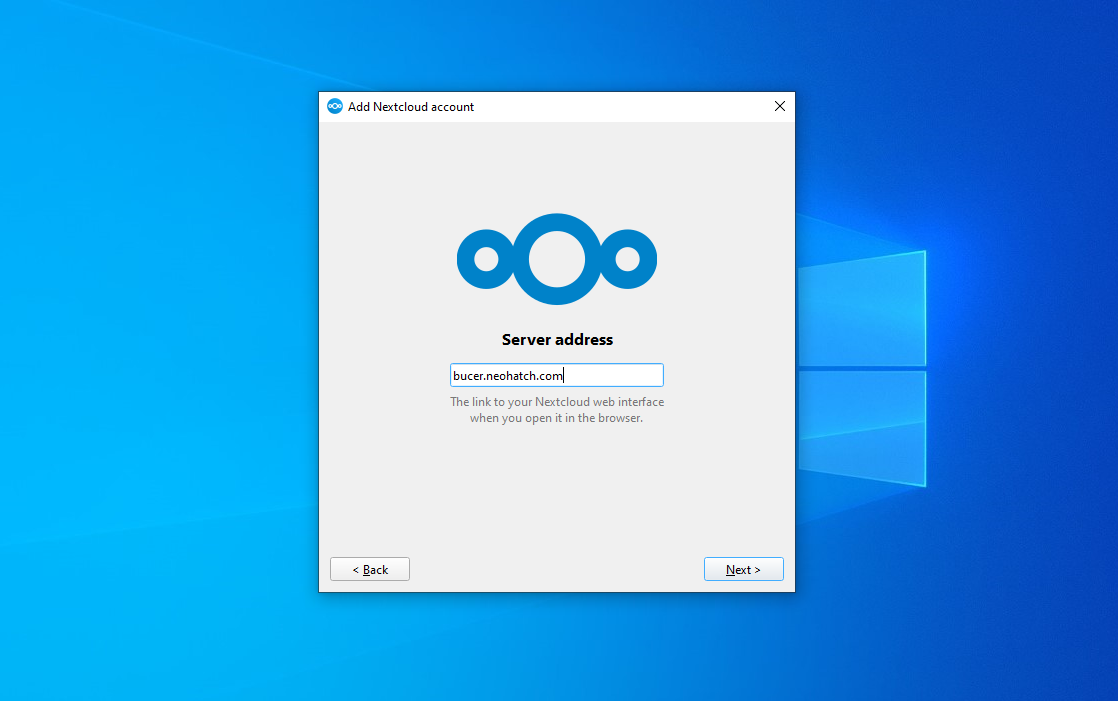
Enter your NeoHatch domain. This is the website you go to when reaching your Nextcloud instance. Click Next.
-
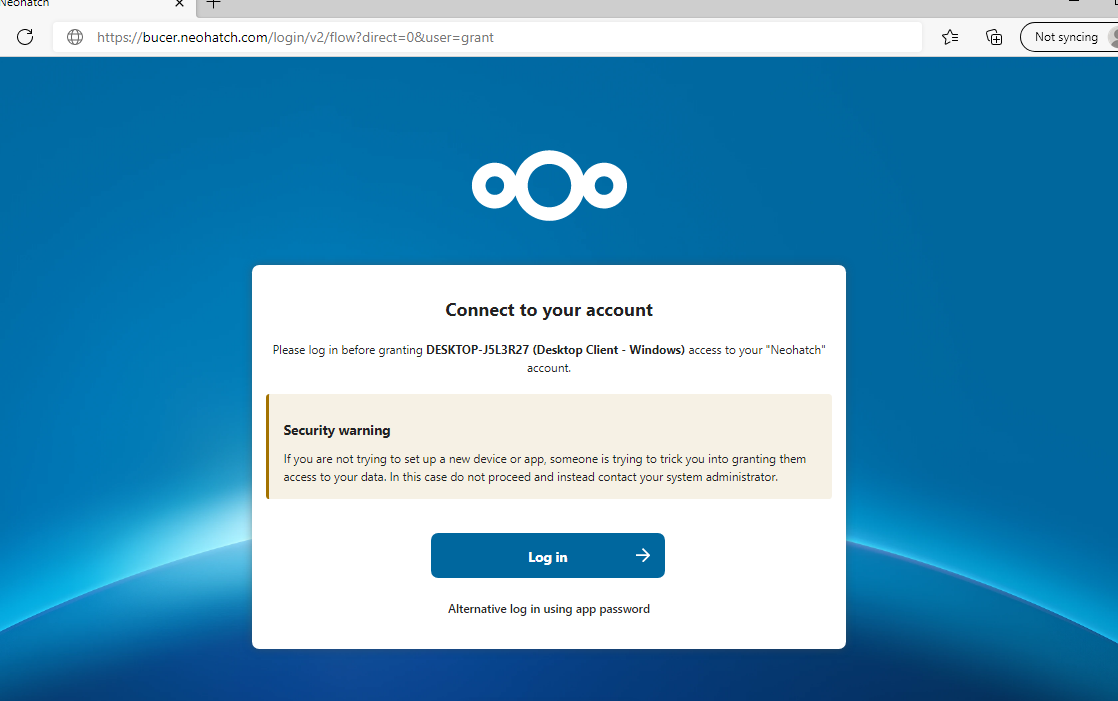
Once you click Next, your internet browser will open and prompt you to Connect to your account. Click Log in and follow the prompts to log into your NeoHatch account.
-
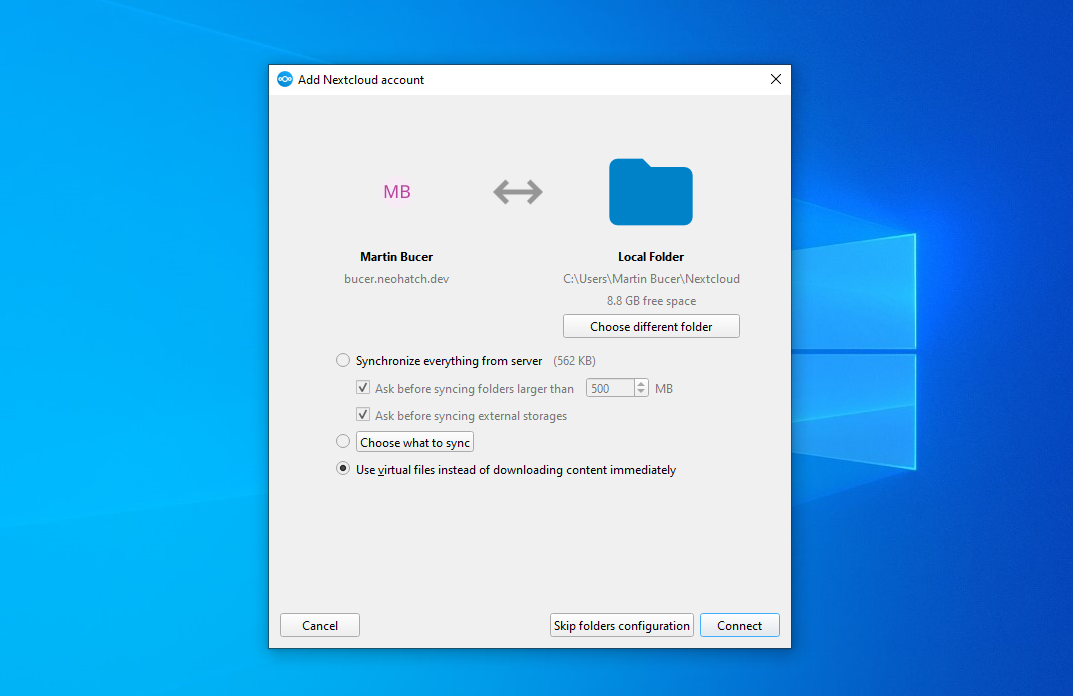
Once you have completed logging in on the browser login page, return to the Nextcloud app. You will now see some sync settings you may change. You can click Choose different folder to change the name and location of your sync folder. You may change other settings here as well. Click Connext.
-
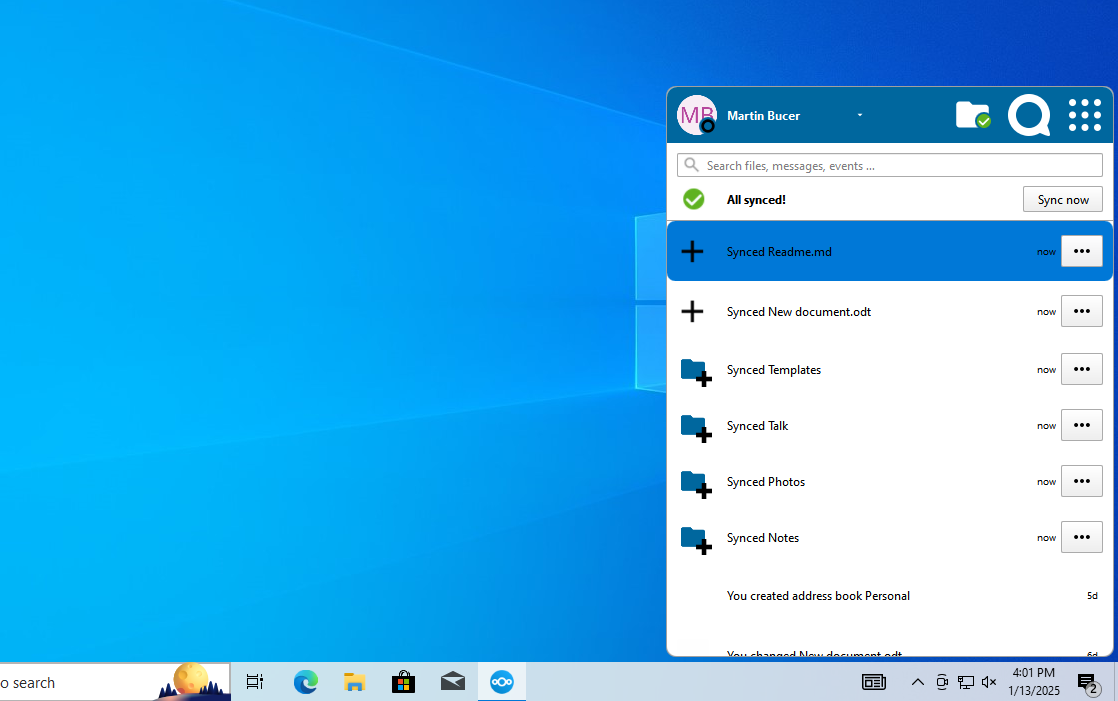
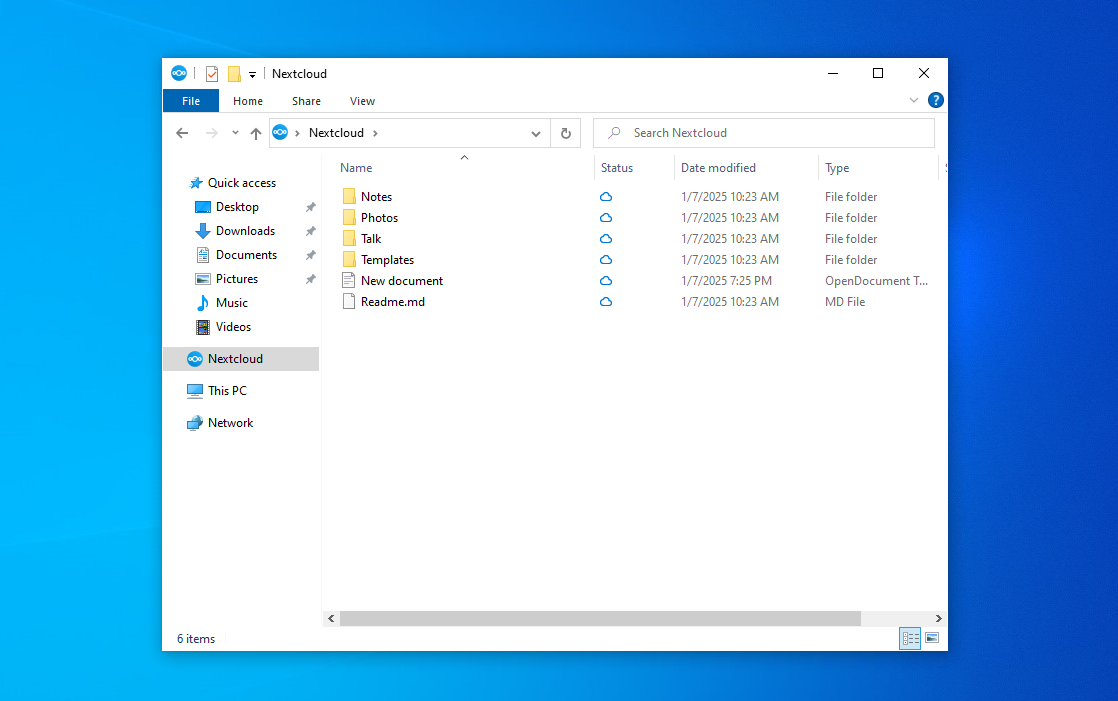
Your Nextcloud files will now be synced to the designated folder on your computer. You can browse, edit, add, delete, etc., files just like any other folder on your computer and they will sync to your NeoHatch Nextcloud instance.
Ubuntu Instructions
-
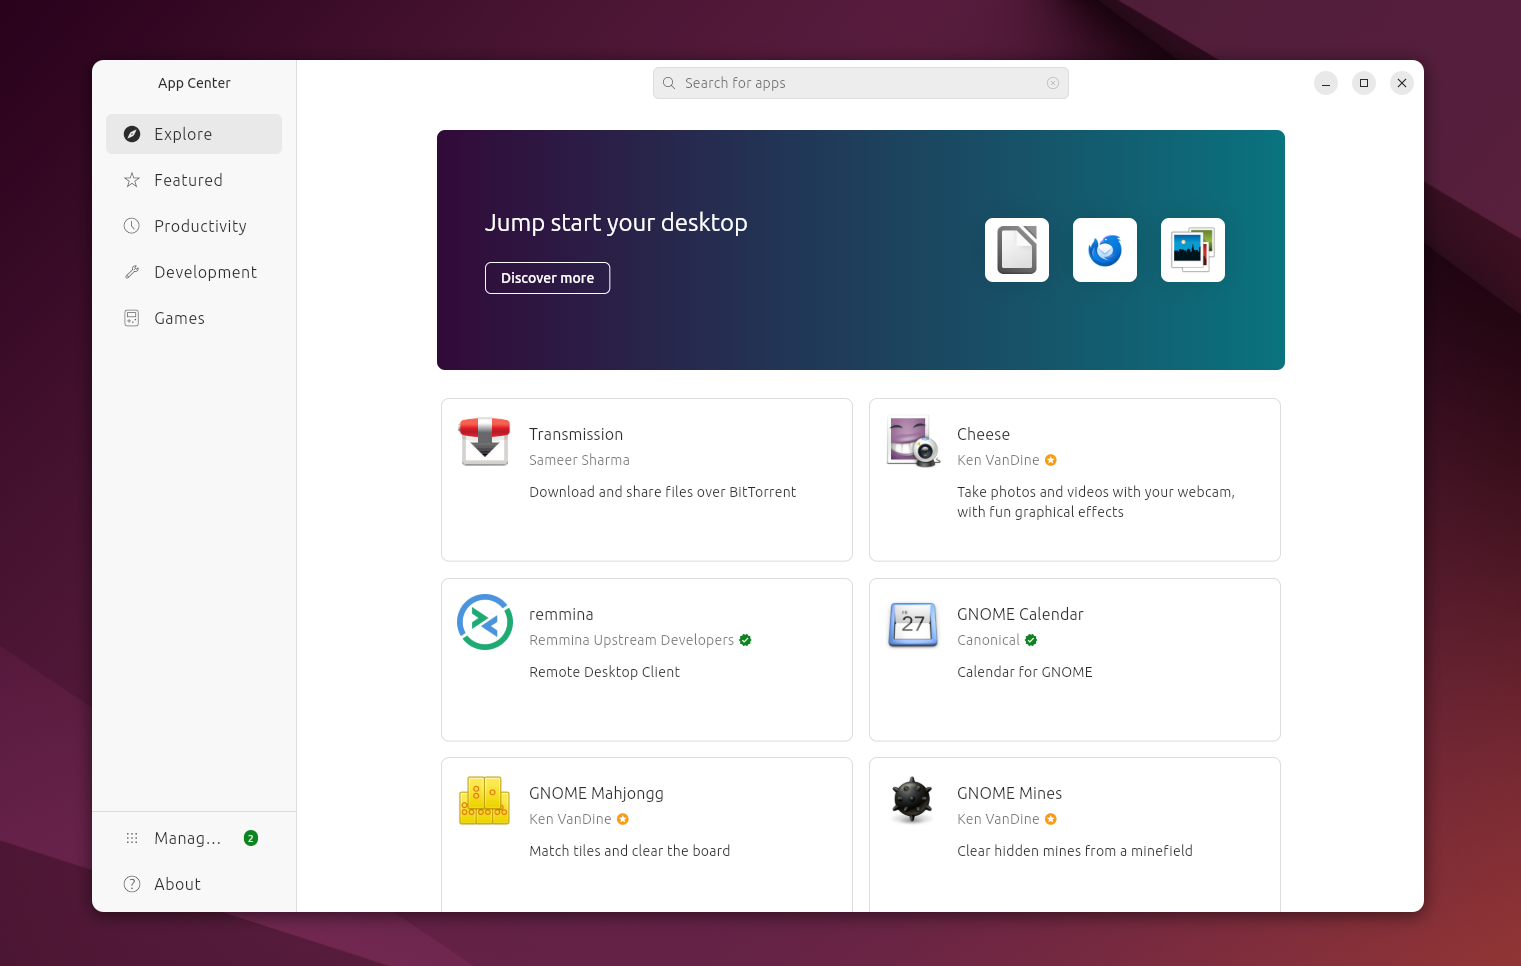
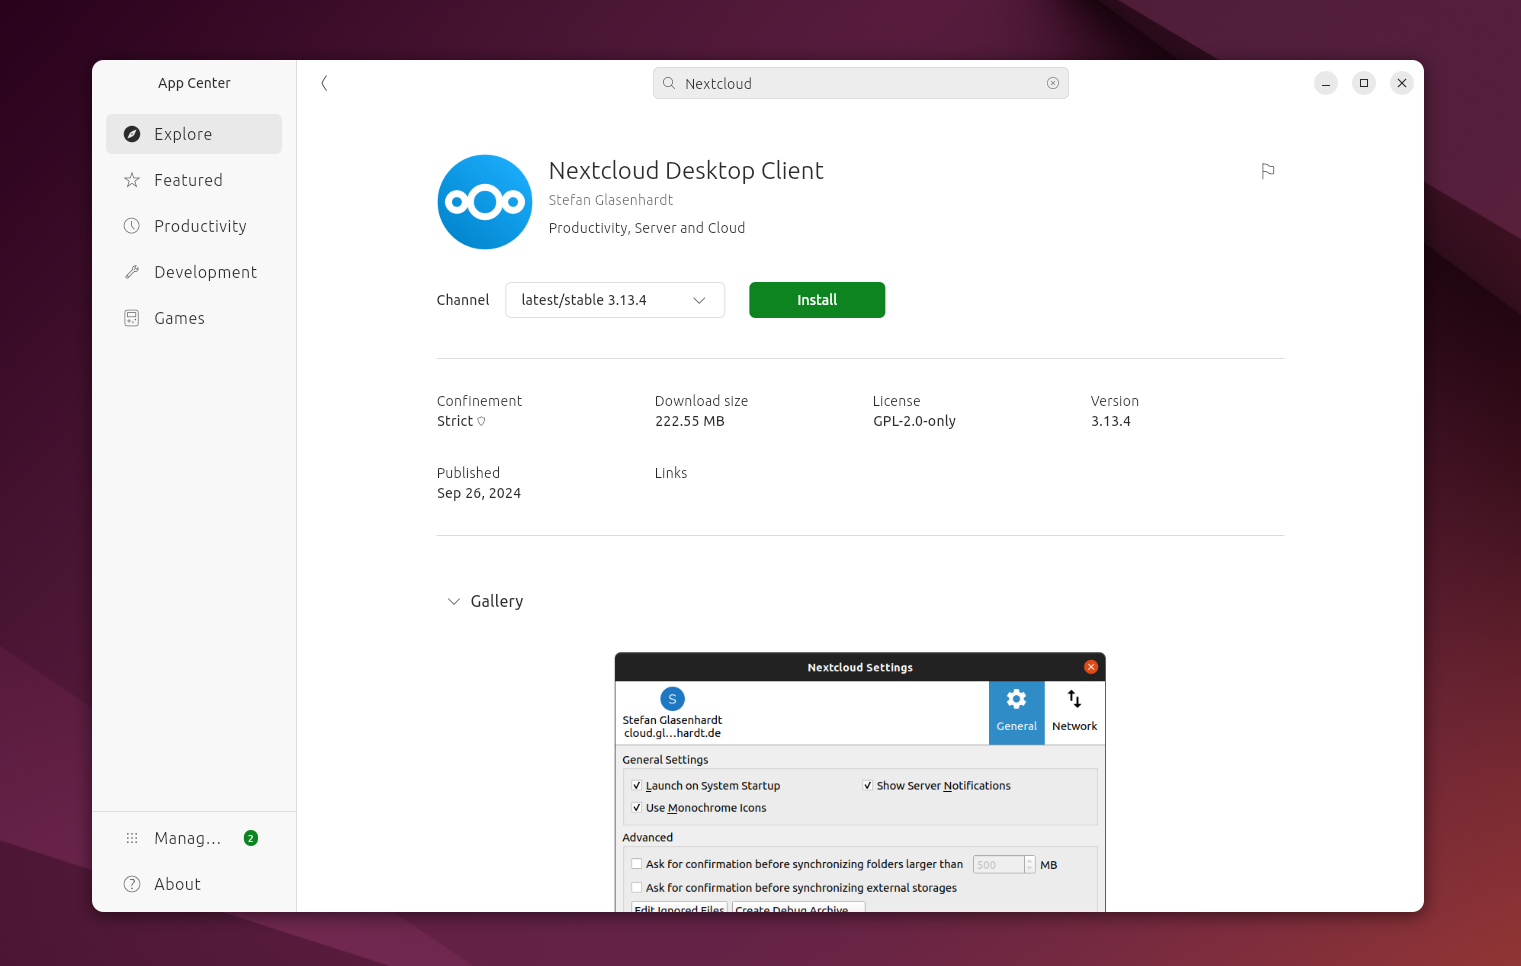
Open the Ubuntu App Center.
-
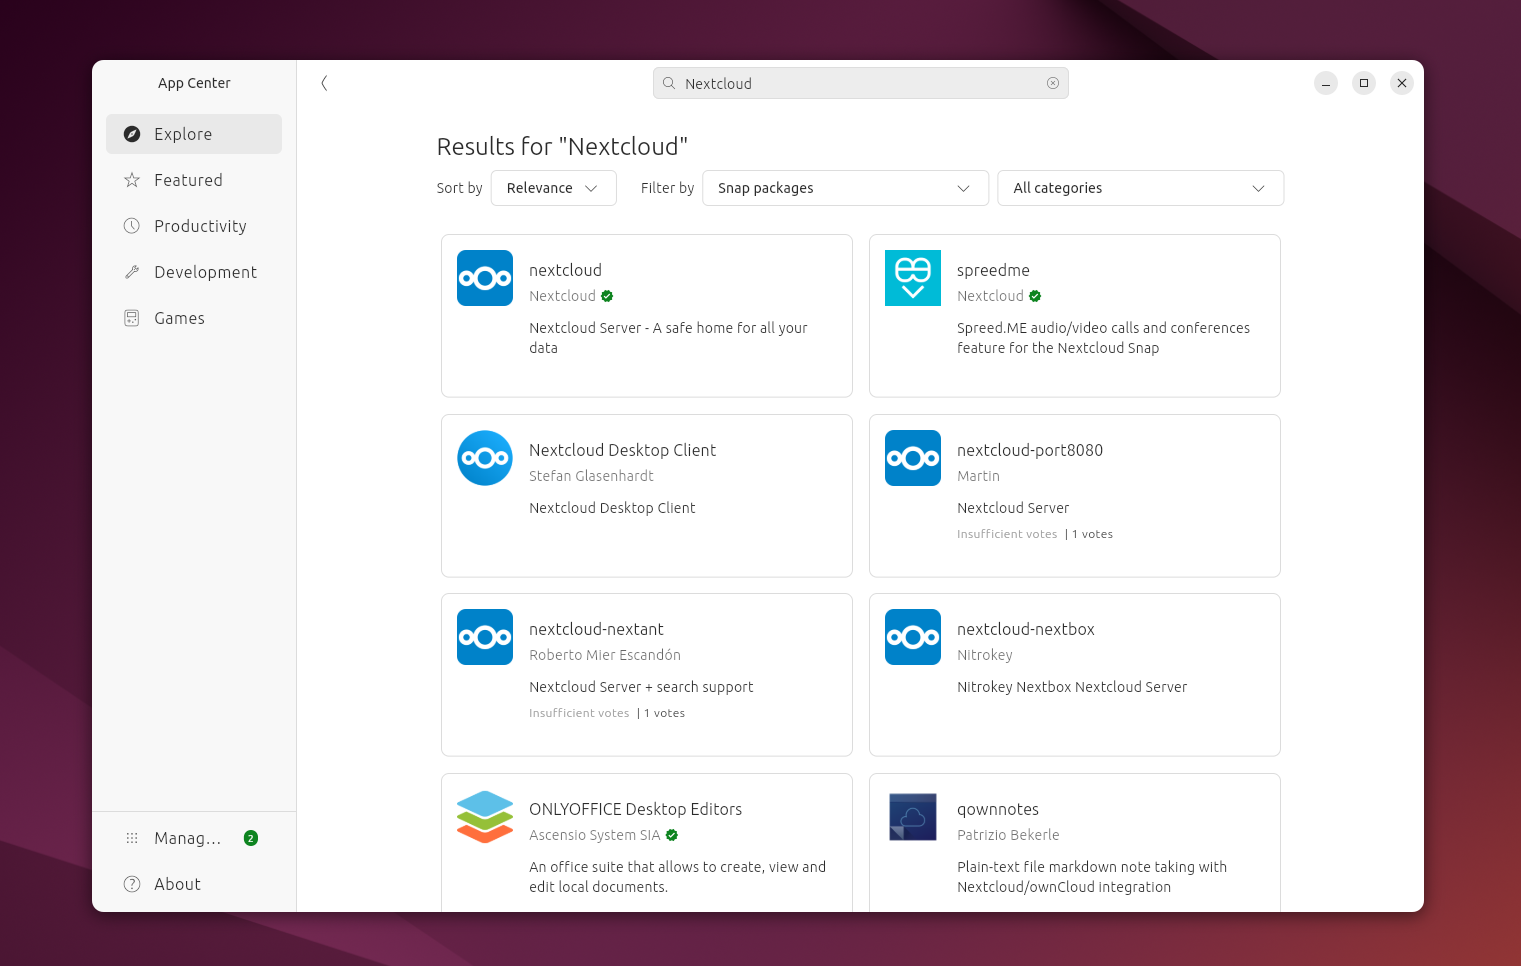
Search for Nextcloud. Select Nextcloud Desktop Client.
-
Click Install.
-
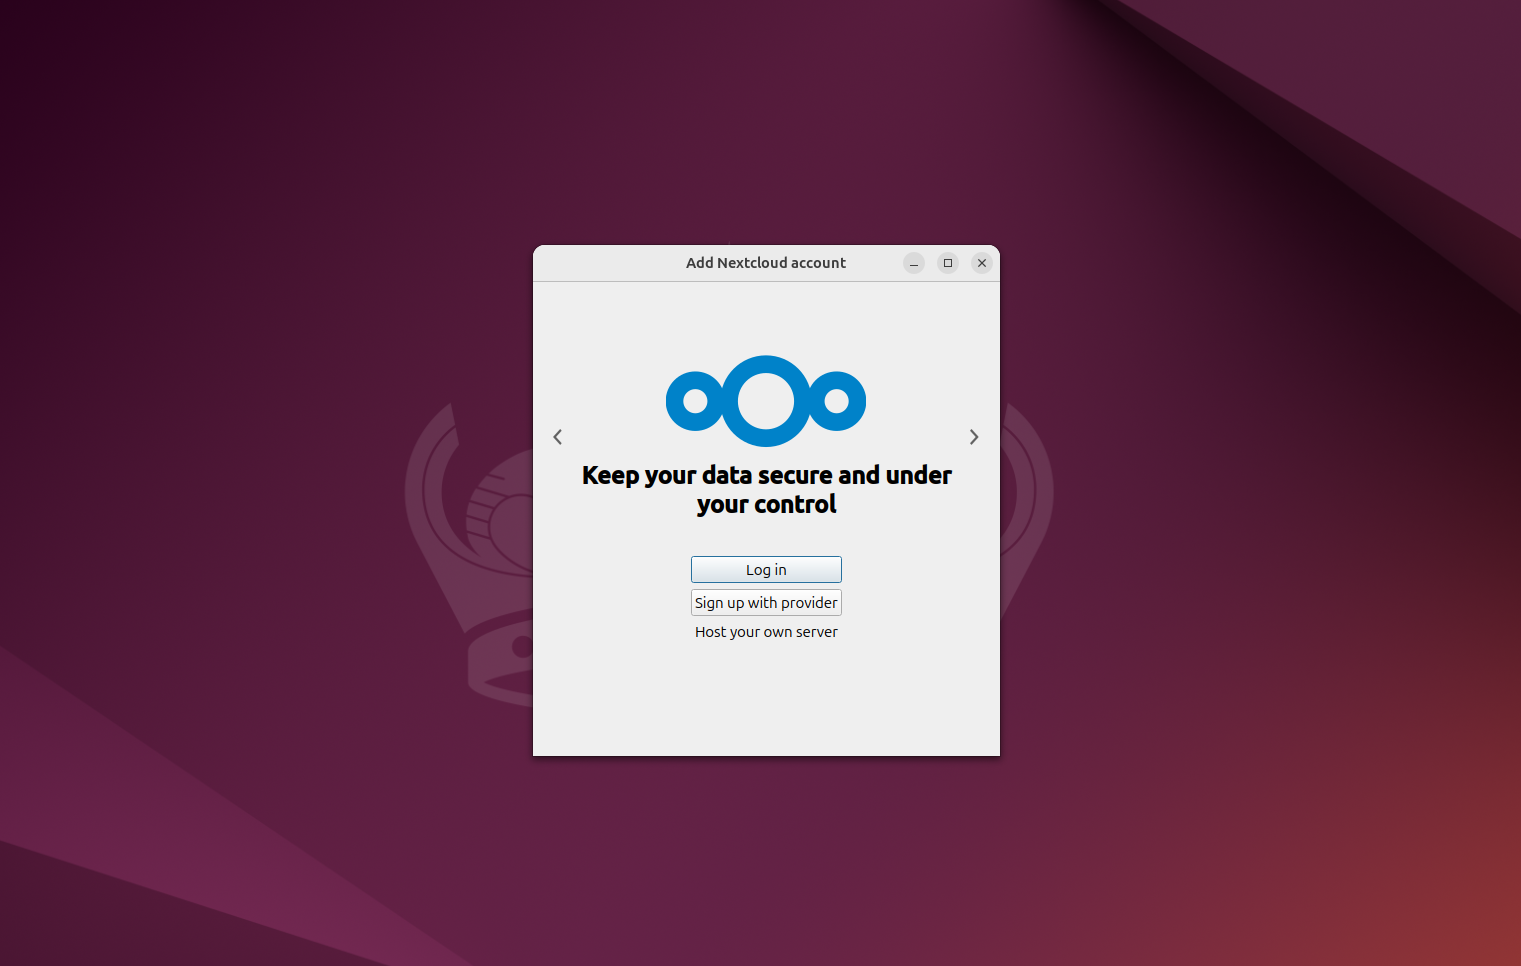
Launch the Nextcloud Desktop Client. Click Log in.
-
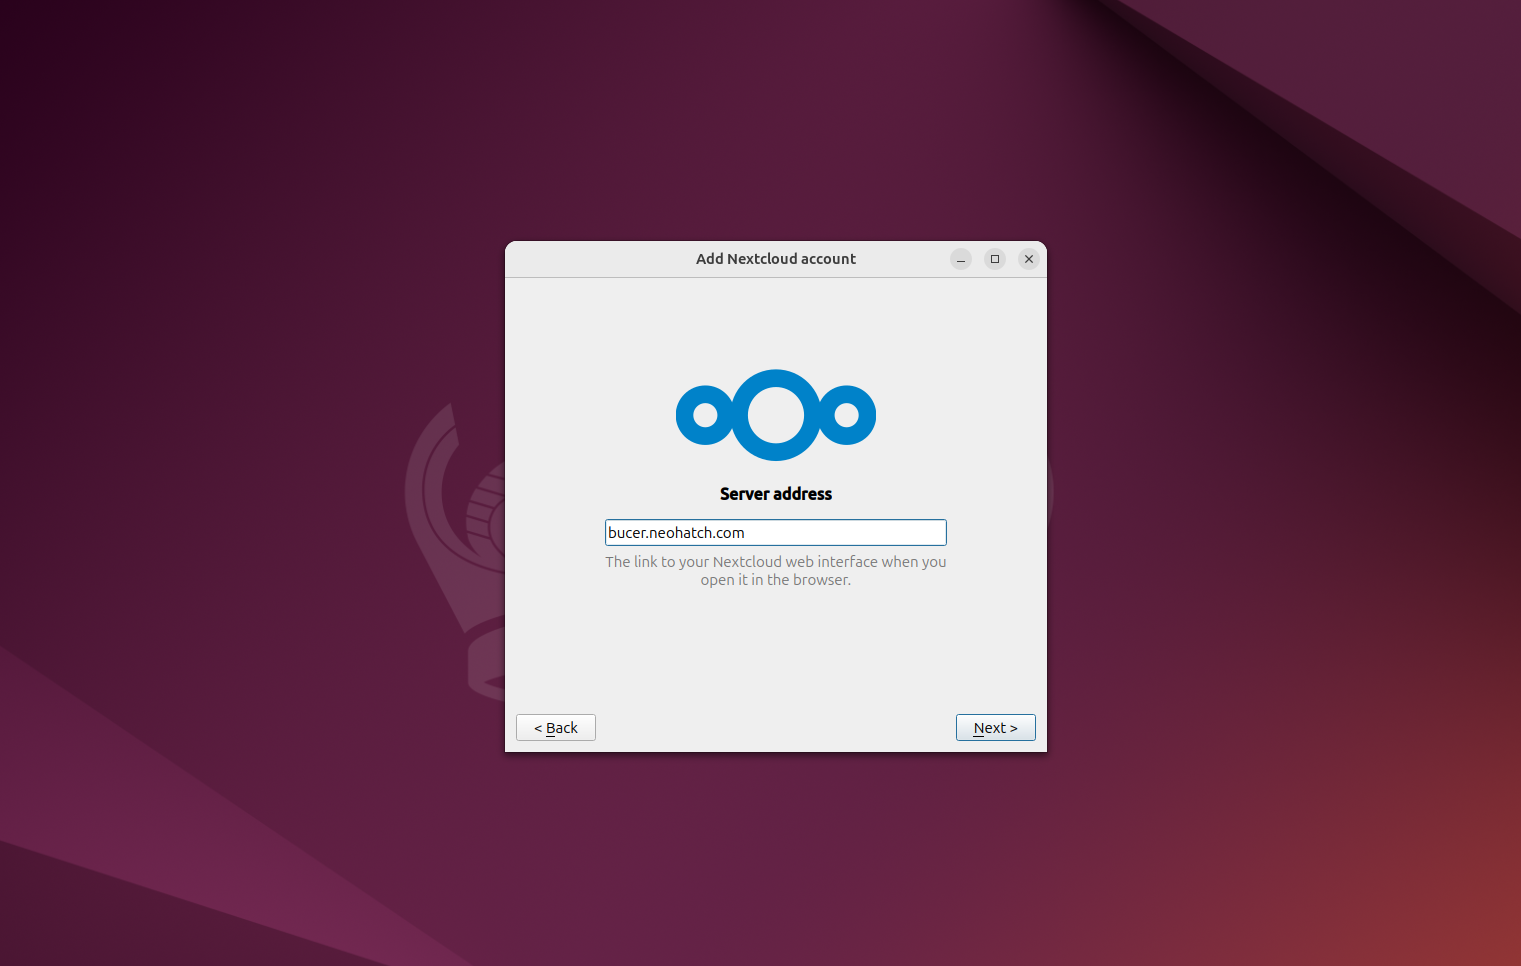
Enter your NeoHatch domain. This is the website that you got to when you want to go to your NeoHatch Nextcloud instance on the web. Click Next.
-
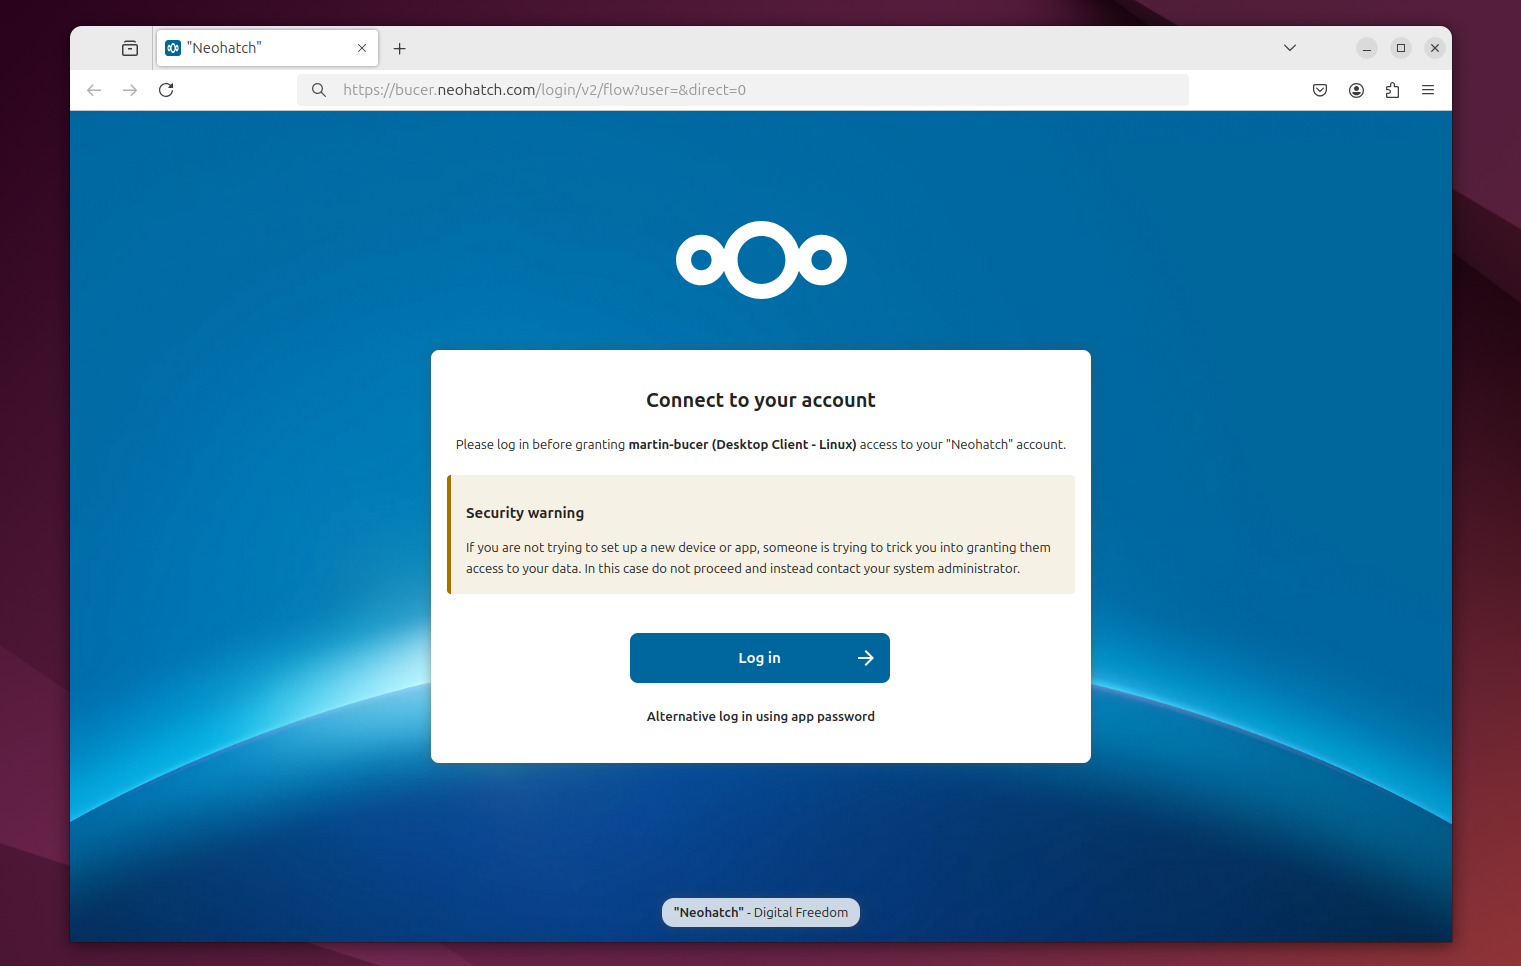
Your browser will launch with a Connect to your account screen from Nextcloud. Click Log in and follow the prompts until you are directed to return to the Nextcloud Desktop Client app.
-
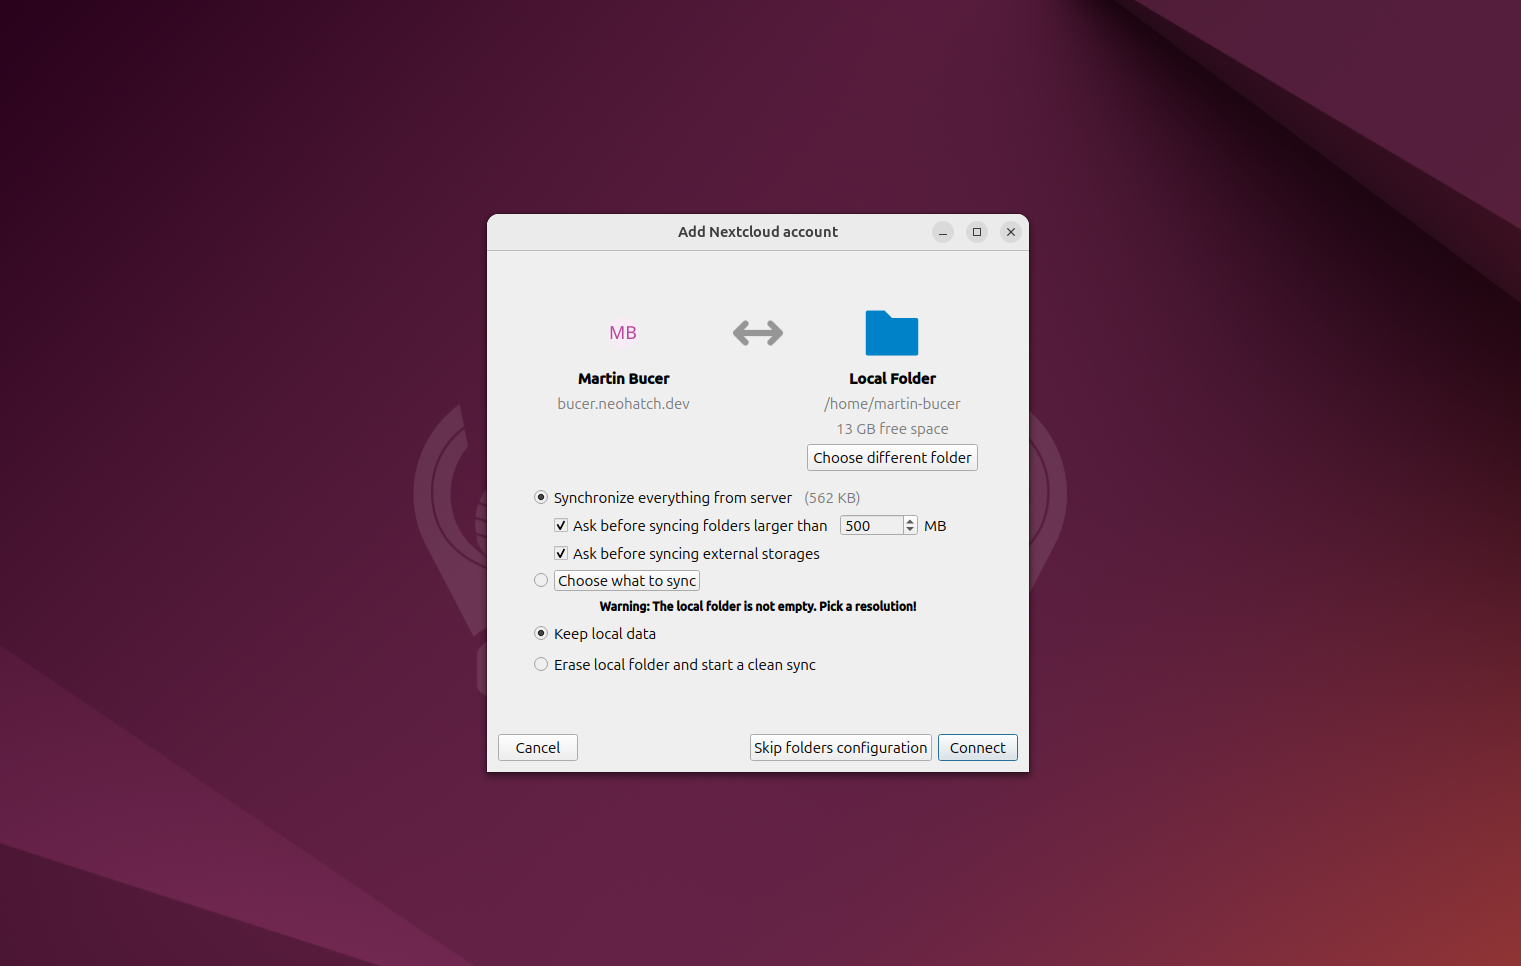
You will now see some settings about your local sync folder. You may click Choose different folder to change the location or name of the sync folder. *We recommend that you keep the default settings.
-
You have now set up your Nextcloud Desktop Sync Client. You can modify, add, remove, etc., files from the sync folder just like any other folder on your computer and your files will autmatically sync to your NeoHatch Nextcloud instance.
